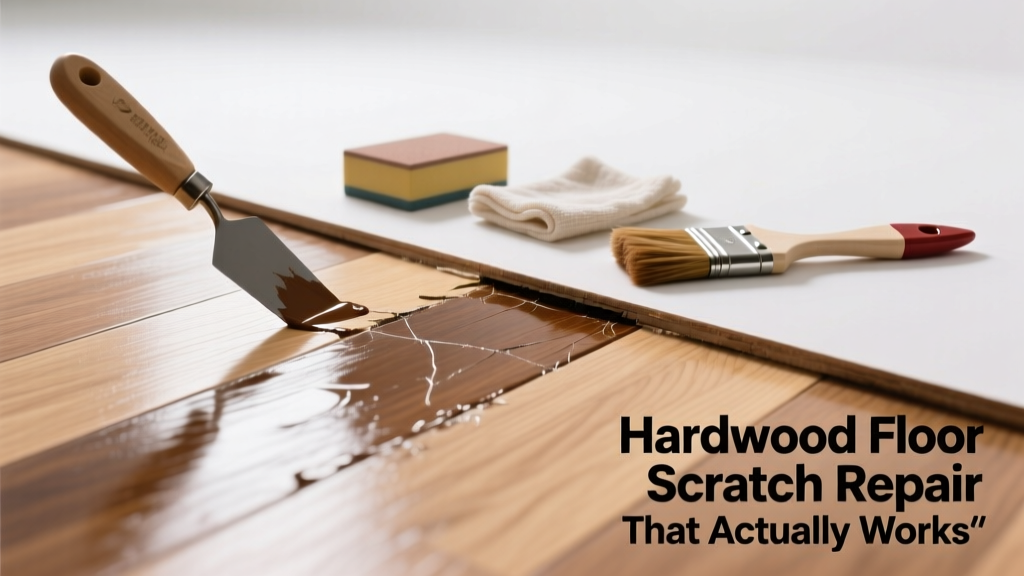
You’ve tried the walnut trick, dabbed on marker, even sanded and re-stained a spot—yet that scratch still glares back at you like a tiny betrayal. Hardwood floor scratches aren’t always about depth; they’re about technique, wood species, finish type, and moisture content. If your repair isn’t sticking, fading, or blending, the problem isn’t the scratch—it’s the mismatch between method and material.
Quick Diagnosis
Before grabbing tools, identify what’s sabotaging your fix:
- The scratch is deeper than the finish layer (into bare wood), but you’re only using surface-level fillers
- Your floor has an aluminum-oxide or UV-cured finish—resistant to most touch-up products
- You applied stain without first neutralizing tannins in oak or maple, causing blotchy discoloration
- Humidity fluctuated during drying, causing filler to shrink or lift within 48 hours
- You used water-based filler on an oil-finished floor (or vice versa), creating adhesion failure
Tools & Materials Needed
| Item | Purpose | Estimated Cost |
|---|---|---|
| 320-grit + 600-grit sandpaper (silicon carbide) | Sanding through cured finish without burning or loading up; essential for prep on modern UV finishes | $8–$12 |
| Minwax Wood Finish Stain Marker (color-matched) | Alcohol-based pigment penetrates faster than oil-based markers on dense woods like hickory or Brazilian cherry | $14–$18 |
| Bona Hardwood Floor Refresher | Water-based, low-VOC topcoat that bonds to existing polyurethane without full resanding | $22–$28 |
| Microfiber buffing pad (white, non-woven) | Polishes without micro-scratching; critical for final sheen match on satin or matte floors | $6–$9 |
| Wood grain filler (Timbermate Natural) | Water-activated, shrink-resistant filler for deep gouges; sands flush without cratering | $15–$20 |
Step-by-Step Fix
Use these methods in order—skip ahead only if your scratch is shallow and surface-only:
- Clean & assess: Wipe area with Bona Hardwood Floor Cleaner (not vinegar or ammonia). Hold a flashlight at 30° to reveal whether the scratch is in the finish only (shiny line) or breaches into wood (dull, fibrous edge).
- Light scratch (finish-only): Apply Bona Refresher with a microfiber applicator, let dry 2 hours, then buff with white pad. This renews the top polymer layer—no stain needed.
- Moderate scratch (through finish into early wood fibers): Lightly scuff with 600-grit, apply matching Minwax stain marker in thin layers (let dry 15 min between), then seal with one coat of Bona Refresher.
- Deep gouge (≥1/32" deep): Fill with Timbermate, let cure 24 hrs, sand flush with 320-grit, stain, then seal with two thin coats of Bona Refresher, buffing between coats.
When to Call a Pro
DIY fails fast when:
- The scratch runs across 3+ boards and follows a seam—indicating subfloor movement or moisture intrusion beneath
- You see white haze or cloudiness around the scratch after cleaning: a sign of finish delamination requiring full screen-and-coat
- Your floor is prefinished with beveled edges and the scratch hits the groove—filler will telegraph due to shadow effect
- You own a historic 1920s quarter-sawn oak floor with shellac finish: modern water-based products won’t bond without full chemical stripping
"Over 68% of failed DIY scratch repairs stem from skipping finish compatibility testing—always test stain and sealer on a closet board first." — National Wood Flooring Association, 2022 Installation & Maintenance Handbook
Prevention Tips
Stop future failures before they start:
- Attach felt pads to all furniture legs—and replace them every 6 months (they compress and lose grip)
- Use walk-off mats at exterior doors: the U.S. EPA estimates tracked-in grit causes 43% of new surface scratches
- Maintain indoor humidity between 35–55% year-round: wood expands/contracts less, reducing finish stress cracks
- Vacuum weekly with a hardwood-safe brush attachment—never a beater bar
Can I use bleach on this?
No. Bleach oxidizes tannins in oak and walnut, turning scratches yellow-brown and worsening contrast. It also degrades polyurethane binders. Stick to hydrogen-peroxide-free cleaners like Bona or Bruce.
Will toothpaste really work?
Only on ultra-shallow, hazy swirl marks—not true scratches. Toothpaste is a mild abrasive (RDA ~60) and may polish away the thinnest finish layer, but it leaves no pigment or protection. It’s a temporary optical illusion, not a repair.
Why does my stain look darker than the floor?
Because unfinished wood absorbs more pigment than aged, sealed wood. Always dilute stain 20% with mineral spirits and apply in feathered strokes outward from the scratch—not just inside it. Let dry fully before assessing color match.
Can I use wood glue to fill a deep scratch?
No. Standard PVA wood glue shrinks as it dries, pulls away from edges, and won’t accept stain evenly. Use Timbermate or Famowood instead—they’re formulated to expand slightly, then lock in place.
How long until I can walk on the repair?
With Bona Refresher: light foot traffic in 2 hours, full use in 12 hours. With Timbermate + stain + two coats: wait 24 hours before furniture return. Humidity above 60% adds 3–6 hours per coat.
Do I need to recoat the whole board?
Not unless the scratch crosses a board edge and exposes raw wood at the seam. For isolated repairs, feather the sealer 2 inches beyond the scratch with a microfiber pad—this avoids a visible "island" effect.
A working scratch repair doesn’t hide the damage—it restores integrity, color, and sheen so the eye passes right over it. The difference between a patch that lasts six months and one that holds for six years comes down to three things: knowing your finish type, respecting wood’s natural behavior, and never rushing the dry time. If you’ve tried two methods and still see failure, revisit your diagnosis—chances are, the real issue isn’t the scratch, but what’s happening underneath the floor or inside the finish chemistry. For more on identifying your floor’s finish, or troubleshooting moisture-related warping, check those guides next.