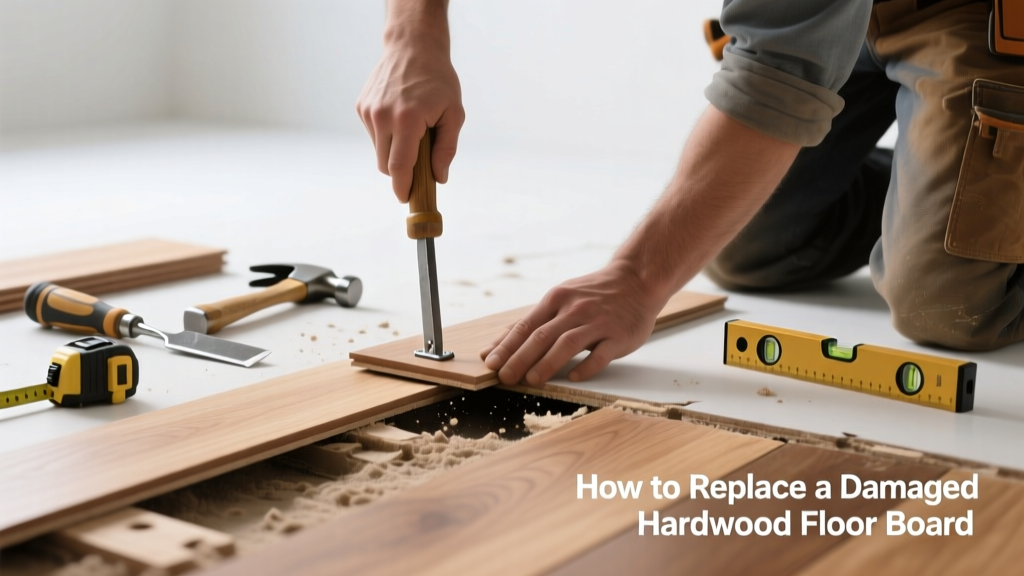
If your hardwood floor has a deep scratch, chip, or water-swollen board that won’t sand out, replacing just the damaged plank is often smarter—and cheaper—than refinishing the whole room. It’s a targeted repair that preserves your floor’s integrity and matches the surrounding grain when done right.
Quick Diagnosis
Before you grab tools, confirm the damage truly requires replacement—not just touch-up. Here are the most common causes of irreparable hardwood floor damage:
- Impact gouges from dropped appliances or furniture legs
- Localized water intrusion causing cupping or delamination in one board
- Deep pet claw scratches exposing subfloor or raw wood fibers
- Termite or beetle damage compromising structural integrity of a single strip
- Previous poor repairs (e.g., glued-down filler that’s cracked or lifted)
Tools & Materials Needed
| Item | Purpose | Estimated Cost |
|---|---|---|
| Flush-cut oscillating tool with carbide grout blade | Cuts adhesive and nails without damaging adjacent boards | $45–$85 |
| Hardwood replacement plank (same species, width, thickness, finish) | Must match existing floor within 1/32" tolerance; pre-finished preferred | $8–$22 per linear foot |
| Wood chisel (1/4" and 3/8") | Removes stubborn glue residue and cleans groove edges | $12–$24 |
| Clamp kit (bar or F-clamp + scrap wood blocks) | Holds new board flush while adhesive cures | $20–$60 |
| Water-based polyurethane (gloss/matte matching existing) | Seals end grain and blends sheen if minor finish touch-up needed | $18–$32 |
Step-by-Step Fix
Replacing a single board in a nailed-down or glued-down solid hardwood floor takes precision—not brute force. Follow these methods based on your floor’s installation type:
- Nailed-down floors: Locate nail holes along board edges using a magnet or stud finder. Drill pilot holes near each nail, then use a cat’s paw or nail puller to extract nails without splintering neighboring boards.
- Glued-down floors: Score both long edges with an oscillating tool set to 1/8" depth, cutting only through finish and adhesive—not into subfloor. Pry up gently using a stiff putty knife and block of wood as a fulcrum.
- Click-lock engineered floors: Remove baseboard or quarter-round trim first. Work from the edge inward, disengaging tongue-and-groove joints with a pry bar and tapping block—never hammer directly on wood.
- Fit and secure replacement: Dry-fit the new board, trimming length with a miter saw if needed. Apply Titebond III or Bostik Ultra Set adhesive to groove side only. Tap into place with a rubber mallet and clamp across width for 2 hours.
When to Call a Pro
Some situations demand expertise—not just extra patience. Call a certified hardwood flooring contractor if:
- The damaged board is within 12 inches of a load-bearing wall or HVAC duct chase
- You discover rot, mold, or insect activity beneath the board during removal
- Your floor is site-finished with custom stain layers (matching requires lab analysis)
- More than three adjacent boards show movement or separation—indicating subfloor or moisture issues
"Over 68% of failed DIY floor repairs stem from mismatched moisture content between new and existing boards," says Mike D’Amico, NWFA-certified installer and author of Flooring Field Manual (2022).
Prevention Tips
Extend the life of your repair—and protect the rest of your floor—with these proven habits:
- Use felt pads under all furniture legs, replaced every 6 months
- Maintain indoor humidity between 35–55% year-round using a hygrometer and humidifier/dehumidifier
- Install high-pile rugs (not rubber-backed) in high-traffic zones like hallways and entryways
- Wipe up spills within 3 minutes—especially vinegar, citrus cleaners, or pet urine
- Trim pet nails every 4–6 weeks; consider soft silicone booties for active dogs
Can I use bleach on this?
No—bleach degrades lignin in hardwood, accelerating brittleness and yellowing. It also breaks down polyurethane finishes. For disinfecting, use a 1:10 dilution of white vinegar and water, then dry immediately with a microfiber cloth.
What if my floor is engineered hardwood?
Engineered boards can be replaced—but only if the wear layer is ≥2mm thick. Thinner wear layers risk sand-through during fit adjustments. Always verify specs with manufacturer documentation before purchasing replacement stock.
Do I need to acclimate the new board?
Yes—even pre-finished planks need 72 hours in the room where they’ll be installed. Stack them flat with spacers between layers and monitor with a moisture meter: new board and existing floor should read within 2% MC difference (per ASTM D4442).
Can I replace a board in a floating floor without removing baseboards?
Rarely. Floating floors rely on expansion gaps hidden behind baseboard or quarter-round. To access the locking mechanism, you’ll need to carefully remove at least one section of trim—or use a specialized undercut saw to clear the gap without full removal.
How long before I can walk on the repaired area?
Wait at least 4 hours before light foot traffic, and 24 hours before placing furniture. Full adhesive cure (Titebond III) takes 72 hours—avoid wet mopping or steam cleaning during this time.
Will the new board color match over time?
It will get closer—but not identical. Natural hardwoods oxidize at different rates. Expect 3–6 months for noticeable blending, especially in rooms with consistent sunlight exposure. For faster integration, lightly scuff the new board’s surface with 220-grit paper and apply one coat of matching finish.
A well-executed board replacement doesn’t just hide damage—it reinforces your confidence in maintaining what’s likely your home’s most visible, valuable surface. Keep your moisture meter handy, store extra planks from the original install (if possible), and remember: precision beats speed every time when working with real wood. For related techniques, see our guides on how to fix squeaky hardwood floors and hardwood floor refinishing cost guide.