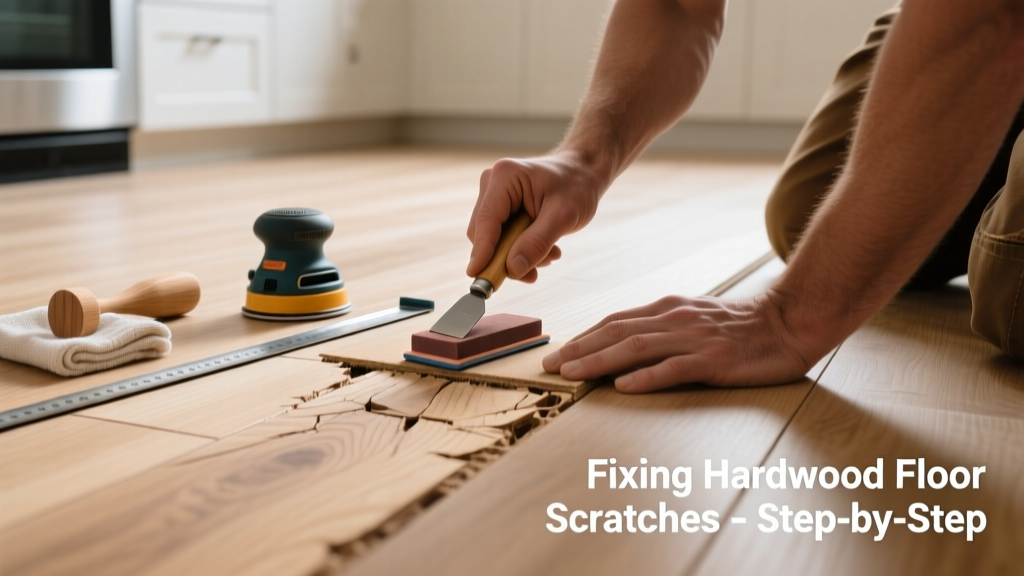
Kitchen hardwood floors take a beating — dropped whisks, sliding barstools, and pet paws leave telltale marks fast. Unlike living room scratches, kitchen ones often sit in high-moisture zones and get stepped on barefoot or in socks, making them more noticeable and trickier to repair.
Quick Diagnosis
Before grabbing supplies, identify the scratch type — it dictates your fix:
- Surface-level scuffs: dull, whitish marks that disappear when dampened with water (often just finish wear)
- Moderate scratches: visible grooves where wood grain is exposed but no splintering
- Deep gouges: cuts deeper than 1/32", possibly lifting fibers or exposing raw wood beneath stain
- Moisture-blurred scratches: cloudy, hazy areas near sink or dishwasher — often trapped water under finish, not true scratching
Tools & Materials Needed
| Item | Purpose | Estimated Cost |
|---|---|---|
| Walnut or pecan meat | Natural oil and tannins fill light scratches and blend with amber-toned finishes | $2–$4 |
| Minwax Wood Finish Touch-Up Marker (matching stain) | Covers exposed wood in moderate scratches without overspill | $8–$12 |
| 320-grit foam sanding pad | Smoother-than-sandpaper abrasion for feathering edges without damaging adjacent finish | $5–$7 |
| Bona Hardwood Floor Polish (water-based) | Restores sheen over repaired areas and seals minor touch-ups | $14–$18 |
| Microfiber cloth + denatured alcohol | Cleans residue and preps surface; alcohol evaporates fast and won’t warp wood | $6–$9 |
Step-by-Step Fix
Match your method to scratch depth — skipping steps can make things worse:
- For light scuffs only: Rub a raw walnut or pecan meat firmly over the mark for 20 seconds. Wipe excess oil with a dry microfiber cloth. Let cure 2 hours before walking on it.
- For moderate scratches: Clean area with alcohol-dampened cloth. Use touch-up marker to color-exposed wood — apply in direction of grain, then lightly buff with 320-grit foam pad. Seal with Bona polish after 1 hour.
- For deep gouges: Gently scrape loose fibers with a plastic putty knife. Fill with Timbermate Wood Filler (not regular spackle), let dry 4 hours, then sand flush with 320-grit. Stain with marker, then seal.
- For moisture-hazed spots: Do NOT sand. Instead, wipe with 50/50 white vinegar/water, then fan-dry 30 minutes. If cloudiness remains, apply Bona Hardwood Floor Cleaner — not polish — and repeat.
When to Call a Pro
DIY has limits — especially where safety, value, or structural integrity are at stake:
- Scratches cover >3 sq. ft. across multiple boards — indicates finish failure, not isolated damage
- You see cupping, crowning, or gaps widening near the scratched area (sign of subfloor moisture intrusion)
- Your floor is pre-finished with aluminum oxide coating — most touch-up markers won’t bond, and sanding risks delamination
- The scratch sits directly over a joist-to-subfloor fastener that’s popped up (a sign of shifting structure)
"Over 68% of hardwood floor refinishing jobs started as DIY scratch repairs gone wrong — usually due to mismatched stain or aggressive sanding." — National Wood Flooring Association, 2022 Technical Bulletin
Prevention Tips
Kitchen hardwoods need proactive protection — not just reactive fixes:
- Install 100% felt pads (not rubber or adhesive-backed) on all chair and stool legs — replace every 6 months
- Use a washable, non-slip rug runner (like polypropylene with rubber backing) in front of sink and stove
- Wipe up spills within 90 seconds — the U.S. EPA estimates that standing water penetrates unfinished hardwood in under 2 minutes
- Keep pet nails trimmed monthly — a single overgrown nail can score maple flooring at 12 psi pressure
Can I use bleach on this?
No — bleach breaks down lignin in wood, accelerating deterioration and causing yellowing in light finishes. It also voids most manufacturer warranties. For disinfecting around scratches, use diluted hydrogen peroxide (3%) instead.
Will vinegar remove scratches?
Vinegar won’t remove scratches, but a 1:1 vinegar-water solution helps lift mineral deposits from hard water spots that mimic scratches near sinks. Always rinse with distilled water afterward to prevent acid etching.
How long does a touch-up marker last?
Under normal kitchen traffic, Minwax markers hold up 6–12 months before fading or wearing thin — especially near high-friction zones like fridge paths. Reapply before the color visibly lightens.
Can I steam-clean over repaired areas?
Avoid steam mops entirely on hardwood — even untouched areas. The National Wood Flooring Association advises against them: steam introduces uncontrolled moisture that swells wood fibers and blisters finish. Stick to pH-neutral sprays and microfiber.
Do scratch repair kits work on engineered hardwood?
Yes — but only if the wear layer is ≥2mm thick. Kits with wax sticks or filler pens work best on top-layer damage. If your floor has a 0.6mm veneer (common in budget planks), skip fillers and consult a pro — sanding could cut through to plywood core.
Why does my scratch look darker after using a marker?
Most markers contain solvents that temporarily swell wood fibers, making pigment appear richer. Wait 24 hours for full evaporation — the color will lighten by ~15%. If still too dark, lightly buff with 0.003" steel wool and Bona polish.
Hardwood in the kitchen isn’t just flooring — it’s a daily interface between function and beauty. A well-repaired scratch shouldn’t call attention to itself, but to the care you’ve taken. Keep your tools simple, your timing precise, and your expectations realistic: some marks fade with time and foot traffic, and that’s okay. What matters is knowing which ones deserve your effort — and which ones remind you it’s time to enjoy a cup of coffee instead.