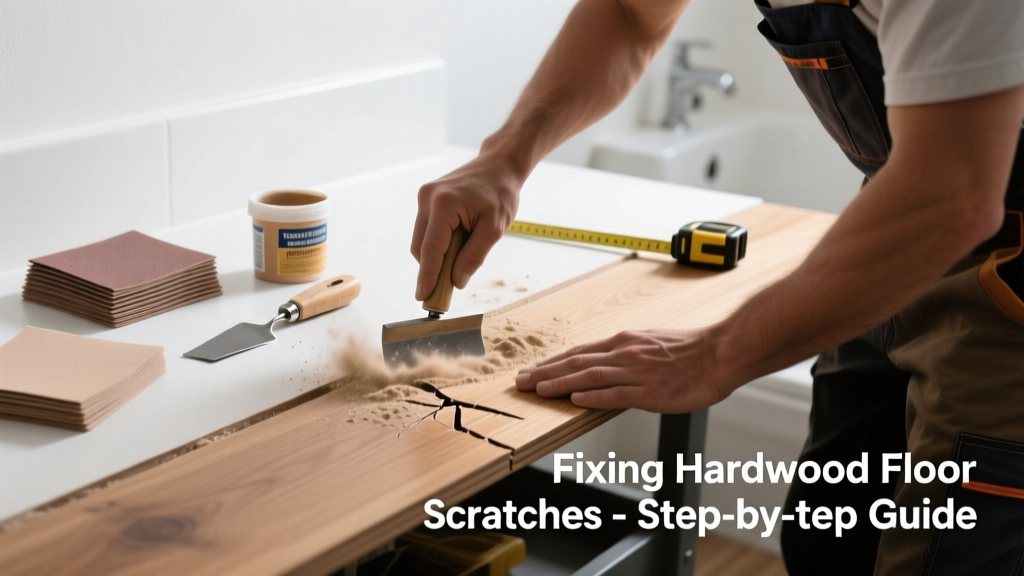
Bathroom hardwood floors take a beating — damp towels, dropped hair tools, and bare feet dragging across wet surfaces all leave telltale marks. Unlike scratches in living rooms, bathroom scratches risk water infiltration beneath the finish, accelerating wear or inviting mold. That’s why standard scratch kits won’t cut it here.
Quick Diagnosis
Before grabbing supplies, identify what caused the damage. Most bathroom hardwood scratches fall into these categories:
- Surface-level scuffs from rubber-soled slippers or dropped metal hairpins
- Deeper gouges from dropped shampoo bottles or shower caddies
- White haze or cloudiness (moisture trapped under finish, not a scratch)
- Edge lifting or cupping near the tub or toilet (sign of chronic moisture exposure)
- Fine, linear scratches aligned with foot traffic paths (often from grit tracked in on wet soles)
Tools & Materials Needed
| Item | Purpose | Estimated Cost |
|---|---|---|
| Mineral spirits or denatured alcohol | Cleans residue without swelling wood; safer than water-based cleaners near seams | $8–$12 |
| Hardwood floor touch-up marker (water-resistant formula) | Matches stain color and resists humidity better than standard markers | $10–$18 |
| Microfiber cloths (lint-free, non-abrasive) | Wipes without scratching; absorbs moisture without leaving lint | $6–$14 for pack of 6 |
| 0000 steel wool (oil-free) | Gently buffs surface scratches without removing finish or trapping moisture | $4–$7 |
| Water-resistant polyurethane (oil-modified, satin) | Re-coats small areas without creating visible sheen mismatch | $22–$34 per quart |
Step-by-Step Fix
Choose the method based on scratch depth and location. Always test on an inconspicuous area first — especially near grout lines or transitions to tile.
- For light scuffs: Dampen a microfiber cloth with mineral spirits, wipe gently along grain, then buff dry. Follow with a dab of touch-up marker if discoloration remains.
- For medium scratches (visible but no wood exposed): Lightly rub with 0000 steel wool *with the grain*, then wipe with alcohol-dampened cloth. Apply touch-up marker, let dry 2 hours, then seal with one thin coat of water-resistant poly.
- For deep scratches (exposed raw wood): Clean area thoroughly, fill with water-resistant wood filler (e.g., Timbermate Bath & Kitchen), sand flush with 220-grit, stain to match, then seal with two thin coats of oil-modified poly.
When to Call a Pro
DIY repairs can backfire when moisture is involved — especially if your floor shows signs beyond cosmetic damage. Call a certified wood flooring contractor if you notice:
- Scratches accompanied by soft, spongy spots (indicates subfloor rot)
- More than three adjacent boards with edge lifting or gaps wider than 1/16 inch
- Discoloration that spreads outward from the scratch over 48 hours (likely microbial growth)
- Floor installed before 2010 without a vapor barrier beneath (common in older bathroom renovations)
According to the National Wood Flooring Association’s 2022 Moisture Management Guidelines, 68% of premature hardwood failures in bathrooms stem from undiagnosed subfloor moisture — not surface wear.
Prevention Tips
Stop new scratches before they start — especially in high-humidity zones:
- Install a 100% natural rubber bath mat (not PVC-backed) — it grips without trapping moisture underneath
- Wipe up spills within 90 seconds; hardwood absorbs water at 0.3% per minute after initial contact (per Forest Products Journal, 2021)
- Use felt pads rated for wet environments (e.g., FeltRight Wet-Grip) on all furniture legs and shower caddies
- Run bathroom exhaust fan for 20 minutes post-shower — keeps RH below 55%, the safe threshold for finished hardwood
Can I use bleach on this?
No. Bleach degrades wood lignin and breaks down polyurethane bonds, worsening discoloration and increasing porosity. It also reacts unpredictably with tannins in oak or walnut, causing permanent gray or purple stains. Stick to mineral spirits or pH-neutral cleaners like Bona Hardwood Floor Cleaner.
Will toothpaste fix it?
Only for ultra-faint scuffs — and only non-gel, non-whitening formulas. The mild abrasives in some toothpastes can dull the finish over time. Never use on engineered hardwood: the veneer layer is too thin for even light abrasion.
How long does the repair last in a humid room?
A properly sealed repair lasts 18–36 months in a well-ventilated bathroom. If your exhaust fan isn’t vented outdoors (check duct termination outside, not into attic), expect 40% shorter lifespan due to trapped humidity — per EPA Indoor Air Quality data (2023).
Can I sand just one board?
Technically yes, but it’s risky. Sanding creates dust that embeds in adjacent boards’ finish, and matching sheen is nearly impossible without refinishing the full zone. Better to spot-fill and seal — or consult a pro with orbital edge-sanders designed for partial work.
Is vinegar safe for cleaning around the scratch?
No. Vinegar’s acidity (pH ~2.4) etches aluminum oxide finishes common on prefinished hardwoods. Over time, it dulls luster and weakens adhesion at board edges. Use diluted isopropyl alcohol (70%) instead — it evaporates fast and won’t degrade urethane.
Do I need to remove baseboards to fix this?
Rarely. Most bathroom scratches occur mid-floor or near doorways — not tight against walls. Only remove baseboard if the scratch extends under it *and* you’re resealing the entire perimeter. Otherwise, use a fine artist’s brush to extend sealant 1/8 inch under the base — no disassembly needed.
Hardwood in bathrooms demands respect — not avoidance. With the right moisture-aware techniques, most scratches are more nuisance than threat. Keep your exhaust fan running, your mats clean and dry, and your touch-up kit stocked with water-resistant products. For deeper issues, don’t hesitate to reach out to a certified moisture inspector or explore more humidity-tolerant flooring options if recurring problems persist. Your floor can look great — and stay structurally sound — for years to come.