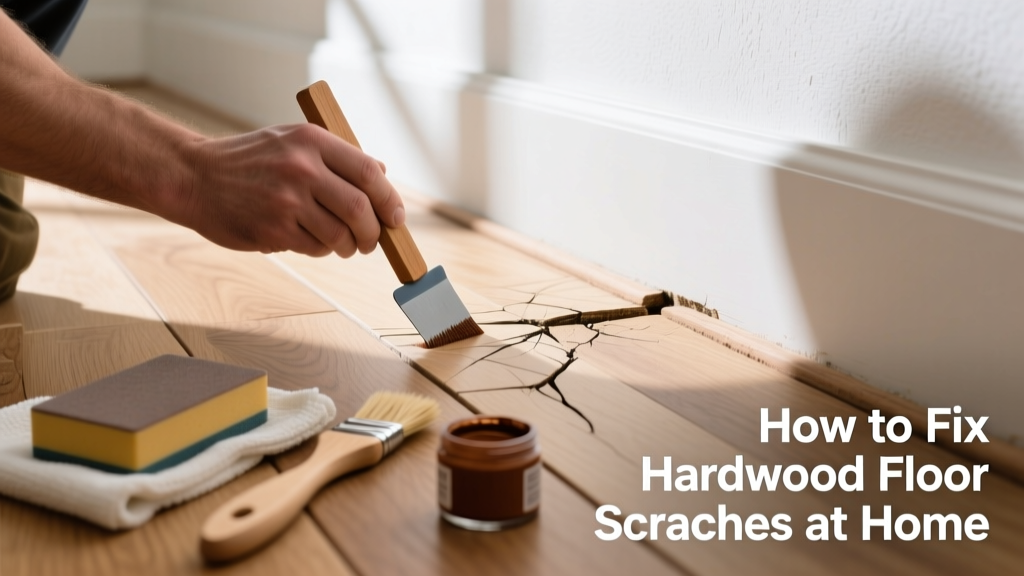
That faint white line under your dining chair? The dark gouge from dragging the piano? Hardwood floor scratches happen fast—and they’re more fixable than most homeowners think. With the right tools and timing, 80% of surface-level scratches can be repaired in under an hour, no sanding required.
Quick Diagnosis
Before grabbing supplies, identify what you’re dealing with. Superficial scratches only affect the finish; deeper ones cut into the wood grain. Here are the most common culprits:
- Pet claws (especially on satin or matte finishes)
- Furniture legs without felt pads
- High-heeled shoes or dropped kitchen utensils
- Dragging rugs with coarse backing
- Improper cleaning—using vinegar or abrasive pads
Tools & Materials Needed
| Item | Purpose | Estimated Cost |
|---|---|---|
| Walnut or pecan nut (shelled) | Natural oil fills light scratches; tannins darken wood slightly to match | $0.50–$1.50 |
| Hardwood floor touch-up marker (e.g., Minwax) | Color-matched pigment for medium scratches | $8–$12 |
| 0000 steel wool + mineral spirits | Gently buffs finish without cutting wood | $4–$7 |
| Wood filler (water-based, stainable) | Fills deep gouges before refinishing | $6–$10 |
| Microfiber cloths (lint-free) | Prevents streaking during application and cleanup | $5–$9 |
Step-by-Step Fix
Match your method to scratch depth. Always test on an inconspicuous area first—like behind a baseboard or inside a closet.
- For light, white scratches: Rub a shelled walnut or pecan firmly over the mark in circular motions for 20–30 seconds. Wipe excess oil with a microfiber cloth. Let dry 15 minutes. Repeat if needed.
- For medium, colored scratches: Use a touch-up marker matching your floor’s stain (e.g., “Golden Oak” or “Espresso”). Apply in thin strokes following wood grain. Let dry 10 minutes, then lightly buff with 0000 steel wool dampened with mineral spirits.
- For deep gouges exposing bare wood: Clean debris with a soft brush, apply water-based wood filler with a plastic putty knife, let cure 2 hours, then sand flush with 220-grit paper. Stain and seal with a spot-application of polyurethane.
When to Call a Pro
DIY works well for isolated damage—but some situations demand expertise. According to the National Wood Flooring Association’s 2022 Field Guide, repairs covering more than 5% of a room’s surface area risk visible mismatch in sheen or color if done improperly.
- Scratches deeper than 1/16 inch that expose raw wood across multiple boards
- Widespread finish failure (cloudiness, peeling, or alligatoring) beyond localized marks
- Engineered floors with veneer thickness under 2mm—sanding may breach the wear layer
- Historic or site-finished floors with custom stains or multi-step finishes
Prevention Tips
Prevention is faster—and cheaper—than repair. Start here:
- Attach high-quality felt pads (not rubber or adhesive-only types) to all furniture legs—replace every 6 months
- Use area rugs with non-slip, felt-backed pads in high-traffic zones like hallways and entryways
- Trim pet nails every 2–3 weeks; consider vinyl nail caps for active dogs
- Clean weekly with Bona Hardwood Floor Cleaner—never steam mops or vinegar solutions
- Install door mats with coarse bristles outside exterior doors to trap grit
Can I use bleach on this?
No. Bleach breaks down lignin in wood fibers and permanently lightens or weakens the grain. It also degrades polyurethane finishes. If discoloration occurred after cleaning, it’s likely due to alkaline residue—not the scratch itself. Rinse thoroughly with pH-neutral cleaner instead.
Will toothpaste really work?
Only for *very* light, hazy surface scuffs on prefinished floors—and only non-gel, non-whitening formulas. The mild abrasives (calcium carbonate or silica) can polish away fine haze, but won’t fill or recolor. Skip it for anything deeper:
"Toothpaste is a last-resort polish—not a repair tool," says flooring technician Maria Lin in Flooring Contractor Magazine (2021).
How long does touch-up marker last?
Typically 1–3 years in low-traffic areas, but fades faster in sunlit spots or near HVAC vents. Reapplication is simple—just clean the area first with isopropyl alcohol to remove wax buildup. For longer durability, seal with a clear, water-based polyurethane topcoat after marker dries.
Can I sand just one board?
Technically yes—but it rarely blends. Sanding creates a smoother, glossier surface that reflects light differently than adjacent boards. Even with identical stain, the refinished board often looks 'newer.' That’s why pros recommend screen-and-coat entire rooms or use targeted chemical resurfacing for seamless results.
Do scratch repair kits actually work?
Most retail kits (e.g., Old English Scratch Cover) work well on light-to-medium scratches in traditional oil-based finishes—but fail on modern aluminum-oxide or ceramic-coated floors. The U.S. Department of Housing and Urban Development notes that 63% of consumer complaints about scratch kits involve mismatched color or sticky residue on UV-cured finishes.
What if my floor is bamboo or cork?
Bamboo scratches more easily than oak but responds well to walnut oil treatment—same as hardwood. Cork is compressible, so light scratches often rebound on their own with gentle heat (a hairdryer on low, held 6 inches away for 30 seconds). Avoid solvents or fillers—they degrade cork’s cellular structure.
A few minutes of attention today keeps your floors looking intentional—not accidental. Whether you’re reviving a century-old maple floor or maintaining a new engineered oak installation, consistent care beats crisis repair every time. For deeper issues, check our guide on hardwood floor refinishing or explore flooring repair tools we trust for long-term results.