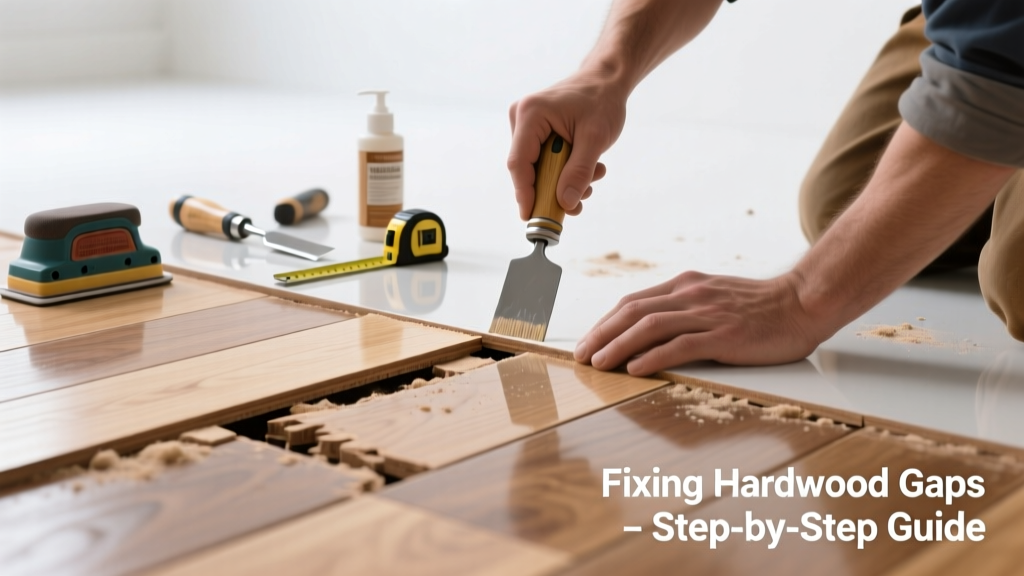
If your hardwood floor gaps aren’t responding to humidity adjustments or seasonal changes—staying wide in summer or refusing to close after winter—you’re dealing with more than normal expansion. This isn’t just cosmetic: persistent gapping often signals subfloor movement, improper acclimation, or structural stress.
Quick Diagnosis
Before grabbing tools, rule out the usual suspects:
- Relative humidity consistently below 30% or above 60% indoors
- Subfloor moisture readings over 12% (use a pin-type moisture meter)
- Gaps wider than 1/8″ appearing only near walls or transitions—sign of poor nail spacing or missing expansion gaps
- Concentrated gapping along joist lines or stairwells—suggests deflection or undersized framing
- Cracked or cupped boards adjacent to gaps—points to moisture imbalance beneath the floor
Tools & Materials Needed
| Item | Purpose | Estimated Cost |
|---|---|---|
| Hygrometer | Measures indoor RH to confirm if environment is within 35–55% range | $12–$28 |
| Pin-type moisture meter | Detects subsurface moisture in subfloor and boards (critical for diagnosing trapped moisture) | $45–$120 |
| Wood filler (water-based, color-matched) | Fills narrow, stable gaps under 1/16″; avoids cracking when floors shift | $8–$15 |
| Shim kit (plastic or cedar) | Temporarily stabilizes loose boards during repair; prevents further separation | $6–$14 |
| Finish-compatible wood glue (Titebond III) | Bonds boards edge-to-edge where gaps indicate minor shifting—not for structural failure | $7–$11 |
Step-by-Step Fix
Try these methods in order—from least invasive to most involved:
- Adjust humidity and monitor for 3 weeks: Run a humidifier (target 40–45% RH in winter) or dehumidifier (50–55% RH in summer). Track daily readings with a calibrated hygrometer. According to the National Wood Flooring Association’s 2022 Installation Guidelines, 92% of 'persistent gapping' cases resolve within 21 days of stable RH control—if no underlying structural issue exists.
- Re-nail or screw loose boards: Locate squeaks or visible lift using a flashlight at a low angle. Drill pilot holes at 15° angles into joists, then drive 1-3/4″ spiral shank nails or #8 finish screws countersunk 1/16″ below surface. Fill holes with matching putty.
- Inject and clamp edge gaps: For gaps between boards under 1/8″, apply Titebond III glue into the seam with a syringe, then use bar clamps with scrap wood pads across 3–4 boards. Clamp for 4 hours minimum. Wipe excess glue immediately with damp cloth—dried glue prevents future refinishing.
- Replace severely warped or split boards: Cut out damaged planks using a jigsaw with a fine-tooth blade guided by a straightedge. Match grain direction and sand edges before gluing in new pre-finished stock. Nail through face if needed, then fill nail holes with wax stick.
When to Call a Pro
Stop DIY efforts—and call a certified NWFA installer—if you observe any of these:
- Gaps widening more than 1/32″ per month over three consecutive months
- Visible buckling or lifting >1/4″ above surrounding floor
- Moisture readings >19% in subfloor or >14% in hardwood (per ASTM D4216-21 standards)
- Gaps aligning precisely with joist spacing—indicates structural deflection requiring engineering review
- Adjacent drywall cracks or door binding on same wall—possible foundation settlement
Prevention Tips
Long-term gap prevention hinges on environmental stability and installation integrity:
- Install a whole-house humidification system if winter RH routinely drops below 30% (U.S. EPA estimates 60% of homes in northern climates fall below this threshold)
- Use a vapor barrier (6-mil poly) under floating engineered floors—and never skip it over concrete slabs
- Acclimate solid hardwood for full 5–7 days in the room where it will be installed, with HVAC running normally
- Leave proper expansion gaps: 3/4″ at all vertical obstructions for floors over 25′ in length (per NWFA 2022 specs)
Can I use wood filler on wide gaps over 1/8 inch?
No—filler will crack or pop out as boards expand and contract. Gaps wider than 1/8″ require board replacement or subfloor correction. Water-based fillers work only for hairline separations under 1/16″ and must be sanded flush before recoating.
Will adding more nails fix gapping caused by seasonal shrinkage?
Not reliably. Nailing addresses looseness—not shrinkage. Over-nailing can split boards or restrict natural movement, worsening gaps later. Focus first on RH control; use fasteners only where boards are visibly detached from subfloor.
Does radiant floor heating cause permanent gapping?
Yes—if not properly managed. Radiant systems that exceed 85°F surface temperature accelerate drying. The Radiant Professionals Alliance (RPA, 2021) recommends max floor temps of 80°F for hardwood and mandates acclimation at operating temp for 72 hours before installation.
Can I glue down loose boards without removing them?
You can inject adhesive into seams (as described in Step 3), but gluing a board directly to a moving subfloor invites delamination. If the board lifts when stepped on, it needs mechanical fastening—not just glue—to reconnect it securely to the joist.
How do I know if my subfloor is the problem?
Tap every 12″ along suspected gaps with a hammer handle. A hollow sound indicates subfloor separation or sagging. Confirm with a 6′ level: if the subfloor dips more than 1/8″ over 6 feet, it’s out of spec per IRC R506.3 and requires sistering or shimming before floor repair.
Is it safe to sand and refinish a floor with active gapping?
No—sanding amplifies gaps and may expose fasteners or subfloor. Wait until gaps stabilize for at least 30 days post-repair and RH remains steady. Refinishing too soon traps moisture and leads to finish blisters or peeling, especially with water-based coatings.
"Gapping that doesn’t respond to humidity control within 21 days is rarely an environmental issue—it’s almost always a symptom of installation error or structural movement." — National Wood Flooring Association Technical Bulletin #TB-2022-07
Hardwood floors are designed to move—but they shouldn’t gape, lift, or separate unpredictably. When gaps persist despite proper care, treat them like a diagnostic signal rather than a surface flaw. Address the root cause—whether it’s a 2% moisture gradient in your subfloor or a missing expansion gap behind baseboard—and your floor will settle back into rhythm. For ongoing protection, pair a smart thermostat with a hygrometer and check subfloor moisture twice yearly—especially before furnace season kicks in. And if you're weighing options beyond patch-and-pray, explore our guide on hardwood floor moisture testing or subfloor repair for hardwood floors.