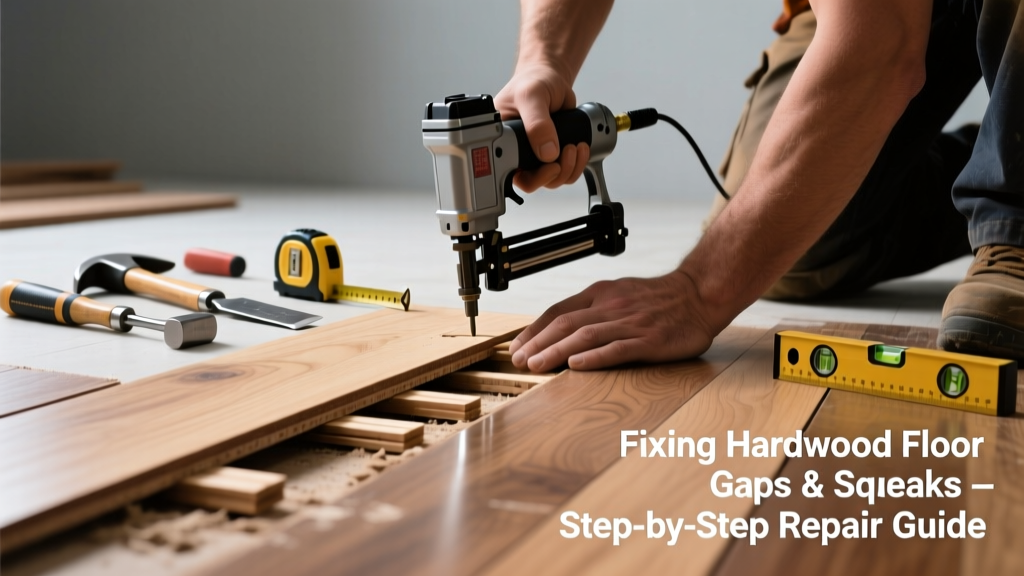
If your hardwood floor has started popping, squeaking, or groaning when you walk across it—and you’ve noticed visible gaps between boards—you’re not just hearing things. That noise is a warning sign: something’s shifting, drying, or failing beneath the surface. Ignoring it can lead to wider gaps, cupping, or even board damage over time.
Quick Diagnosis
Before grabbing tools, identify what’s really going on. Not all gaps and noises share the same root cause:
- Seasonal shrinkage (most common in winter, when indoor humidity drops below 30%)
- Loose nails or staples pulling up from the subfloor
- Subfloor movement due to inadequate blocking or joist spacing >16” on center
- Moisture imbalance between top and bottom of boards causing cupping or buckling
- Missing or deteriorated underlayment padding allowing direct board-to-subfloor friction
Tools & Materials Needed
| Item | Purpose | Estimated Cost |
|---|---|---|
| Hygrometer | Measures indoor relative humidity to confirm if dryness is the culprit | $12–$25 |
| Finish nail set & hammer | Drives loose nails below surface without damaging wood | $8–$15 |
| Wood filler (color-matched) | Fills small gaps after stabilization; use water-based for refinishing compatibility | $10–$18 |
| Shim kit (plastic or cedar) | Secures boards against joists where access is limited | $7–$12 |
| Dehumidifier or humidifier | Corrects ambient moisture levels—critical for long-term stability | $80–$220 |
Step-by-Step Fix
Try these methods in order—from least invasive to most involved:
- Adjust humidity first: Run a humidifier to maintain 35–55% RH year-round. According to the National Wood Flooring Association’s 2022 guidelines, 90% of seasonal gapping resolves when humidity stays above 35%.
- Locate and secure loose boards: Tap along each board with a rubber mallet. Hollow sounds indicate separation. Drill pilot holes at a 15° angle into joists, then drive 2” finish nails or trim-head screws. Set and fill.
- Add blocking from below (if accessible): In basements or crawlspaces, nail 2×4 blocking between joists directly under noisy spans. Use construction adhesive + screws for vibration damping.
- Fill persistent gaps: Only after stabilization—use flexible, stainable wood filler like Timbermate or Color-Rite. Avoid rigid epoxies that crack when boards expand.
When to Call a Pro
DIY stops where safety or structural integrity begins:
- You hear cracking sounds *during* walking—not just squeaks—suggesting joist deflection or subfloor failure
- Gaps exceed 1/8” consistently across multiple rooms, indicating foundation settlement or major moisture intrusion
- Board edges are lifting more than 1/16” off the subfloor, making repairs impossible without full re-nailing or replacement
- You lack safe access to the subfloor (e.g., no basement, concrete slab, or inaccessible crawlspace)
"Over 60% of hardwood floor complaints related to noise stem from improper acclimation or uncontrolled humidity—not installation defects." — National Wood Flooring Association, Technical Bulletin #2022-07
Prevention Tips
Maintaining your floor is cheaper than fixing it. Start here:
- Install a whole-house humidifier if your HVAC system supports it—especially in homes with forced-air heating
- Use felt pads under furniture legs and avoid rolling chairs with hard casters
- Inspect crawlspaces annually for standing water or vapor barrier tears
- Refinish floors every 7–10 years—not just for looks, but to renew the protective seal against moisture exchange
Why does my hardwood floor only squeak in one spot?
Localized squeaking usually means a single board has loosened from its fastener or shifted slightly over a joist. It’s rarely a sign of systemic failure—just targeted movement. Try tapping the area with a rubber mallet while listening for changes in pitch; that helps pinpoint the exact fastener needing attention. For deeper fixes, see our guide on hardwood floor squeak repair.
Can I fill gaps with caulk instead of wood filler?
No—standard acrylic or silicone caulk lacks flexibility and adhesion for hardwood expansion cycles. It will crack, discolor, or pull away within months. Use only flexible, wood-specific fillers designed for flooring, like Bona Gap Master or DAP Plastic Wood Latex. These move with the grain and accept stain. Learn more in our best wood filler comparison.
Will adding rugs stop the noise?
Rugs muffle sound but don’t fix the cause. A thick pad underneath may reduce friction-induced squeaks temporarily, but if the board is lifting or shifting, the problem worsens unseen. In fact, heavy rugs can trap moisture underneath, accelerating subfloor rot in damp environments. Focus on securing the structure first.
How long should I wait after humidifying before filling gaps?
Wait at least 2–3 weeks after stabilizing RH at 40–50% to let boards fully acclimate. Rushing fills leads to bulging or cracking when humidity rises again. Track daily readings with your hygrometer—the floor should show minimal gap change over three consecutive days before proceeding.
Do engineered hardwood floors gap less than solid?
Yes—engineered planks resist seasonal movement better due to their cross-ply construction. But they’re not immune: poor subfloor prep, low humidity (<30%), or inadequate expansion gaps at walls still cause noise and gapping. Their layered design just delays onset—not prevents it entirely.
Can I sand and refinish over filled gaps?
You can—but only if using a sandable, stainable filler rated for refinishing (e.g., Timbermate). Non-sanding fillers like epoxy putties create ridges or burnish differently under abrasive disks. Always test in an inconspicuous area first. For full guidance, check our refinishing hardwood floors walkthrough.
Hardwood floors shouldn’t talk back—but when they do, listen closely. Most gapping and noise issues are manageable with humidity control, strategic fastening, and the right filler. The key isn’t silencing the sound overnight; it’s restoring equilibrium between your floor and its environment. Keep a hygrometer handy, inspect seasonally, and treat your floor like the living material it is—not just a finished surface.