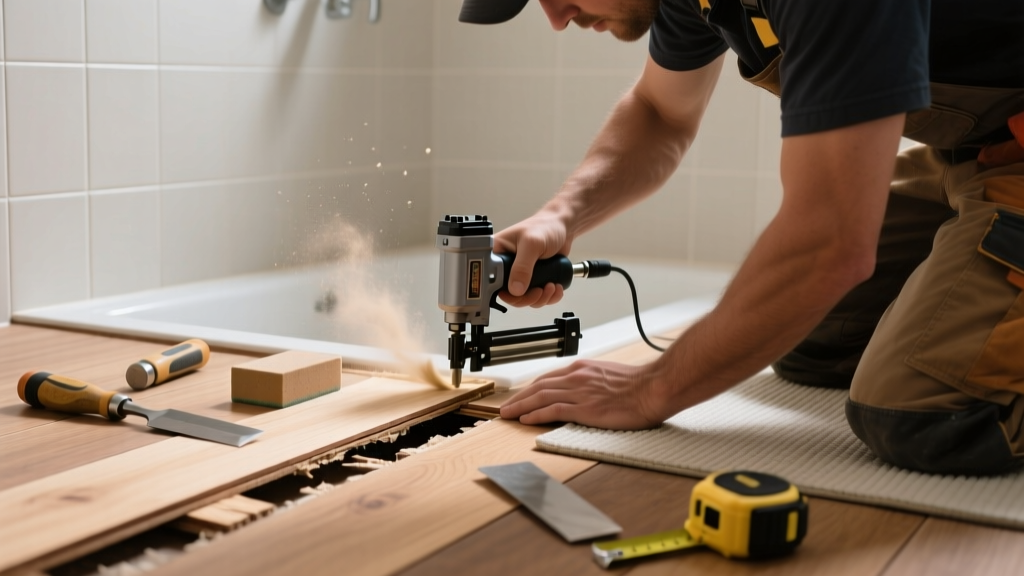
Hardwood floor gapping in the bathroom isn’t just unsightly—it’s a red flag that moisture is winning. Unlike living rooms or bedrooms, bathrooms subject wood to rapid humidity spikes, temperature swings, and occasional spills that compromise board integrity. If you’re seeing 1/16" or wider gaps between planks near your shower or sink, it’s time to act before cupping, mold, or subfloor damage sets in.
Quick Diagnosis
Before grabbing tools, identify the root cause. Most bathroom hardwood gapping stems from one or more of these:
- Excessive humidity (above 60% RH) causing seasonal shrinkage
- Poor subfloor ventilation under the bathroom—especially over crawlspaces or concrete slabs without vapor barriers
- Missing or failed acclimation: hardwood installed before reaching equilibrium with bathroom conditions (typically 3–5 days minimum)
- Water intrusion from leaking supply lines, loose grout, or improperly sealed tub/shower bases
- Subfloor movement due to inadequate fastening or joist deflection
Tools & Materials Needed
| Item | Purpose | Estimated Cost |
|---|---|---|
| Hygrometer with min/max logging | Track real-time and peak humidity levels over 72+ hours | $22–38 |
| Wood filler (water-resistant, stainable) | Fills narrow gaps (<1/8") without cracking; must tolerate humidity swings | $14–26 |
| Shim kit (plastic or cedar) | Temporarily stabilizes boards during re-securing; avoids splitting | $8–15 |
| Brad nailer + 18-gauge 1-1/4" nails | Re-fastens loose boards without visible holes; critical for tongue-and-groove systems | $85–195 (rental: $25/day) |
| Moisture meter (pin-type) | Measures wood MC at surface and 1/4" depth—identifies hidden saturation | $65–120 |
Step-by-Step Fix
Choose the method based on gap width, board movement, and moisture readings. Never force boards together if the wood reads above 12% moisture content (MC)—you’ll cause buckling.
- Confirm moisture source: Use your moisture meter on subfloor, joists, and adjacent drywall. If subfloor MC exceeds 15%, stop and address leaks or ventilation first.
- Stabilize and re-fasten: For gaps under 1/8" with loose boards, use shims to gently draw planks together, then secure with angled brad nails into joists. Countersink and fill nail holes with matching filler.
- Fill narrow gaps: Apply water-resistant filler (e.g., Timbermate or Bona Gap Master) with a putty knife, overfill slightly, then sand flush once fully cured (48 hrs). Avoid latex-based fillers—they swell and crack in high humidity.
- Install expansion relief: If gaps reopen seasonally, cut a discreet 1/4" expansion groove along the wall edge using a router and install quarter-round base shoe—never glue flooring tight to walls.
When to Call a Pro
DIY stops where structural risk or health hazards begin. Call a certified flooring contractor if:
- You measure >18% MC in three or more adjacent boards (sign of chronic water intrusion)
- Gaps exceed 3/16" and worsen within 48 hours of drying the room
- You spot soft, discolored subfloor or detect musty odors beneath baseboards
- The bathroom sits over a concrete slab with no vapor barrier—and you lack access to install one
According to the National Wood Flooring Association’s 2022 Installation Guidelines, hardwood should never be installed directly over concrete in wet areas without a tested 6-mil poly or liquid-applied vapor retarder rated ≤0.1 perm.
Prevention Tips
Long-term success hinges on environmental control—not just patching. Prioritize these:
- Run your bathroom exhaust fan for 20 minutes after every shower and keep it ducted outdoors (not into attic)
- Maintain indoor RH between 35–55% year-round using a dehumidifier or HVAC-integrated humidistat
- Inspect supply lines and caulk around tubs/showers quarterly—re-caulk with 100% silicone if cracked or shrunk
- Use bath mats with non-slip rubber backing (not PVC)—they trap less moisture than vinyl-backed options
Can I use bleach to clean gaps before filling?
No. Bleach breaks down lignin in wood fibers and accelerates degradation—especially in damp environments. Instead, wipe gaps with a 50/50 white vinegar–water solution, then dry thoroughly with compressed air or a microfiber cloth.
Will adding a rug hide the problem permanently?
A thick rug may mask gaps temporarily but traps moisture underneath, worsening shrink-swell cycles. If you use one, choose breathable natural fiber rugs (jute or flat-weave cotton) and lift weekly to inspect for dampness or discoloration.
Is engineered hardwood safer than solid in bathrooms?
Engineered is more dimensionally stable—but still not recommended for full-bathrooms per NWFA. Its plywood core resists warping better than solid, yet adhesive layers can delaminate under sustained moisture. Half-baths with low-use sinks are the only exception.
How long should I wait after fixing gaps before walking on the floor?
Wait 48 hours after applying water-resistant filler before light foot traffic; 72 hours before placing furniture or rugs. Brad-nail repairs can bear weight immediately, but avoid dragging heavy items for 24 hours to let adhesive (if used) set.
Do I need to refinish the whole floor after filling gaps?
Not unless filler color doesn’t match. Modern stainable fillers like Color-Rite allow precise tinting. Test on scrap wood first—and always apply finish (oil-modified poly) over filled areas to seal against moisture absorption.
Can HVAC duct leaks contribute to bathroom floor gapping?
Yes. Leaking supply ducts in adjacent walls or ceilings can dump humid air into wall cavities, raising localized RH near the floor. A duct blaster test (per ASHRAE Standard 152-2022) reveals leaks exceeding 10% of system airflow—common in older homes.
Hardwood in bathrooms demands respect—not just for its beauty, but for its vulnerability. Every gap tells a story about moisture, movement, or misinstallation. Fix the symptom, yes, but invest equal effort in controlling the environment. That’s how you turn a recurring headache into a quiet, stable floor that lasts decades. For related moisture-control strategies, see our guide on bathroom exhaust fan installation and sealing concrete slabs before flooring.