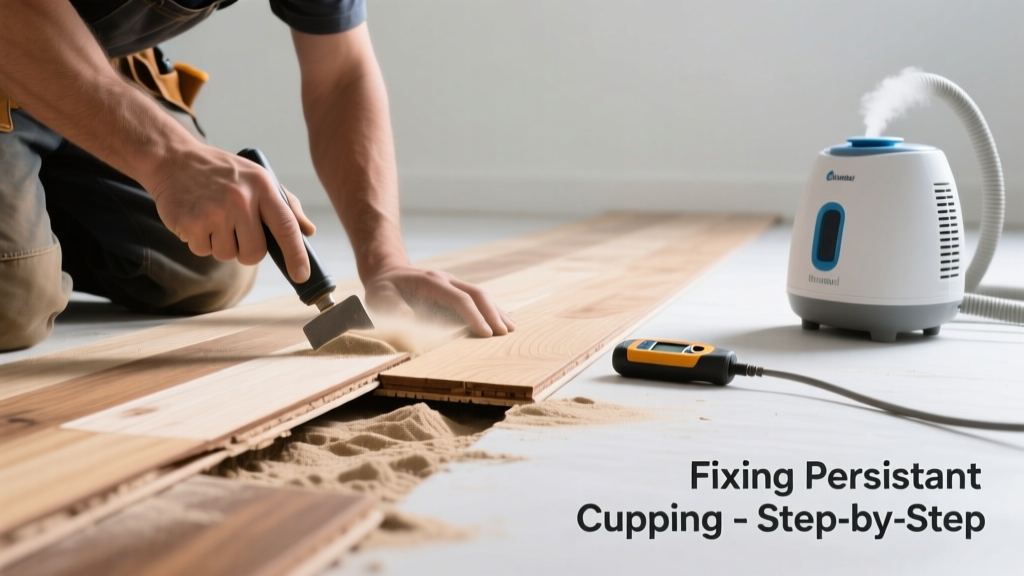
That subtle wave across your oak floor? The edges of each board lifting while the center dips? That’s cupping—and when it lingers despite humidity adjustments or surface fixes, something deeper is wrong. It’s not just cosmetic: unchecked cupping can lead to gaps, squeaks, or even board separation.
Quick Diagnosis
Cupping that won’t resolve usually points to one or more underlying issues—not just seasonal moisture swings. Here are the most common culprits:
- Subfloor moisture intrusion (e.g., leaky pipe, poor vapor barrier, or concrete slab wicking)
- Improper acclimation before installation (boards installed too wet or too dry)
- Undersized or missing expansion gaps at walls and transitions
- Continuous high humidity (>60% RH) for >3 weeks without dehumidification
- Water damage beneath the floor (often hidden under baseboards or near HVAC vents)
Tools & Materials Needed
| Item | Purpose | Estimated Cost |
|---|---|---|
| Digital hygrometer with data logging | Track room and subfloor RH over 72+ hours to confirm moisture patterns | $25–$45 |
| Pin-type moisture meter (with wood-specific scale) | Measure MC in both surface and subfloor—critical for accurate diagnosis | $80–$160 |
| Dehumidifier (70-pint capacity) | Lower ambient RH to 35–45% for sustained drying; essential for reversal | $220–$380 |
| Utility knife + pry bar | Remove baseboard to inspect subfloor and check for trapped moisture | $8–$22 |
| 1/4" plywood + construction adhesive | Reinforce weak subfloor areas if sagging contributes to cupping stress | $18–$32 |
Step-by-Step Fix
Don’t sand or refinish until moisture levels stabilize—doing so locks in distortion. Follow these methods in order:
- Verify moisture sources: Use your pin-type meter to test multiple boards (surface and underside if accessible) and the subfloor. If subfloor MC exceeds 12%, investigate plumbing, grading, or crawl space ventilation.
- Stabilize ambient conditions: Run a 70-pint dehumidifier continuously for 10–14 days. Keep room temperature steady at 68–72°F. Monitor RH hourly—target 35–45%.
- Improve airflow beneath floor: If you have a crawl space, install 6-mil poly vapor barrier over soil and add passive vents or a low-CFM exhaust fan. For slab-on-grade, seal cracks and consider a perimeter drain if hydrostatic pressure is suspected.
- Address localized damage: If only 2–3 boards remain cupped after 2 weeks of drying, gently tap them flat using a rubber mallet and clamp with padded cauls overnight. Do not force—this risks cracking.
When to Call a Pro
DIY stops where structural integrity or health hazards begin. Call a certified NWFA (National Wood Flooring Association) installer if:
- Your moisture meter reads >19% MC in any board or >15% in the subfloor
- You detect mold odor or visible growth behind baseboards or under thresholds
- Cupping is accompanied by sponginess, creaking, or visible subfloor deflection (>1/8" sag between joists)
- The issue affects more than 15% of the floor area—or spans multiple rooms with shared HVAC zones
Prevention Tips
Long-term stability hinges on consistent environmental control—not just one-time fixes. Install these safeguards now:
- Add a smart thermostat with built-in humidity monitoring (e.g., Honeywell Home T9, 2023 model)
- Place a hygrometer in every hardwood-floored room—and log readings weekly for 3 months
- Seal all exterior-grade OSB or plywood subfloors with two coats of oil-based primer before installation
- Use only solid hardwood rated for your climate zone (e.g., quarter-sawn white oak for humid regions)
Can cupping reverse on its own once humidity drops?
Yes—but only if the wood hasn’t exceeded its elastic limit. According to the National Wood Flooring Association’s Wood Floor Installation Guidelines (2022), boards with moisture content under 12% and cupping under 1/32" often flatten within 2–3 weeks of stable RH. Deeper cupping may require mechanical intervention.
Will sanding fix cupped hardwood floors?
No—sanding a cupped floor creates uneven thickness and worsens the problem. As NWFA Technical Director Michael Zuckerman states:
“Sanding a cupped floor is like trimming a warped door—it looks better temporarily but accelerates failure.”Always dry and stabilize first.
Is cupping covered by my flooring warranty?
Rarely. Most warranties (e.g., Bruce, Armstrong, Shaw) explicitly exclude moisture-related issues unless you provide documented proof of proper subfloor moisture testing pre-installation. Check your warranty’s ‘exclusions’ section—most void coverage if RH exceeded 55% during occupancy.
Can I use a steam mop on cupped hardwood?
Absolutely not. Steam adds uncontrolled moisture directly to the surface, worsening cupping and potentially causing delamination in engineered planks. Stick to dry microfiber mops or pH-neutral cleaners like Bona Hardwood Floor Cleaner.
Does radiant heat cause cupping?
Yes—if improperly managed. Radiant systems that cycle rapidly or exceed 85°F surface temperature create thermal stress. The U.S. Department of Energy’s Residential Radiant Heating Guide (2021) recommends maintaining floor surface temps between 75–78°F and limiting daily fluctuations to ≤5°F.
How long should I wait before refinishing after cupping resolves?
Wait at least 30 days after moisture meters consistently read 6–9% MC in both boards and subfloor—and confirm no RH spikes above 50% during that period. Rushing leads to finish failures. For guidance on prep, see our guide on how to sand hardwood floors properly.
Hardwood cupping that won’t budge isn’t stubborn—it’s signaling a system imbalance. Fixing it means listening to what the wood is telling you: moisture is out of sync, somewhere in the chain from slab to surface. Get the numbers right, control the environment relentlessly, and treat the floor as part of your home’s integrated moisture ecosystem—not just a finish layer.