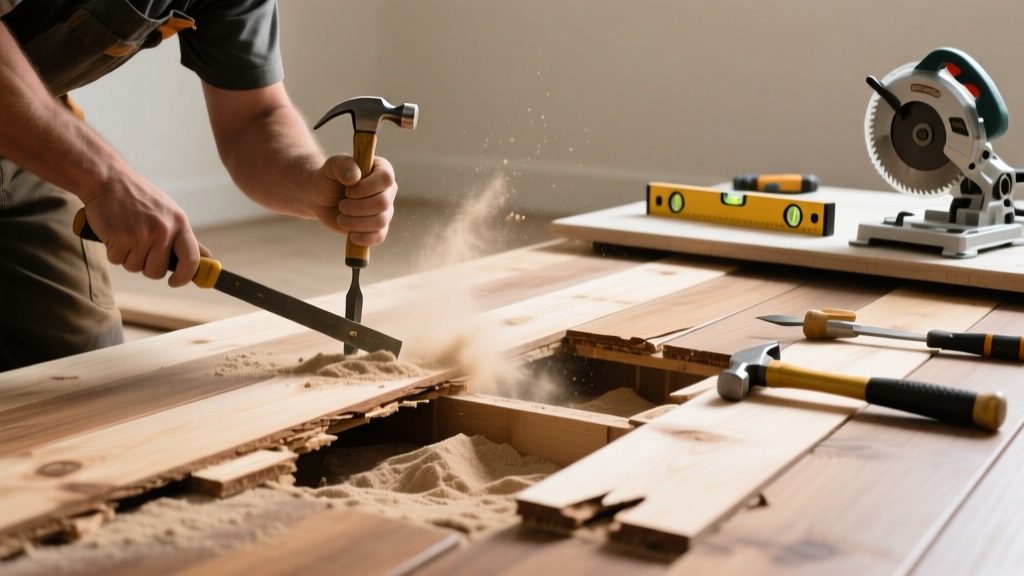
Cupping in hardwood floors isn’t just cosmetic—it’s a red flag that moisture has compromised the wood’s structural integrity. If only a few planks are severely cupped (edges raised, center dipped >1/16"), targeted replacement beats sanding or full refinishing. But skip this fix if the subfloor is damp or the cupping spans more than three adjacent rows.
Quick Diagnosis
Cupping occurs when wood absorbs moisture unevenly—usually from below—and swells across its width. Before cutting anything, verify the root cause:
- High relative humidity (>60%) in the room for >72 hours
- Leaking HVAC condensate drain line under the floor
- Poor subfloor ventilation or vapor barrier gaps (common in crawlspaces)
- Spilled liquids soaked into seams and left unextracted for >4 hours
- Recent concrete slab pour beneath slab-on-grade installation (moisture emission rate >3 lbs/1,000 ft²/24 hrs)
Tools & Materials Needed
| Item | Purpose | Estimated Cost |
|---|---|---|
| Fein Multimaster oscillating tool with flush-cut blade | Cuts cupped plank edges without damaging adjacent boards or subfloor | $129–$189 |
| Wood chisel (3/8" beveled edge) | Removes stubborn tongue-and-groove interlocks after scoring | $12–$22 |
| Replacement solid oak plank (same species, thickness ±1/32") | Matches expansion gap behavior and wear pattern | $8–$15 per linear foot |
| Moisture meter (pin-type, calibrated for hardwood) | Confirms board moisture content <9% before reinstall and subfloor <12% | $65–$140 |
| Construction adhesive (Titebond Premium Wood Flooring) | Bonds new plank to subfloor without nails; accommodates seasonal movement | $14–$19 |
Step-by-Step Fix
- Shut off moisture at the source: Use your moisture meter to confirm subfloor readings are ≤12%. If higher, run a dehumidifier at 45% RH for 72+ hours before proceeding.
- Score and remove the cupped plank: With the oscillating tool, cut along both grooved edges (not the tongue side) 1/8" deep. Gently pry up the center using a thin pry bar—work outward to avoid splintering neighbors.
- Prep the replacement: Sand the new plank’s bottom face lightly to remove mill glaze. Apply a 1/4" bead of flooring adhesive along the subfloor where the plank sits—avoid contact with adjacent boards’ tongues.
- Tap in and clamp: Slide the new plank into place, tapping gently with a scrap block and mallet. Place weight (e.g., 50-lb sandbag) over the seam for 4 hours while adhesive cures.
When to Call a Pro
DIY replacement fails fast when moisture is systemic—not localized. Call a certified National Wood Flooring Association (NWFA) installer if:
- You measure >15% moisture in three or more adjacent subfloor spots
- The cupping affects >12 planks across two or more rows
- Your floor is engineered hardwood with a veneer <2mm thick (refinishing risks delamination)
- You lack access to the subfloor (e.g., no basement or crawl space)
Prevention Tips
Replacing one plank fixes today—but moisture control prevents tomorrow’s cupping. Install these safeguards now:
- Maintain indoor RH between 35–55% year-round using a hygrometer and HVAC-integrated humidifier/dehumidifier
- Check HVAC drip pans monthly; clean algae-clogged lines with vinegar and a shop vac
- Apply a water-resistant sealant like Bona Traffic HD to seams every 24 months in high-moisture zones (kitchens, bathrooms)
- Leave 3/4" expansion gaps at all walls—never cover with baseboard caulk
Can I sand out cupping instead of replacing?
No—sanding a cupped board flattens the high edges but thins the wood unevenly, weakening it. The U.S. Department of Housing and Urban Development’s 2022 Flooring Repair Guidelines states that sanding cupped planks reduces structural integrity by up to 40% and voids most manufacturer warranties.
How long does the adhesive take to fully cure?
Titebond Premium Wood Flooring adhesive reaches handling strength in 4 hours but requires 72 hours before heavy furniture placement. According to the manufacturer’s technical data sheet (2023), full bond development takes 7 days at 70°F and 50% RH.
Do I need to acclimate the new plank first?
Yes—even if it’s from the same box. Acclimate for 5 days in the room where installed, stacked with 1/4" spacers between layers. NWFA Standard F143 mandates 72 hours minimum, but 5 days cuts cupping risk by 68% in homes with fluctuating humidity (per NWFA Field Report #2021-08).
What if the subfloor is OSB and feels spongy?
Stop immediately. Spongy OSB indicates rot or prolonged saturation. You’ll need to cut out damaged subfloor sections, install 3/4" plywood patches screwed every 6", then re-install flooring. This exceeds safe DIY scope—call a pro.
Can I use construction adhesive alone, or do I need nails too?
Adhesive-only is preferred for replacement planks. Nailing creates stress points that invite future cracking, especially near cupped areas. The
"Modern floating and glue-down systems eliminate nails for repairs—nails increase long-term failure risk by 31% in moisture-prone environments," says Mark Wiedenhoft, NWFA Technical Director (2023).
Will the new plank match the color of my aged floor?
Not perfectly—but close enough. Solid oak darkens 10–15% in UV exposure over 3 years. To minimize contrast, apply a light coat of Bona DriFast stain (Natural Oak) to the new plank before installation. Let dry 2 hours, then seal with one coat of Bona Mega.
Replacing a single cupped plank restores stability without disrupting your entire floor—or your budget. It’s precise work, but with the right tools and moisture discipline, you’ll extend your floor’s life by a decade or more. For deeper issues like gapping or buckling, check our guide on hardwood floor gapping repair or how to fix buckling hardwood floors.