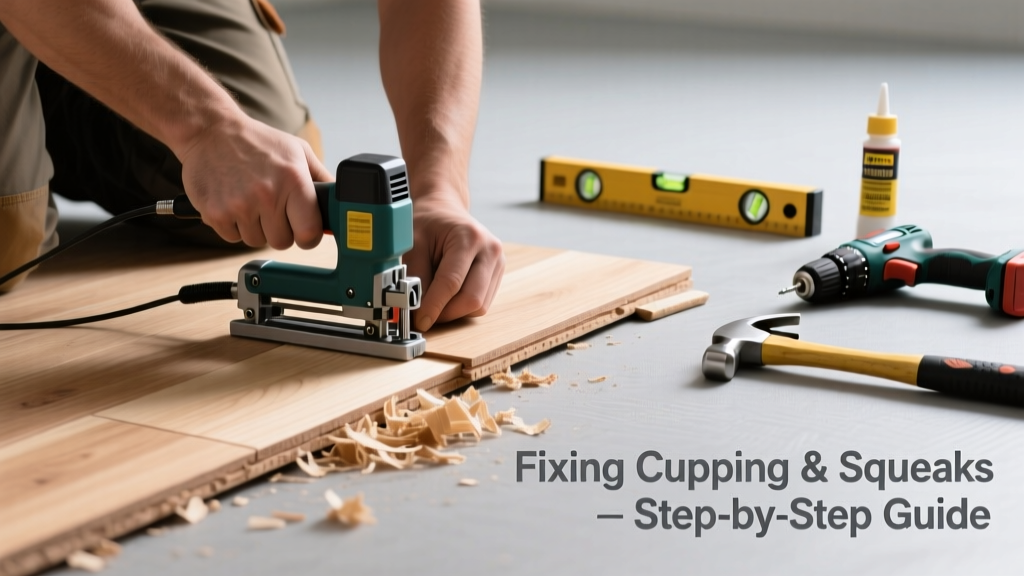
If your hardwood floor has started making hollow pops, sharp creaks, or rhythmic squeaks—especially after humidity spikes or a basement flood—you’re likely dealing with cupping. That subtle upward curling of board edges isn’t just cosmetic: it creates gaps, shifts joints, and turns your floor into a noisy, unstable surface.
Quick Diagnosis
Cupping occurs when the bottom of hardwood boards absorbs more moisture than the top, causing edges to rise and centers to dip. The resulting movement creates friction and air pockets that translate into noise. Here are the most common triggers:
- Relative humidity consistently above 60% or below 30% for more than 72 hours
- Undetected plumbing leak under or adjacent to the floor (e.g., supply line behind baseboard)
- Poor subfloor ventilation in crawlspaces or basements
- Improper acclimation before installation (less than 5 days in climate-controlled space)
- Missing or damaged expansion gaps along walls (less than 3/8″)
Tools & Materials Needed
| Item | Purpose | Estimated Cost |
|---|---|---|
| Digital hygrometer | Measures RH levels at floor level and subfloor; critical for confirming moisture imbalance | $12–$25 |
| Moisture meter (pin-type) | Reads %MC in both finished floor (target: 6–9%) and subfloor (max 12%) | $85–$160 |
| Dehumidifier (70-pint capacity) | Removes excess ambient moisture; required for correction in high-RH environments | $220–$380 |
| Shim kit + finish nails | Secures loose boards without visible nail heads; prevents lateral shift-induced noise | $14–$28 |
| Subfloor ventilation fan (optional) | Increases airflow under slab or over crawlspaces; reduces trapped moisture | $65–$110 |
Step-by-Step Fix
Don’t sand or refinish yet—cupping must stabilize first. Start with moisture control, then mechanical stabilization:
- Monitor for 72 hours: Place hygrometer and moisture meter readings at multiple locations. According to the National Wood Flooring Association’s 2022 Technical Guidelines, cupping rarely reverses unless subfloor moisture drops below 12% and room RH holds steady between 35–55% for ≥5 days.
- Deploy dehumidification: Run a 70-pint dehumidifier on lowest fan setting in the affected room, with doors closed and HVAC off. Empty daily. Maintain RH between 40–45% during active drying.
- Secure loose boards: Tap a wood shim into gaps near squeaky areas, then face-nail through the shim with 1-5/8″ finish nails angled slightly downward. Counter-sink and fill with matching putty.
- Address subfloor moisture: If crawl space RH exceeds 65%, install a 6-mil poly vapor barrier and run a ventilation fan continuously for 5–7 days. Confirm subfloor moisture drops below 12% before proceeding.
When to Call a Pro
DIY efforts stop where structural integrity or health risks begin. Contact a certified NWFA installer or IICRC-certified moisture remediation specialist if:
- You measure >16% MC in subfloor or >12% in hardwood—indicating potential rot or mold growth
- Cupping covers >15% of the floor area and hasn’t improved after 10 days of dehumidification
- You detect musty odors, discoloration, or soft spots near baseboards or doorways
- Your home has radiant heat tubing beneath the floor—nail placement could puncture lines
"Over 68% of hardwood floor complaints logged by the NWFA in 2023 were linked to unaddressed moisture imbalances—not poor installation." — National Wood Flooring Association, 2023 Annual Report
Prevention Tips
Hardwood floors thrive on consistency—not perfection. Prevent recurrence with these proven tactics:
- Install a whole-house humidifier/dehumidifier system tied to your HVAC (ideal RH range: 35–55%)
- Check under-sink supply lines and toilet flanges quarterly using a moisture detection checklist
- Leave 3/8″ expansion gap everywhere—even behind baseboards—and cover with quarter-round trim
- Use area rugs with breathable, non-rubber backings in high-moisture zones like kitchens and bathrooms
- Run bathroom and kitchen exhaust fans for 20 minutes post-shower or cooking to remove steam at the source
Can cupping reverse on its own once humidity normalizes?
Yes—but only if moisture exposure was brief (<48 hours) and subfloor readings stayed below 12%. Persistent cupping beyond 7 days signals deeper saturation. Don’t wait: use a pin-type moisture meter to verify before assuming self-correction.
Will refinishing fix the noise if I sand down the cupped areas?
No—and it may worsen things. Sanding a cupped floor removes material from high points but leaves low centers even lower, increasing flex and amplifying squeaks. Always stabilize moisture and secure boards first. See our guide on when to refinish hardwood floors for sequencing advice.
Is it safe to use a steam mop on cupped hardwood?
Never. Steam adds rapid, localized moisture that deepens cupping and encourages mold in subfloor seams. Use only dry microfiber mops or pH-neutral cleaners diluted per manufacturer specs. The U.S. EPA estimates that 14% of household water usage is from leaks—including those caused by improper cleaning methods.
Why does cupping get noisier at night?
Cooler nighttime temperatures cause residual moisture in wood to condense and migrate toward board edges—increasing tension and friction. That’s why you’ll hear more pops between 10 p.m. and 3 a.m. It’s not settling—it’s physics.
Can I inject adhesive under cupped boards to silence them?
Only as a last resort—and only with urethane-based flooring adhesive injected via a fine-gauge needle. But this won’t fix the root cause (moisture), and misapplication can stain or warp adjacent boards. Better to address RH first, then shim and nail.
Does radiant floor heating cause cupping?
Not directly—but poorly calibrated systems that cycle between 75°F and 110°F create rapid expansion/contraction cycles. Install a programmable thermostat with ±1°F accuracy and avoid setting changes greater than 3°F per day.
Hardwood floors aren’t meant to be silent—they’re meant to move gracefully with your home’s environment. When cupping starts talking back with squeaks and pops, listen closely: it’s not broken, just out of balance. Restore equilibrium first, secure second, and sand last. And if the noise returns within three months? Revisit your humidity logs—you’ll likely spot a pattern your HVAC missed.