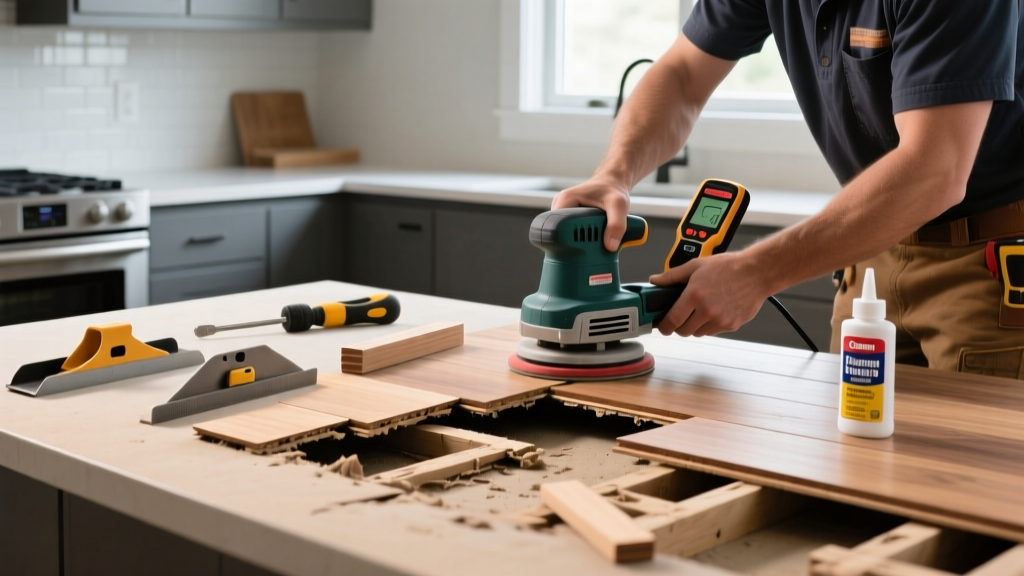
If you’ve noticed your kitchen’s hardwood floor boards curving upward at the edges—creating tiny valleys down the center—you’re dealing with cupping. This isn’t just cosmetic: it signals moisture imbalance, and in high-traffic, spill-prone kitchens, ignoring it risks warping, squeaks, or even board separation.
Quick Diagnosis
Cupping happens when the bottom of the board absorbs more moisture than the top, causing it to swell and lift at the edges. In kitchens, the most common triggers are:
- Undetected plumbing leaks under sinks or dishwashers
- Spills left uncleaned for >15 minutes (especially near baseboards)
- Humidity spikes from boiling water, steam ovens, or poor ventilation
- Subfloor moisture from concrete slab without proper vapor barrier (common in slab-on-grade homes built before 2000)
- Improper acclimation during installation—boards installed too dry for your climate zone
Tools & Materials Needed
| Item | Purpose | Estimated Cost |
|---|---|---|
| Digital hygrometer | Measures ambient and subfloor relative humidity; critical for confirming moisture source | $25–$45 |
| Moisture meter (pin-type) | Reads wood moisture content (MC); cupping typically occurs when MC exceeds 9–10% in solid oak | $80–$160 |
| Dehumidifier (50+ pint/day) | Removes excess air moisture; essential for drying affected area without over-drying adjacent rooms | $220–$380 |
| Microfiber mops + pH-neutral cleaner | Prevents residue buildup that traps moisture against wood grain | $12–$28 |
| Shim kit & tapping block | For gentle reseating of slightly lifted boards after drying | $18–$32 |
Step-by-Step Fix
Don’t sand or refinish until moisture levels stabilize—doing so locks in distortion. Start here:
- Stop the source: Shut off water supply to sink/dishwasher. Check for leaks using food coloring in drain traps and behind toe-kick panels. Use a flashlight to inspect subfloor access points.
- Measure moisture: Take readings at multiple spots: surface (target ≤8%), board core (≤9%), and concrete subfloor (≤75% RH per ASTM F2170). If subfloor reads >80% RH, vapor barrier repair is required before any floor work.
- Dry strategically: Run a dehumidifier on lowest fan setting (to avoid surface drying faster than core) 24/7 for 7–10 days. Place it 3 ft from cupped zone—not directly on it—and close kitchen doors to contain airflow.
- Reseal gaps (if minor): Only after MC stabilizes below 8% for 72 consecutive hours: inject low-viscosity polyurethane adhesive into gaps using a syringe, then clamp with painter’s tape for 48 hrs.
- Light sanding (last resort): For persistent shallow cupping (<1/32" depth), use 100-grit screen on a buffer—not drum sander—to level only the raised edges. Always follow with moisture-controlled recoat (use water-based finish with <5% VOC).
When to Call a Pro
DIY stops where structural integrity or safety is compromised:
- Cupping affects >15% of kitchen floor area (more than 30 sq ft in average 10'x12' kitchen)
- Boards show lateral movement or audible creaking when stepped on—sign of subfloor detachment
- Moisture meter shows >12% MC in three or more adjacent boards
- You discover mold growth (black, fuzzy patches) beneath baseboards or under cabinets
- Your floor is engineered hardwood with wear layer <2 mm thick—sanding will breach it
According to the National Wood Flooring Association’s 2022 Technical Bulletin, 68% of cupping cases misdiagnosed as "just humidity" actually stem from hidden plumbing leaks—making licensed inspection non-negotiable when symptoms persist beyond 10 days of drying.
Prevention Tips
Kitchens demand proactive moisture defense. Integrate these habits:
- Install a smart hygrometer (like the Govee H5179) that alerts you at >55% RH—ideal range for hardwood is 35–55%
- Wipe spills within 90 seconds; keep microfiber cloths taped inside cabinet doors near sink and stove
- Run your range hood for 10 minutes post-cooking—even if no visible steam
- Replace rubber dishwasher door gaskets every 3 years (they degrade and weep)
- Use felt pads on all movable kitchen furniture legs—prevents micro-scratches that let moisture seep into end grain
How long does it take for cupped hardwood to flatten on its own?
It depends on severity and environment. Mild cupping (<1/64") may reverse in 2–4 weeks with consistent 40–50% RH and no new moisture exposure. Severe cupping (>1/16") rarely self-corrects—especially in kitchens where daily humidity swings exceed 20 percentage points.
Can I use bleach on cupped hardwood to kill mold?
No. Bleach corrodes lignin in wood fibers, accelerating deterioration and discoloration. If you suspect mold, first confirm with an ERMI test kit (EPA-certified lab analysis). For surface growth on intact boards, use diluted vinegar (1:1 with water) and immediate drying—not bleach.
Will placing rugs over cupped areas help or hurt?
Hurts—unless the rug is breathable and moisture-wicking. Rubber-backed or vinyl-backed rugs trap humidity underneath, worsening cupping. If you must use one, choose a flat-weave wool rug with a natural jute backing, and lift it weekly to inspect the floor.
Does radiant floor heating cause cupping?
Yes—if improperly balanced. Rapid temperature swings dry the top surface faster than the board’s core, creating tension. Set thermostats to maintain ≤2°F change per hour and never exceed 85°F surface temp (measured with infrared thermometer). Pair with a humidifier during winter months.
Can I install peel-and-stick vinyl over cupped hardwood?
Not safely. Vinyl requires a perfectly flat substrate. Cupping creates air pockets that lead to bubbling, seam separation, and trapped moisture between layers. You must first correct cupping—or remove the hardwood entirely—before installing LVP or sheet vinyl. See our guide on vinyl flooring over hardwood.
Do I need to replace the entire kitchen floor if cupping appears near the fridge?
Not necessarily—but isolate the cause first. Fridges leak condensation from defrost cycles, especially older models. Pull the unit out, check the drip pan (often cracked), and inspect the floor beneath for dark staining. If only 2–3 boards are affected and moisture readings are normal elsewhere, targeted repair is possible. For deeper guidance, see our hardwood floor repair costs breakdown.
Hardwood cupping in the kitchen isn’t a death sentence for your floors—it’s a moisture alert system your home installed for free. Treat the symptom without addressing the source, and you’ll be back at square one next time a pot boils over or a faucet drips overnight. Stay vigilant with humidity tracking, act fast on leaks, and remember: stable air equals stable wood. Your floor will thank you in quiet footsteps and lasting grain.