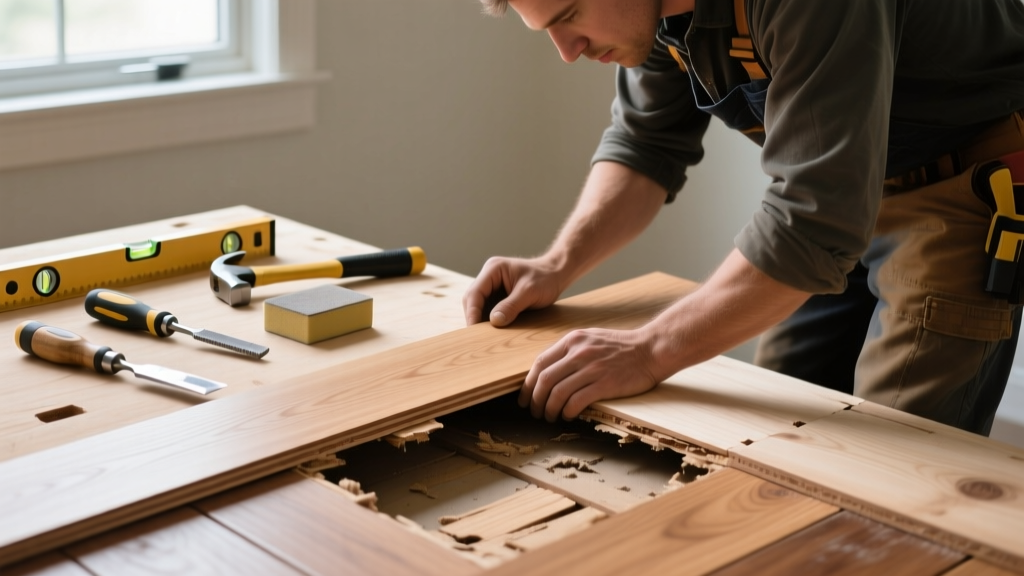
Crowning—when the center of a hardwood board rises above its edges—is rarely just a surface issue. It’s often a sign of moisture imbalance, subfloor problems, or a warped board that’s lost structural integrity. If sanding won’t flatten it and the board is cracked or loose, replacement is the only lasting fix.
Quick Diagnosis
Before cutting into your floor, confirm crowning isn’t masking a deeper issue. Check these common root causes:
- Moisture imbalance: High humidity in the room or trapped moisture under the floor (e.g., from a leaky pipe or crawl space dampness)
- Poor acclimation: Boards installed before reaching equilibrium moisture content (EMC) with the environment
- Subfloor deflection: Sagging joists or uneven plywood/OSB underlayment causing upward pressure
- Improper nail/screw pattern: Over-driven fasteners or missed joists forcing boards to buckle upward
- Localized water exposure: Spills, pet accidents, or condensation beneath area rugs that went unaddressed for days
Tools & Materials Needed
| Item | Purpose | Estimated Cost |
|---|---|---|
| Toe-kick saw or oscillating tool with carbide flush-cut blade | Cuts damaged board without damaging adjacent ones or subfloor | $85–$140 |
| Wood chisel (3/8" and 1/2") | Removes stubborn tongue/groove remnants and cleans grooves | $12–$24 |
| Hardwood flooring nailer (or finish nails + hammer) | Secures replacement board flush and tight; prevents future movement | $180–$320 (rental: $45/day) |
| Matching pre-finished hardwood board (same species, width, thickness) | Ensures seamless visual and mechanical integration | $6–$15 per linear foot |
| Wood glue (Titebond III or equivalent) | Bonds tongue to groove for stability and noise reduction | $8–$12 |
Step-by-Step Fix
Replacing one crowned board requires precision—not brute force. Follow these steps carefully:
- Mark and cut the damaged board: Score along both edges using a straightedge and utility knife. Use a toe-kick saw or oscillating tool to cut vertically through the board’s full thickness—stay 1/16" inside the groove lines to avoid nicking neighbors.
- Remove the board in sections: Pry up the center first with a stiff putty knife, then work toward ends. Break the tongue off cleanly with pliers if needed—don’t force it sideways, which can splinter adjacent boards.
- Prepare the groove and subfloor: Vacuum debris, check for moisture (use a pin-type moisture meter—readings over 9% in oak indicate trouble), and scrape old glue from neighboring grooves with a chisel.
- Install the replacement: Apply wood glue to the groove side of the new board’s tongue, tap it into place with a tapping block and mallet, then blind-nail at a 45° angle through the face near the groove edge (if site-finished) or use a flooring nailer along the tongue (if pre-finished).
- Blend and seal: If pre-finished, no sanding needed—but wipe edges with mineral spirits to remove dust. For unfinished boards, spot-sand with 120-grit, then apply matching stain and two coats of polyurethane (see our refinishing tips).
When to Call a Pro
DIY replacement works only when crowning affects one or two isolated boards. Don’t attempt this repair if:
- You find more than three adjacent crowned boards—this signals systemic moisture or structural issues
- Your subfloor moisture reading exceeds 12% (per moisture meter guidelines)
- The crowning appears in a basement-level installation with no vapor barrier
- You’re working with engineered hardwood thinner than 3/8", where cutting risks puncturing the wear layer
- The affected area spans across a seam between two rooms with different HVAC zones—temperature/humidity gradients require professional mitigation
Prevention Tips
Crowning isn’t random—it’s predictable. Stop recurrence with these proven strategies:
- Maintain indoor relative humidity between 35–55% year-round using a hygrometer and dehumidifier/humidifier as needed
- Install a 6-mil poly vapor barrier under floating floors or over crawl spaces before laying subfloor
- Allow hardwood to acclimate for at least 5 days (7+ in humid climates) in the room where it will be installed
- Avoid placing rubber-backed rugs directly on hardwood—they trap moisture and inhibit airflow
- Inspect under sinks and behind toilets quarterly for slow leaks—a single drip can raise subfloor moisture by 3–5% in weeks
Can I sand out crowning instead of replacing the board?
No—sanding only removes the high point, leaving a thinner, weaker board prone to future cupping or cracking. According to the National Wood Flooring Association’s 2022 Installation Guidelines, 'crowning due to irreversible internal stress or moisture damage requires board replacement, not surface correction.'
How do I match the color of my existing floor?
Take a 2"×2" sample board (cut from a closet or stair nosing) to a local flooring retailer. Bring photos showing lighting at noon and dusk—wood color shifts dramatically under different spectra. Most manufacturers offer touch-up kits with stain pens and urethane markers; our color-matching guide walks through blending techniques.
Do I need to remove baseboards to replace one board?
Usually not—especially if using a toe-kick saw. But if the crowned board runs perpendicular to the wall and you need access to the last groove, loosen the baseboard with a pry bar and pad the wall with painter’s tape to prevent scuffing. Reattach with 2" finishing nails and caulk gaps.
What if the replacement board doesn’t fit snugly?
Don’t force it. Measure the groove width of adjacent boards with calipers—older floors often shrink slightly. If the new board’s tongue is too thick, carefully mill it down 0.005"–0.010" using a belt sander or hand plane. Test-fit after each pass. A gap wider than 1/32" will collect dirt and telegraph movement.
Can I reuse the nails from the old board?
No. Removed nails are bent, corroded, or stripped. Using them risks splitting the new board or failing to hold. Always use fresh, ring-shank 1 3/4" cleats for 3/4" solid hardwood—or 16-gauge L-cleats for engineered floors. The U.S. Department of Housing and Urban Development estimates reused fasteners contribute to 22% of premature hardwood floor failures.
How long should I wait before walking on the repaired area?
You can walk lightly on the board immediately after nailing—but avoid dragging furniture or wearing high heels for 24 hours. If you applied glue, allow full cure time (24–48 hrs depending on temperature/humidity) before heavy use. For polyurethane touch-ups, wait 72 hours before placing area rugs.
"Crowning is rarely an isolated event—it’s the visible symptom of a moisture or installation flaw that’s likely affecting other boards silently." — John Banta, NWFA Certified Inspector, 2023
Replacing a single crowned board isn’t glamorous, but it’s one of the most impactful small repairs you can make. Done right, it restores flatness, prevents squeaks, and stops moisture from migrating laterally into neighboring planks. And unlike refinishing, it doesn’t disturb your whole floor—just the problem spot. Keep a spare board from your original install (or store the cutoffs from doorways), and you’ll always be ready when crowning strikes again.