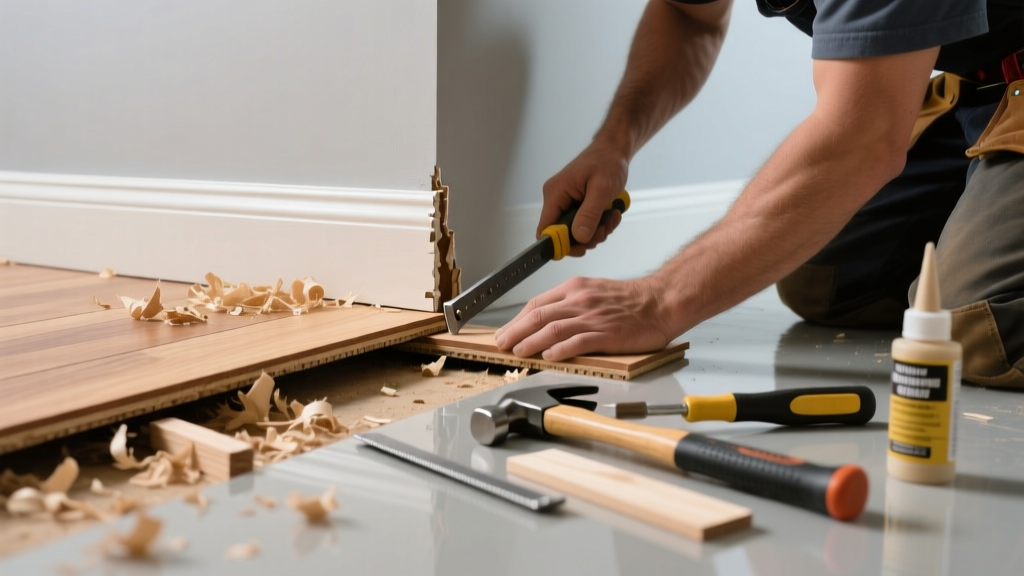
If your hardwood floor has started making hollow pops, sharp creaks, or rhythmic squeaks when you walk across it—and you notice the boards are slightly domed upward in the center (crowning), you’re dealing with a moisture-driven structural issue that’s both fixable and urgent. Left unaddressed, crowning worsens, gaps widen, and fasteners loosen, turning minor noise into costly repair or replacement.
Quick Diagnosis
Crowning occurs when the center of a board swells higher than its edges—usually due to excess moisture on the top surface or inadequate subfloor ventilation. The resulting stress shifts boards against nails or joists, creating friction-based noise. Here are the most common root causes:
- High relative humidity (>60%) in the room for more than 72 hours
- Spills or cleaning solutions left to soak into unfinished edges or seams
- Poor subfloor ventilation beneath solid-wood flooring (especially over crawl spaces)
- Improper acclimation before installation (less than 5 days at site)
- Moisture barrier missing or compromised under engineered wood
Tools & Materials Needed
| Item | Purpose | Estimated Cost |
|---|---|---|
| Digital moisture meter (pin-type) | Measures wood MC% at surface and subsurface; confirms if boards exceed 9–10% MC | $85–$140 |
| Dehumidifier (70-pint capacity) | Lowers ambient RH to 35–50%, reversing moisture absorption in wood | $220–$350 |
| Shim kit (plastic or cedar) | Fills micro-gaps between subfloor and joists to eliminate movement-induced noise | $12–$28 |
| Finish-safe lubricant (e.g., Bostik Dri-Fast) | Penetrates nail holes to reduce metal-on-wood friction without staining | $14–$22 |
| Drill with countersink bit & trim-head screws | Secures loose boards from below (through subfloor) without visible hardware | $45–$95 |
Step-by-Step Fix
Start with moisture control—then address mechanical noise sources. Don’t skip step one: crowning won’t reverse until moisture levels normalize.
- Measure moisture levels: Test 10+ random boards (top, edge, and near joists) and subfloor. According to the National Wood Flooring Association’s Wood Floor Installation Guidelines (2022), hardwood should stabilize between 6–9% MC in most climates—anything above 10% indicates active swelling.
- Run a dehumidifier continuously for 5–7 days: Set to 40% RH, place centrally, and close windows/doors. Monitor daily with a hygrometer. Most crowning begins to relax after 3–4 days if humidity drops steadily.
- Locate and silence squeaks: Walk slowly while listening. Mark noisy spots with painter’s tape. For isolated squeaks, inject finish-safe lubricant into nail holes using a syringe. For broader areas, use shims driven between subfloor and joist where gaps exist.
- Re-fasten loose boards (if crowning persists after drying): Drill pilot holes through subfloor into joists beneath squeaky zones, then drive trim-head screws. Countersink carefully to avoid dimpling. This method is especially effective for 3/4" solid oak installed over 16" OC joists.
When to Call a Pro
DIY works for early-stage crowning (less than 1/16" dome height) and localized noise. But call a certified NWFA installer or structural inspector if:
- You measure >12% MC in 3+ consecutive boards or subfloor readings exceed 15%
- Crowning is accompanied by buckling, lifting edges, or visible cupping elsewhere
- Noise originates from multiple rooms or follows a consistent joist pattern (suggesting subfloor deflection)
- Your home has a concrete slab foundation with no crawl space access for underside repairs
"Over 68% of hardwood floor complaints involving noise and distortion stem from chronic humidity swings—not poor installation," says Ken Hines, Technical Director at the National Wood Flooring Association (2023 Field Survey).
Prevention Tips
Hardwood thrives in stable environments—not perfect ones, but predictable ones. Install and maintain with these habits:
- Use a programmable hygrometer (like the ThermoPro TP50) to log RH twice daily; aim for 35–55% year-round
- Wipe spills within 90 seconds—water penetrates oak’s end grain 3x faster than its face grain
- Install a vapor barrier (6-mil poly) under engineered wood over concrete slabs—even if the manufacturer claims it’s optional
- Run HVAC consistently during seasonal transitions (e.g., April and October), not just summer/winter peaks
- Never wet-mop solid hardwood—use a microfiber mop with Bona Hard-Surface Cleaner diluted at 1:10
Can crowning reverse on its own after humidity drops?
Yes—but only if the wood hasn’t suffered irreversible fiber compression. Boards with mild crowning (<1/32") often flatten within 3–5 days of sustained RH below 45%. Severe crowning (>1/16") may leave a permanent ridge, requiring light sanding or board replacement.
Will nailing down crowned boards make the noise worse?
It can—especially if done before moisture levels normalize. Driving nails into swollen wood creates new stress points and may split grain. Always dry first, then re-fasten. Use ring-shank nails or screws designed for hardwood, not smooth-shank finish nails.
Is this problem covered by my flooring warranty?
Rarely. Most warranties (e.g., Bruce, Armstrong, Mannington) explicitly exclude damage caused by environmental conditions—including humidity fluctuations outside the 35–55% RH range. Review your warranty’s ‘Exclusions’ section—it’s usually buried on page 4 or 5.
Can I sand out crowning without replacing boards?
Only if crowning is uniform and shallow (<1/32") across large areas. Spot-sanding crowned boards risks thinning them unevenly and exposing tongue/groove joints. A full-room screen-and-recoat may help, but consult a certified sander first—over-sanding reduces board lifespan by up to 40% per pass.
Does radiant floor heating cause crowning?
Not directly—but rapid temperature swings combined with low RH dry out the bottom of boards faster than the top, triggering cupping. Ironically, inconsistent radiant heat can *mimic* crowning noise when boards expand/contract asymmetrically. Maintain steady temps (±2°F) and pair with a humidifier in winter.
How long does it take for crowning to appear after a spill?
Visible crowning typically emerges 48–96 hours after prolonged moisture exposure—especially along board ends or near baseboards where airflow is restricted. A single ½-cup spill on an unsealed seam can raise local MC by 4–6 percentage points in under 12 hours.
Hardwood floors aren’t supposed to sing—but when they do, it’s rarely random. That pop under your left foot? It’s a moisture alarm. Address it quickly, systematically, and with the right tools, and you’ll preserve both the integrity of your floor and the quiet of your home. Most crowning-related noise resolves fully within 10 days of targeted intervention—if you start with humidity, not hammers.