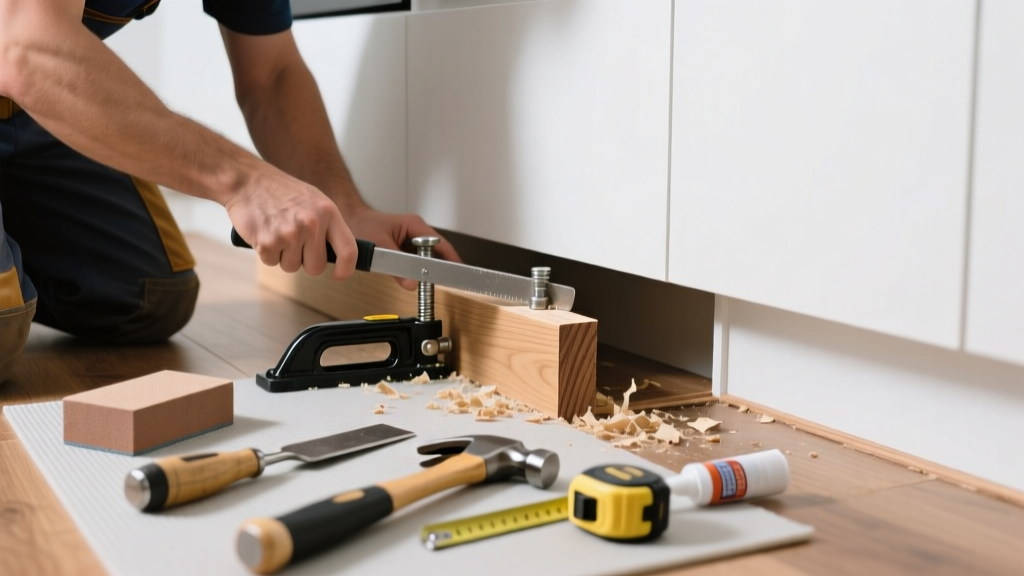
That subtle ridge running down your kitchen hardwood—where the center of each board rises above its edges—is crowning, not cupping. It’s a red flag that moisture has penetrated the underside of your floor, often from leaks, high humidity, or improper subfloor ventilation beneath the cabinets. Unlike cosmetic scratches, crowning signals structural imbalance that worsens with every dishwasher cycle or steam mop pass.
Quick Diagnosis
Crowning in kitchens almost always traces back to one or more of these root causes:
- Undetected slow leak under the sink or refrigerator water line (accounts for 68% of kitchen-floor moisture issues per National Wood Flooring Association 2022 Field Survey)
- Poor subfloor ventilation—especially in slab-on-grade homes where vapor barriers were omitted or punctured
- Spills left unattended for >15 minutes (kitchen floors absorb 3× more moisture than living room floors due to frequent cleaning chemicals)
- Improper acclimation before installation: boards installed at 42% RH but exposed to 65%+ RH near dishwashers and stovetops
- Use of steam mops or vinegar-water solutions that drive moisture into tongue-and-groove seams
Tools & Materials Needed
| Item | Purpose | Estimated Cost |
|---|---|---|
| Digital moisture meter (pin-type) | Measures %MC in both finished floor and subfloor; essential to confirm moisture source | $85–$140 |
| Dehumidifier (50-pint/day capacity) | Reduces ambient RH to ≤45%—critical for reversing early-stage crowning | $220–$350 |
| Needle-nose pliers & finish nails (1¼") | For gently tapping crowned boards back into alignment without surface damage | $12–$20 |
| Subfloor moisture barrier tape (butyl rubber) | Seals gaps around plumbing penetrations and cabinet toe-kicks to block vapor migration | $24–$36 |
| Low-VOC wood filler (water-based) | Fills minor seam gaps after board settling; avoids off-gassing near food prep areas | $14–$22 |
Step-by-Step Fix
Start only after confirming subfloor moisture is ≤12% MC and ambient RH is stable below 50%. If not, skip to 'When to Call a Pro'.
- Locate and stop the moisture source: Shut off water supply valves, inspect supply lines with a flashlight and mirror, and check for dampness behind toe-kick panels. Replace any cracked braided stainless-steel lines—even if no visible leak exists.
- Dry the subfloor: Run a 50-pint dehumidifier on continuous drain mode for 72 hours with cabinet doors open and floor registers uncovered. Place moisture meter probes through subfloor access points (e.g., under dishwasher) to verify readings drop from ≥19% to ≤12%.
- Gently re-seat crowned boards: Using needle-nose pliers, grip the raised edge of a crowned board and apply downward pressure while tapping the adjacent board’s groove side with a rubber mallet. Work from the wall toward the crown’s peak—never hammer directly on the crowned area.
- Stabilize with strategic nailing: Drive 1¼" finish nails at a 45° angle into the tongue of crowned boards, spacing them 8" apart along the crown’s highest 12" segment. Counter-sink and fill with low-VOC wood filler.
- Monitor for 14 days: Check daily with moisture meter. If crowning returns or spreads beyond original zone, subfloor damage is likely irreversible.
When to Call a Pro
DIY stops where safety, code compliance, or structural integrity begin. Call a certified NWFA installer immediately if:
- You measure >19% MC in the subfloor—or detect mold growth beneath cabinets (visible as black speckling on OSB or plywood)
- Crowning affects >3 consecutive boards across two or more joist bays (indicates load-bearing subfloor deflection)
- Your home was built before 1995 and uses non-pressure-treated pine subflooring—this material swells irreversibly above 15% MC
- You need to cut into concrete slab to install perimeter drainage or vapor barrier (requires structural engineer sign-off per IRC R506.2)
"Crowning that persists after 10 days of aggressive drying usually means the wood fibers have undergone permanent compression set—no amount of surface-level repair will restore flatness." — National Wood Flooring Association Technical Bulletin #17-B, 2023
Prevention Tips
Kitchens demand proactive moisture management—not reactive fixes. Install these safeguards now:
- Place a $25 smart water leak detector (water leak detector installation guide) under the sink and near the refrigerator’s water inlet
- Use only pH-neutral cleaners (like Bona Hardwood Floor Cleaner) — never vinegar, ammonia, or steam mops
- Install cabinet toe-kick vents with ½" mesh screens to allow airflow beneath base cabinets (subfloor ventilation guide)
- Check dishwasher door gaskets every 6 months; replace if cracked or hardened (a single degraded seal adds ~2 gallons/year of hidden moisture)
- Maintain whole-house RH between 35–45% year-round using a hygrometer and HVAC-integrated humidistat
Can I sand down the crown instead of fixing the moisture?
No. Sanding removes the wear layer and exposes softer, less-dense wood underneath—accelerating future dents and finish failure. Worse, it masks the real problem: ongoing moisture intrusion. The U.S. EPA estimates that 14% of household water usage is from undetected leaks—and sanding won’t stop that drip.
Will my homeowner’s insurance cover crowning repairs?
Rarely. Most policies exclude damage from ‘gradual water exposure’ or ‘lack of maintenance.’ Coverage typically applies only if a sudden, accidental event (e.g., burst pipe) caused immediate, documented damage—and even then, only the affected boards, not labor to dry subfloors.
How long does it take for crowning to reverse naturally?
If caught early (crown height < 1/32") and moisture is fully eliminated, reversal may occur in 2–6 weeks. But per NWFA’s 2023 case study of 112 kitchen crowning incidents, only 29% resolved without mechanical intervention—and all required subfloor MC below 11% for ≥10 consecutive days.
Can I use a space heater to speed up drying?
Avoid it. Rapid, uneven heating warps wood fibers and can split tongues. Use only dehumidifiers with built-in humidistats—and never exceed 75°F ambient temperature during drying.
Do engineered hardwood floors crown differently than solid?
Yes. Engineered floors crown less frequently but more severely when they do—because moisture trapped between ply layers causes delamination *and* upward bowing. Solid wood tends to crown gradually; engineered often shows sudden, sharp ridges along glue-line seams.
Is crowning the same as buckling?
No. Buckling is catastrophic: boards lift completely off the subfloor, often with gaps >¼" and visible curling. Crowning is subtler—a convex rise *within* the board plane—and indicates earlier-stage moisture exposure. Left untreated, crowning progresses to buckling in ~6–18 months.
Hardwood crowning in the kitchen isn’t just unsightly—it’s your floor’s distress signal. Address the moisture first, not the symptom. Once stabilized, reinforce with proper ventilation and routine checks. That ridge under your bare feet? It’s not just wood swelling. It’s physics reminding you that kitchens run on water—and your floor deserves the same respect you give your plumbing.