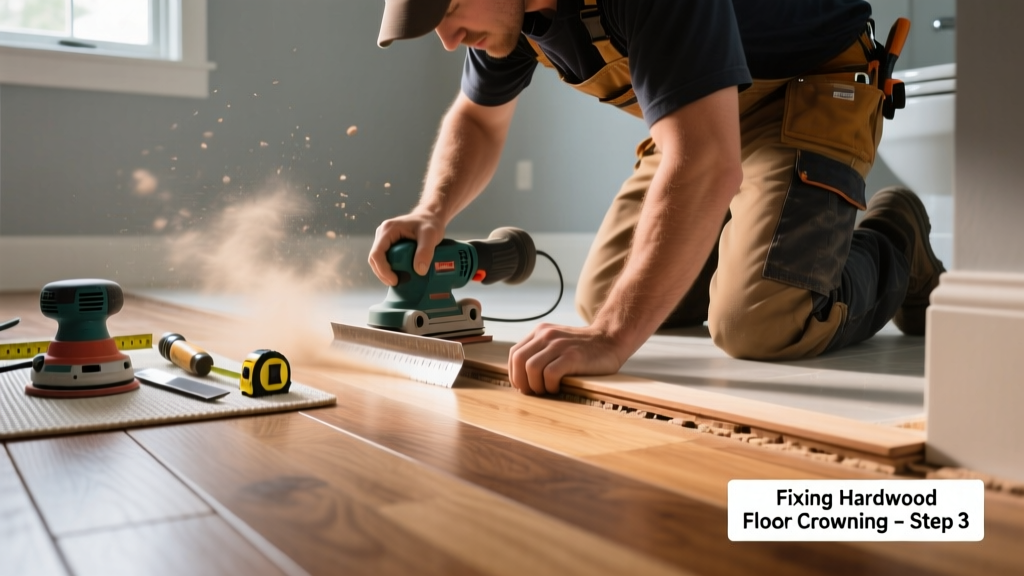
Hardwood floor crowning in the bathroom isn’t just unsightly—it’s a red flag for hidden moisture damage beneath the surface. Unlike cupping, where edges rise and centers dip, crowning means the center of each board bows upward, often signaling prolonged exposure to humidity or water intrusion. Ignoring it risks irreversible warping, mold growth under the subfloor, and structural compromise.
Quick Diagnosis
Crowning rarely happens without cause. In bathrooms—where humidity spikes daily and leaks hide behind fixtures—the most common triggers are:
- Undetected slow leak from toilet flange, supply lines, or shower pan
- Lack of proper vapor barrier under the subfloor or between subfloor and hardwood
- Insufficient bathroom ventilation (e.g., exhaust fan rated below 50 CFM or never used)
- Hardwood installed directly over concrete slab without moisture testing or mitigation
- Use of non-bathroom-rated finish (e.g., standard polyurethane instead of moisture-resistant aluminum oxide or acrylic urethane)
Tools & Materials Needed
| Item | Purpose | Estimated Cost |
|---|---|---|
| Digital moisture meter (pin-type with wood scale) | Measures MC% in individual boards and subfloor; confirms active moisture source | $85–$140 |
| Hygrometer with logging | Tracks relative humidity trends over 72+ hours to identify chronic moisture buildup | $25–$60 |
| 100-grit sandpaper + orbital sander | Lightly sands crowned areas after drying; avoids over-sanding into wear layer | $12–$45 |
| Moisture-resistant finish (e.g., Bona Traffic HD) | Re-seals sanded areas with enhanced water resistance | $38–$52 per quart |
| Dehumidifier (50+ pint capacity) | Reduces ambient RH to ≤45% during drying phase | $180–$320 |
Step-by-Step Fix
Don’t sand or refinish until moisture levels stabilize. Follow this sequence:
- Isolate the moisture source: Shut off water to toilet and sink, run a dye test in the tank, inspect caulk around tub/shower base, and check subfloor access (if crawl space or basement exists) for dampness or staining.
- Measure moisture content: Use your pin-type meter on 10+ boards and the subfloor. Boards above 12% MC and subfloor above 15% MC indicate active intrusion (per National Wood Flooring Association Wood Floor Installation Guidelines, 2022).
- Dry thoroughly: Run dehumidifier + exhaust fan continuously for 7–10 days. Monitor with hygrometer—target 40–45% RH and subfloor MC <12% before proceeding.
- Lightly sand crowned zones only: Use 100-grit paper and orbital sander with even pressure. Stop when crown is reduced by ~80%—don’t grind through the wear layer.
- Recoat with bathroom-rated finish: Apply two thin coats of Bona Traffic HD or equivalent, allowing full 24-hour cure between coats.
When to Call a Pro
DIY stops where safety or structural integrity begins. Call a certified wood flooring contractor (NWFA-certified preferred) if:
- You find >3 consecutive boards with MC >14% and visible subfloor rot or black mold
- The crowning affects more than 12 sq ft and spans multiple joist bays
- Your home has radiant heating under the floor—moisture + heat can warp tubing or insulation
- You lack subfloor access and suspect a leak behind tile or under vanity cabinet
"Crowning that persists after 10 days of aggressive drying almost always indicates either a chronic leak or inadequate subfloor prep—neither is a sand-and-coat problem." — Mike R., NWFA Master Installer since 1998, quoted in Flooring Contractor Magazine, 2021
Prevention Tips
Hardwood in bathrooms demands proactive defense—not just reactive repair:
- Install an exhaust fan rated at ≥1.1 CFM per sq ft of bathroom area (e.g., 70 CFM for a 60-sq-ft bath), wired to a timer or humidity sensor
- Use only engineered hardwood with ≥2mm wear layer and plywood core—solid wood expands too unpredictably in high-RH zones
- Apply silicone-based caulk (not acrylic) around toilet base, tub flange, and vanity perimeter—and reseal annually
- Test subfloor moisture with calcium chloride test (ASTM F1869) before installation—max allowable reading: 3 lbs/1,000 sq ft/24 hrs
Can I use bleach on the subfloor to kill mold?
No. Bleach only kills surface mold on non-porous materials and does nothing to penetrate wood or drywall. It also leaves behind moisture that feeds regrowth. Instead, use a registered EPA fungicide like Concrobium Mold Control, applied with a pump sprayer after thorough drying.
Will a steam mop make crowning worse?
Yes—steam mops add significant moisture directly to the wood surface and joints. Even brief use raises localized RH enough to reverse drying progress. Stick to dry microfiber mopping or pH-neutral cleaners like Bona Hardwood Floor Cleaner.
How long should I wait before walking on the floor after refinishing?
Wait at least 24 hours before light foot traffic and 72 hours before placing rugs or furniture. Bona Traffic HD reaches full chemical cure in 7 days—avoid wet mopping or standing water until then.
Can I install hardwood over existing vinyl in the bathroom?
Only if the vinyl is fully adhered, moisture-tested (≤3 lbs via ASTM F1869), and free of asbestos (pre-1986 homes require abatement). Better yet: remove vinyl and inspect subfloor for delamination or trapped moisture—a common hidden cause of late-stage crowning.
Does radiant floor heating cause crowning?
Not directly—but combined with high humidity, it accelerates expansion cycles. Always use a programmable thermostat that lowers floor temp when RH exceeds 60%, and pair with an ERV (energy recovery ventilator) to manage indoor moisture year-round.
What’s the difference between crowning and buckling?
Buckling is severe vertical lifting—boards detach from subfloor and lift several inches, often with gaps at seams. Crowning is subtle, uniform upward bowing *within* the board plane. Buckling requires full board replacement; crowning may be reversible if caught early and dried properly.
Fixing bathroom hardwood crowning isn’t about cosmetic smoothing—it’s about diagnosing what the floor is trying to tell you. Every bowed board is evidence of moisture stress, and every repair is a chance to upgrade your bathroom’s moisture management system. Replace worn caulk, verify fan runtime, and keep that moisture meter in your tool drawer—it pays for itself the first time it catches a slow leak before it costs you a $2,400 floor replacement. For related moisture control strategies, see our guide on bathroom exhaust fan installation and subfloor moisture testing.