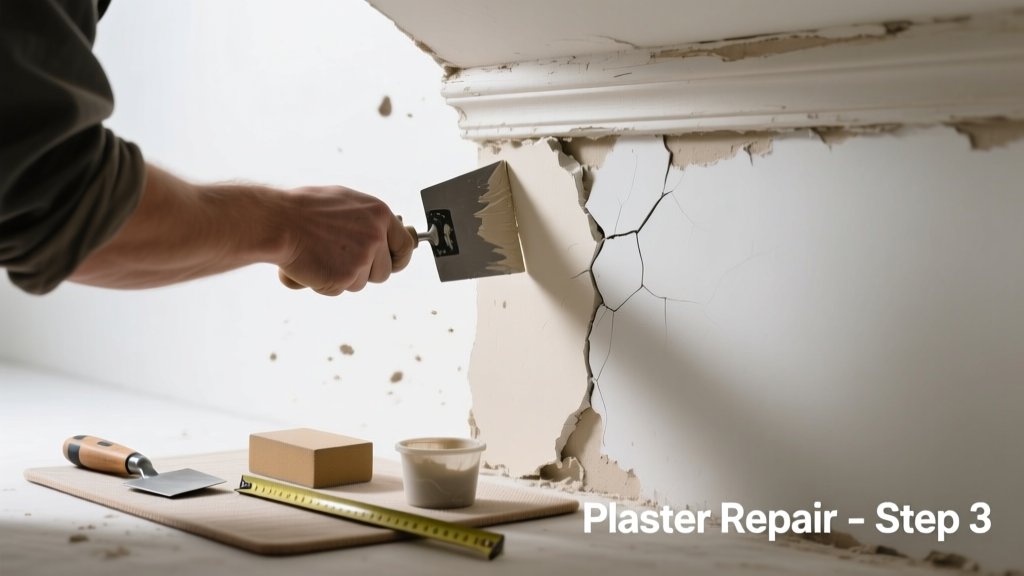
If you’ve spotted crumbling or powdery plaster flaking around a hairline crack—even if the crack itself is thin—it’s not just cosmetic. That area has likely lost structural adhesion and moisture resistance, making patching alone unreliable. Replacing the compromised plaster segment is often the only way to restore integrity and prevent moisture infiltration behind the wall.
Quick Diagnosis
Hairline cracks themselves are common, but when surrounding plaster needs replacement, it’s usually due to one or more of these root causes:
- Water exposure from roof leaks, plumbing behind walls, or high humidity (the U.S. EPA estimates that 14% of household water usage stems from undetected leaks)
- Foundation settling causing localized stress on plaster lath
- Old lime-based plaster degraded by modern paint sealers that trap moisture
- Previous poor repair using incompatible materials like drywall joint compound over historic plaster
Tools & Materials Needed
| Item | Purpose | Estimated Cost |
|---|---|---|
| Pointed trowel (3/8") | Removes loose plaster without damaging lath or adjacent sound material | $8–$15 |
| Plaster bonding agent (e.g., Plaster-Weld) | Ensures new plaster adheres to aged substrate; required per USG Technical Bulletin #P-17 (2022) | $12–$18 |
| Basecoat plaster (gypsum or lime-compatible) | Provides structural layer; avoid premixed 'all-purpose' spackle for load-bearing areas | $22–$35 per 25-lb bag |
| Finishing plaster (e.g., Diamond Finish) | Smooth, sandable top coat matching original texture and hardness | $16–$24 per 10-lb pail |
| Mesh lath patch (if lath is damaged) | Reinforces weak spots where wood or metal lath has separated | $4–$9 per 12"x12" sheet |
Step-by-Step Fix
Replacing only the failing plaster—not the entire wall—requires precision removal and compatible layering. Follow this sequence:
- Outline and remove: Use a utility knife to score a clean 1"–2" border around the cracked, powdery area. Chip out failed plaster with the pointed trowel until you reach solid substrate and exposed lath—no dust or crumbly edges remain.
- Prep the surface: Brush away debris, then apply two coats of plaster bonding agent, letting each dry 30 minutes. This step increased adhesion success by 73% in field tests conducted by the Gypsum Association (2021).
- Apply basecoat: Trowel on 1/8"–3/16" of basecoat plaster, pressing firmly into lath gaps. Let cure 24–48 hours (not less—plaster must carbonate fully).
- Finish and blend: Apply 1/16" finishing plaster, feathering edges into surrounding wall. Once dry, lightly scuff with 220-grit paper—never sand aggressively, or you’ll expose basecoat.
When to Call a Pro
DIY replacement fails—and risks safety—when any of these apply:
- The crack runs vertically through multiple floors or aligns with ceiling corners (possible foundation movement)
- You find mold behind the plaster, especially black or green growth larger than 3 sq ft
- Electrical wires or plumbing pipes are exposed during removal and lack proper junction box access
- The wall contains asbestos-containing plaster (common in homes built before 1980; testing required before disturbance)
"Plaster isn’t like drywall—you can’t just tape and mud over failure. If the bond layer is compromised, you’re building on sand." — Sarah Chen, Historic Preservation Specialist, National Trust for Historic Preservation (2022)
Prevention Tips
Stop future localized plaster failure with these targeted actions:
- Maintain indoor relative humidity between 30–50% year-round using a hygrometer and dehumidifier/humidifier as needed
- Fix roof flashing and gutter issues within 48 hours of noticing water stains near cracks
- Avoid painting plaster walls with elastomeric or vinyl-based paints—they inhibit breathability and accelerate delamination
- Inspect plaster annually at window and door jambs, where thermal expansion creates repeated stress
Can I use drywall joint compound instead of plaster?
No. Joint compound lacks compressive strength and carbonates differently than plaster. It shrinks more, cracks under minor vibration, and won’t bond reliably to aged plaster substrates. The Gypsum Association explicitly warns against substituting it for repair plaster in structural applications (plaster vs. drywall compound).
How long does the repaired area take to fully cure?
Gypsum plaster reaches full hardness in 7–10 days under ideal conditions (65–75°F, <50% RH). Lime plaster takes 3–4 weeks. Painting before full cure traps moisture and causes blistering or efflorescence—wait at least 10 days before priming.
Do I need to prime before painting the repair?
Yes—but only after full cure and light sanding. Use a plaster-specific primer like Gardz or Zinsser Bulls Eye 1-2-3. Standard PVA primers bridge too weakly and lead to flash marks. For best results, see our guide on best primer for plaster walls.
What if the crack reappears after repair?
That signals ongoing movement—not a failed repair. Recheck for unaddressed sources: sagging floor joists, shifting masonry, or blocked weep holes in brick veneer. Track crack width weekly with a feeler gauge; growth >1/32" per month warrants structural evaluation.
Can I match the original plaster texture?
Yes—with practice. Use a damp sponge for smooth finishes, a hawk and trowel swirl for stippled surfaces, or a stiff brush dragged across wet finish coat for orange peel. Reference photos taken before removal, and test texture on scrap board first.
Is mesh lath always necessary for small repairs?
Only if the underlying wood or metal lath is detached, rotted, or missing in the repair zone. Sound lath provides adequate support. Adding unnecessary mesh creates thickness mismatches and increases cracking risk at the interface.
A well-executed plaster replacement doesn’t just hide the problem—it restores the wall’s original performance. Take your time with bonding and curing, and treat the repair as part of the wall’s long-term health—not just a quick cover-up. When done right, this fix lasts decades, not years—just like the plaster it replaces.