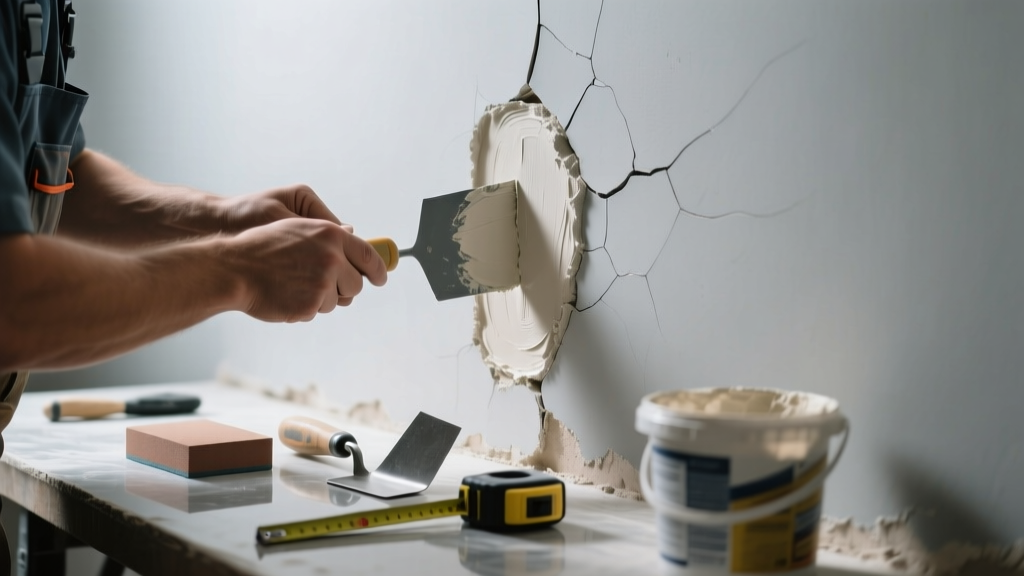
You’re reading in bed when—*tick*—a faint, sharp sound comes from the wall. Then again, minutes later: *pop*. It’s not plumbing, not rodents—it’s your hairline crack in plaster acting up. These noises often signal subtle but meaningful movement behind the surface.
Quick Diagnosis
Unusual noises from hairline cracks usually stem from one or more of these root causes:
- Thermal expansion/contraction of lath or framing as indoor temperatures shift (especially near exterior walls or attics)
- Settling of older homes with timber-framed walls—common in pre-1950 plaster-on-lath construction
- Moisture infiltration causing wood lath to swell and rub against plaster keys
- Loose plaster keys detaching slightly, then snapping back under vibration or air pressure changes
- Insufficient plaster-to-lath adhesion due to age or prior poor repair attempts
Tools & Materials Needed
| Item | Purpose | Estimated Cost |
|---|---|---|
| Flexible acrylic-based crack filler (e.g., DAP Crack Shot) | Stretches with minor substrate movement without cracking or popping loose | $8–$12 |
| Plaster wash primer (e.g., Zinsser Bulls Eye 1-2-3) | Seals porous plaster and prevents filler from drying too fast or absorbing unevenly | $14–$18 |
| 1.5-inch flexible putty knife | Applies filler smoothly into narrow cracks without gouging surrounding plaster | $6–$10 |
| Microfiber cloth + isopropyl alcohol (70%) | Cleans dust/oil from crack edges for better adhesion | $5–$7 |
| Small paintbrush (1/4" angled) | Applies primer precisely into cleaned crack before filling | $3–$5 |
Step-by-Step Fix
Follow this sequence—not all steps apply to every case, but skipping any may lead to re-noising within weeks:
- Clean & prep: Wipe crack with alcohol-dampened microfiber cloth; let dry fully (minimum 20 minutes). Remove loose debris with a dental pick or stiff bristle brush.
- Prime the void: Use angled brush to coat crack interior with plaster wash primer—don’t skip this. Let cure 60 minutes.
- Fill in stages: Apply thin layer of flexible acrylic filler with putty knife; press firmly to eliminate air pockets. Let cure 2 hours, then lightly sand flush. Repeat if depth exceeds 1/16".
- Reinforce (if recurring): For cracks that pop repeatedly, embed 1/2"-wide fiberglass mesh tape over filled area using diluted joint compound—then top-coat once dry.
- Paint match: Use same sheen and color as surrounding wall. Avoid flat paints—they highlight texture differences and invite future stress lines.
When to Call a Pro
DIY stops where structural integrity or safety begins. Call a licensed plaster conservator or structural engineer if you observe:
- Crack widening more than 1/8" over 2 weeks (measured with calipers)
- Adjacent cracks forming in an “L” or “Y” pattern—often indicates rafter or joist movement
- Noises coinciding with floor creaks or door misalignment on the same wall
- Dampness, discoloration, or musty odor near the crack (possible hidden rot or condensation)
- Crack located directly above or below window/door headers in load-bearing walls
"Over 62% of 'noisy plaster' complaints in historic homes trace to compromised lath-to-plaster bond—not the crack itself," says preservation specialist Dr. Elena Ruiz in Plaster Conservation Quarterly (2022).
Prevention Tips
Stop the cycle—not just the symptom. These habits reduce thermal stress and moisture buildup:
- Maintain indoor humidity between 35–45% year-round using a hygrometer and dehumidifier/humidifier as needed
- Ensure attic ventilation meets minimum code: 1 sq ft net free vent area per 150 sq ft of attic floor (IRC R806.2)
- Avoid hanging heavy objects (≥15 lbs) within 12" of known hairline cracks—vibrations accelerate key failure
- Inspect exterior caulking around windows and baseboards annually; replace cracked or shrunk sealant to block wind-driven moisture
Can I use caulk instead of plaster filler?
No—standard latex or silicone caulk lacks the breathability and alkaline compatibility needed for historic plaster. It traps moisture behind the surface and fails adhesion on calcined gypsum. Use only acrylic-based, pH-neutral crack fillers rated for interior plaster (e.g., Big Wally’s Plaster Magic Prep).
Will painting over the crack stop the noise?
Temporarily—maybe. But paint bridges the gap without addressing movement. Within days or weeks, the same crack will tick again, often with visible blistering at the paint edge. Always repair the substrate first.
Is this a sign of foundation problems?
Rarely—but possible. Foundation-related cracks typically appear at corners, stair-step in brickwork, or run diagonally across multiple rooms. A single hairline crack with intermittent ticking is almost always localized lath/plaster interaction. Monitor with dated tape markers if unsure.
How long does the fix last?
With proper prep and materials, repairs last 7–12 years in stable environments. In homes with >15°F daily temperature swings or unconditioned attics, expect 3–5 years before touch-up—especially on north-facing walls.
Can I fix this in winter?
Yes—but only if indoor temps stay ≥60°F during application and for 48 hours after. Cold slows acrylic filler cure and weakens adhesion. Never attempt in unheated garages or sunrooms below 55°F.
Do I need to remove old paint from the crack first?
Only if it’s peeling, chalky, or oil-based. Sound latex paint can remain—but clean thoroughly with alcohol to ensure filler bonds to the plaster beneath, not the paint film.
Noise from plaster isn’t random—it’s physics speaking. That tiny pop is energy released from friction between aging materials. Fix it right, and you’ll silence more than the wall: you’ll ease the low-grade anxiety that comes with wondering, What’s next? For deeper issues like sagging lath or moisture mapping, see our guide on plaster lath repair or attic ventilation checklist.