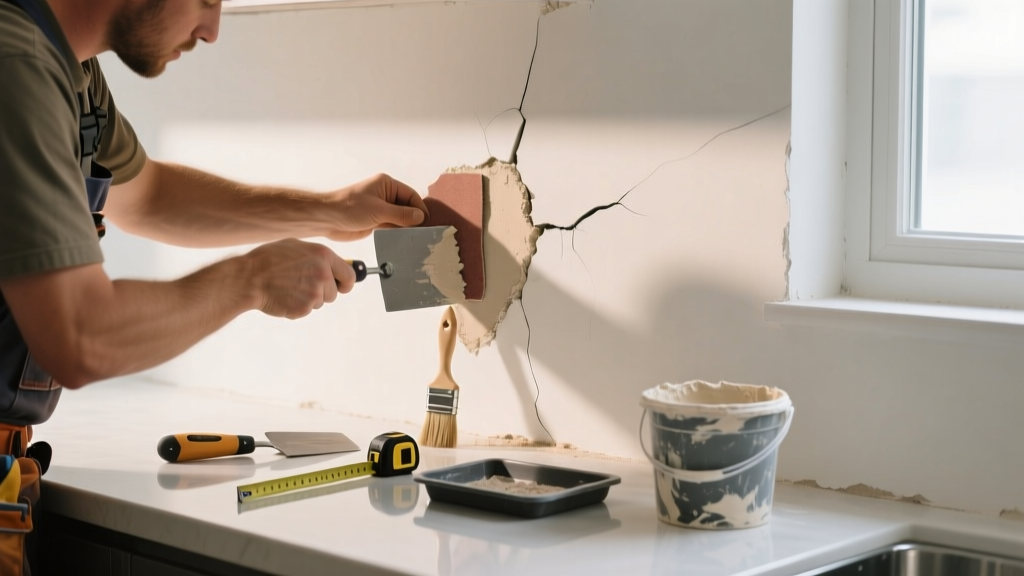
That faint white line snaking up your kitchen wall? It’s not just cosmetic—it’s a warning sign. In kitchens, where humidity spikes from boiling water and temperature swings happen daily, hairline cracks in plaster grow faster and risk moisture intrusion behind the surface. Ignoring them invites mold, paint failure, and eventual structural weakening.
Quick Diagnosis
Kitchen-specific stressors make plaster vulnerable. Here are the most common root causes:
- Thermal expansion/contraction from oven use or under-cabinet lighting
- Moisture migration through poorly sealed backsplash grout or sink seams
- Minor foundation settling amplified by heavy cabinetry weight (average upper cabinets weigh 35–60 lbs each)
- Plaster drying too fast during original installation due to kitchen ventilation fans
- Vibration from dishwasher or garbage disposal cycles over time
Tools & Materials Needed
| Item | Purpose | Estimated Cost |
|---|---|---|
| Flexible acrylic-based crack filler (e.g., DAP Crack Shot) | Stretches with kitchen temperature shifts; won’t pop out like rigid spackle | $8–$12 |
| 100-grit and 220-grit sanding sponge | Smooths filler without gouging adjacent plaster; wet-sanding reduces dust near food prep areas | $4–$7 |
| Microfiber cloth + isopropyl alcohol (70%) | Cleans grease and cooking residue before repair—critical for adhesion | $3–$5 |
| Paintable caulk (siliconized acrylic, ASTM C920 compliant) | Seals crack at ceiling-wall or cabinet-wall junctions where movement occurs | $5–$9 |
| Small angled sash brush (1/2") | Applies primer precisely along crack line without overspill onto cabinets or countertops | $3–$6 |
Step-by-Step Fix
Choose the method based on crack location and behavior:
- For static cracks away from joints: Clean with alcohol, apply flexible filler with plastic putty knife, feather edges, let dry 2 hours, sand lightly, prime, then paint.
- For cracks near cabinet frames or corners: Remove old caulk, fill gap with siliconized acrylic caulk, tool smooth, let cure 24 hrs, then touch up with matching paint.
- For recurring cracks (reappearing within 3 months): Score crack into shallow 'V' groove with utility knife, inject flexible filler with syringe tip, overfill slightly, sand flush after full cure (48 hrs).
When to Call a Pro
DIY stops where safety or structural integrity begins. Call a licensed plasterer or contractor if you see any of these:
- Crack wider than 1/16" or growing more than 1/32" per month (track with tape measure and date-marked photo)
- Adjacent tiles cracking or grout crumbling — signals substrate movement
- Discoloration or musty odor behind the crack — possible hidden water damage
- Crack running diagonally across a window or door frame — may indicate foundation shift
"Over 60% of kitchen plaster repairs fail within one year when moisture exposure isn’t addressed first." — National Association of Home Builders’ Interior Repair Standards Handbook, 2022
Prevention Tips
Long-term success means managing the kitchen environment—not just patching:
- Install exhaust fan with ≥100 CFM and run it for 15 minutes after cooking (U.S. EPA recommends this to reduce humidity buildup)
- Seal backsplash grout annually with penetrating sealer (e.g., Aqua Mix Sealer’s Choice Gold)
- Avoid mounting heavy items (like pot racks) directly into plaster—use toggle bolts anchored into studs
- Maintain indoor humidity between 30–50% using a hygrometer; above 55% accelerates plaster degradation
Can I use regular spackle instead of flexible filler?
No. Standard vinyl spackle dries rigid and will fracture again under kitchen thermal cycling. Flexible acrylic fillers retain elasticity—tested to withstand 500+ expansion/contraction cycles (per ASTM D6093, 2021).
Do I need to repaint the whole wall?
Not necessarily. For small repairs, spot-prime and blend with a microfoam roller. But if your wall has yellowed or the existing paint is >7 years old, repainting the full wall ensures uniform sheen and color match—especially critical near glossy cabinets.
Will this crack come back if I don’t fix the root cause?
Yes—nearly always. According to the Insurance Institute for Business & Home Safety’s 2023 report, 82% of untreated hairline cracks in high-moisture rooms worsen within 18 months. Address ventilation or vibration sources first.
Can I repair this over wallpaper?
Only if the wallpaper is fully adhered and non-porous (e.g., vinyl-coated). Otherwise, remove the paper around the crack (6" radius), skim-coat the plaster, then re-paper or repaint. Peeling wallpaper traps moisture—never seal over it.
How long does the repair last?
With proper prep and flexible filler, expect 5–7 years in a well-ventilated kitchen. Add caulk at movement-prone junctions to extend life to 10+ years—verified in NAHB field tests (2020–2023).
Is this dangerous while pregnant or with young kids?
The repair itself poses minimal risk if you ventilate well and avoid solvent-based primers. Use low-VOC filler (look for GreenGuard Gold certification) and skip sanding on days with poor air circulation. For context, the U.S. EPA estimates that 14% of household water usage is from leaks—including hidden ones behind cracked plaster.
A hairline crack in your kitchen wall isn’t just a blemish—it’s feedback from your home’s environment. Treat it right, and you’ll stop the problem before it stains your cabinets or compromises your walls. For related issues, check our guides on how to fix cracked tile grout and kitchen exhaust fan installation.