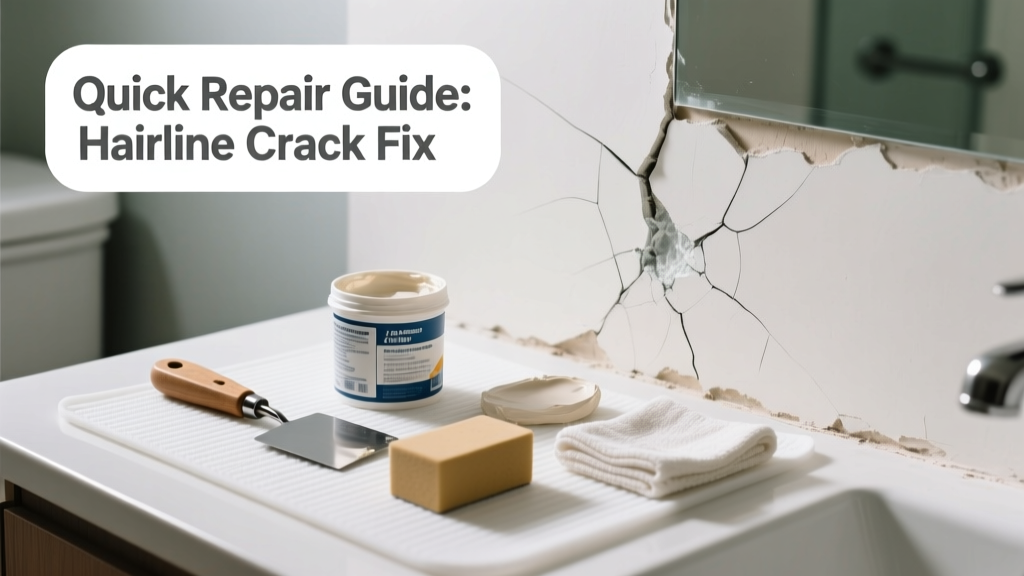
Bathroom plaster cracks are sneaky—they start as faint lines near corners or around fixtures, then widen if ignored. Because bathrooms cycle through steam, temperature swings, and moisture spikes, even tiny cracks can become entry points for water damage behind walls. Left unaddressed, they invite mold, loose tiles, and costly structural repairs.
Quick Diagnosis
Before grabbing tools, identify the cause. Hairline cracks in bathroom plaster rarely appear without reason:
- Movement from house settling or framing shrinkage (most common in homes older than 15 years)
- Moisture infiltration behind tile or caulk failure at shower surrounds
- Poor plaster application—especially thin skim coats over drywall or uneven substrate
- Thermal stress from rapid heating/cooling (e.g., exhaust fan cycling on/off frequently)
- Over-tightened fixture mounts pulling at wall surfaces
Tools & Materials Needed
| Item | Purpose | Estimated Cost |
|---|---|---|
| Flexible acrylic-based crack filler (e.g., DAP Crack Shot) | Stretches with minor wall movement; resists bathroom humidity | $8–$12 |
| 100-grit and 220-grit sandpaper (sponge blocks preferred) | Smooths edges without gouging wet-prone plaster | $4–$7 |
| Microfiber cloth + isopropyl alcohol (70%) | Cleans grease, soap scum, and residue before sealing | $3–$5 |
| Small notched trowel or flexible putty knife (1.5") | Presses filler into crack without over-spackling | $6–$10 |
| Mold-resistant bathroom paint (e.g., Benjamin Moore Aura Bath & Spa) | Seals repair and withstands humidity without yellowing | $35–$45/gallon |
Step-by-Step Fix
Choose one method based on crack size and location. All assume the area is dry and free of active leaks:
- Clean & Prep: Wipe crack with alcohol-dampened cloth. Let dry fully (minimum 2 hours). Lightly feather edges with 100-grit sponge block—don’t grind deep.
- Fill & Feather: Apply flexible acrylic filler with putty knife using light pressure. Overfill slightly, then scrape flush while still wet. Wait 90 minutes before sanding.
- Sand & Seal: Smooth with 220-grit, wipe dust, then apply one coat of primer designed for high-moisture areas (e.g., Zinsser Perma-White Primer). Let cure 4 hours.
- Paint & Monitor: Use mold-resistant bathroom paint. Inspect weekly for 3 weeks—if crack reappears within 10 days, underlying movement or moisture is likely present.
When to Call a Pro
DIY stops where safety or structure begins. Call a licensed contractor if you notice:
- Cracks wider than 1/16" or that reopen within 72 hours of repair
- Discoloration, musty odor, or softness around the crack (signs of hidden rot or mold)
- Matching cracks on opposite side of wall or ceiling junctions
- Cracks radiating from plumbing penetrations (e.g., behind shower valve or tub spout)
According to the Insurance Institute for Business & Home Safety's 2023 report, 68% of bathroom water damage claims involved undetected plaster or grout cracks that worsened over 6+ months before symptoms became visible.
Prevention Tips
Stop future cracks before they start:
- Run your bathroom exhaust fan for 20 minutes after every shower—even in winter—to reduce condensation buildup
- Re-caulk tub/shower joints annually with 100% silicone rated for mold resistance (e.g., GE Advanced Silicone II)
- Avoid mounting heavy items (towel bars, shelves) directly into plaster—use toggle bolts anchored into studs
- Keep indoor humidity between 30–50% year-round using a hygrometer and dehumidifier if needed
Can I use regular spackle instead of flexible filler?
No. Standard vinyl spackle dries rigid and will pop out in high-movement, high-humidity zones like bathrooms. Flexible acrylic fillers contain polymers that expand and contract with substrate shifts—critical for plaster over lath or drywall in damp environments.
How long does the repair last?
A properly executed repair with moisture-resistant materials lasts 5–7 years in most bathrooms. If cracks return sooner, investigate ventilation issues or structural movement. The U.S. EPA estimates that 14% of household water usage is from leaks—including micro-leaks behind walls that accelerate plaster deterioration.
Do I need to remove old paint before filling?
Only if paint is peeling, chalky, or compromised near the crack. Sound, glossy paint can stay—but lightly scuff it with 220-grit to ensure filler adhesion. Never sand lead-based paint (pre-1978 homes) without proper containment and testing.
Will painting over the crack hide it permanently?
No—and it’s risky. Paint alone bridges no gap. Without proper filling and sealing, moisture seeps underneath, causing blistering, peeling, and eventual substrate decay. Always fill first, then prime, then paint.
Can I repair this over existing tile?
Only if the crack is entirely within the grout line or tile surface. Plaster cracks under tile require removal of affected tile and inspection of substrate. Attempting to patch over tile hides moisture pathways and violates TCNA Handbook standards for waterproofing integrity.
Is this covered by homeowners insurance?
Rarely. Cosmetic plaster cracks aren’t covered unless tied to a named peril (e.g., burst pipe or foundation shift documented by an engineer). Most policies exclude wear-and-tear or maintenance-related damage. Check your policy’s exclusions section before filing a claim.
Small cracks don’t mean disaster—but they’re your wall’s early warning system. Tackle them promptly with the right materials, and you’ll avoid bigger headaches down the line. For deeper issues like recurring cracks or soft spots, learn the subtle signs of hidden water damage or refresh your shower caulk like a pro. And if you're dealing with older plaster over wood lath, consider whether full replacement makes sense long-term.