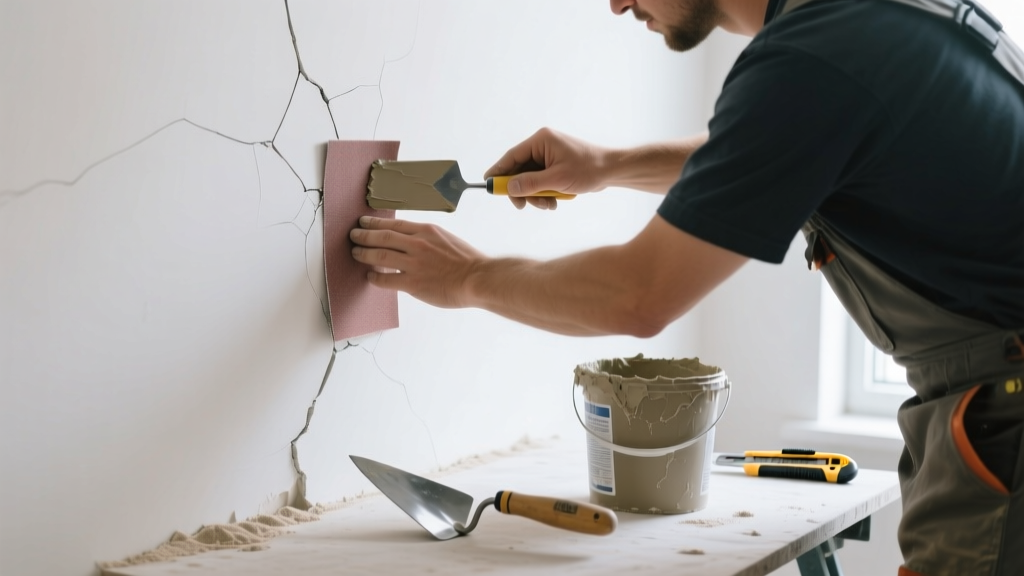
Hairline cracks in plaster—those fine, spiderweb-like lines less than 1/16 inch wide—seem harmless but can signal shifting foundations, drying stress, or aging lath. Left untreated, they widen, collect dust, and invite moisture behind the surface. Most are easy to repair in under an hour with basic tools and the right technique.
Quick Diagnosis
Before grabbing a putty knife, identify the cause—it determines whether your fix will last:
- Thermal expansion/contraction from seasonal temperature swings
- House settling (especially in homes built before 1950 with wood lath)
- Moisture infiltration behind walls or ceilings
- Poor initial plaster application (thin skim coats over uneven base)
- Vibrations from nearby traffic, HVAC systems, or heavy footfall on upper floors
Tools & Materials Needed
| Item | Purpose | Estimated Cost |
|---|---|---|
| Flexible putty knife (1.5") | Smooths joint compound without gouging fragile plaster edges | $4–$8 |
| Plaster wash (or PVA primer) | Seals porous plaster and improves adhesion of filler | $12–$18 |
| Lightweight all-purpose joint compound | Fills cracks without shrinking or cracking; sands easily | $8–$14 |
| Microfiber cloth & soft-bristle brush | Removes dust and loose debris without damaging surrounding plaster | $3–$7 |
| 120-grit sanding sponge | Feathers edges smoothly after drying; won’t tear paper or scratch finish | $5–$9 |
Step-by-Step Fix
Choose the method based on crack depth, location, and wall age:
- Clean & Prep: Brush out dust with a dry paintbrush, then wipe with a damp microfiber cloth. Let dry fully—moisture causes bubbling.
- Prime the Crack: Apply a thin coat of PVA-based plaster wash (e.g., Gardz or Zinsser Peel Stop) directly into the crack with a narrow brush. This seals the substrate and prevents suction from pulling moisture out of the filler.
- Fill & Feather: Using a flexible putty knife, press lightweight joint compound into the crack. Hold the knife at a 15° angle and pull once—don’t overwork it. Wipe excess sideways, not up-and-down, to avoid lifting edges.
- Sand & Repeat (if needed): After 2 hours, lightly sand with a 120-grit sponge. If the crack reappears as a slight ridge, apply a second ultra-thin coat and feather wider—up to 2 inches across.
- Paint Match: Spot-prime the repair with same-base paint (oil or latex), then blend with a small foam roller. Avoid brushing only the patch—it’ll highlight texture differences.
When to Call a Pro
DIY is safe for isolated, stable cracks—but skip the spackle if you see any of these red flags:
- Cracks wider than 1/8 inch or growing more than 1/32 inch per month (track with masking tape markers)
- Cracks forming in stair-step patterns along mortar joints in brick veneer walls
- Concurrent issues: sticking doors, sloping floors, or cracks near windows/doors that open outward
- Moisture stains, musty odors, or efflorescence near the crack—signs of hidden water intrusion
According to the Insurance Institute for Business & Home Safety's 2023 report, 68% of structural wall failures begin with undiagnosed hairline cracks that worsen within 18 months of first appearance.
Prevention Tips
Long-term stability starts with environmental control and smart maintenance:
- Maintain indoor humidity between 30–50% year-round using a hygrometer and dehumidifier/humidifier as needed
- Install vibration-dampening pads under major appliances (washer, furnace) near shared walls
- Inspect attic and crawl space ventilation annually—poor airflow accelerates plaster drying and shrinkage
- Avoid hanging heavy items directly over known crack zones without anchoring into studs
Can I use caulk instead of joint compound?
No—caulk remains flexible and never accepts paint well on vertical plaster surfaces. It also pulls away from aged plaster over time. Joint compound bonds chemically with the gypsum matrix; caulk just sits on top.
Will painting over the crack hide it permanently?
Temporarily, yes—but paint alone doesn’t stop movement. Within weeks, the crack usually telegraphs through the new coat. Always fill and sand first. Skipping prep leads to repeated touch-ups every 3–6 months.
Do I need to remove old paint before filling?
Only if it’s peeling, chalky, or glossy. Otherwise, clean thoroughly and prime. Removing sound latex paint adds unnecessary risk of damaging underlying plaster layers—especially on historic lath-and-plaster walls.
Is mesh tape necessary for hairline cracks?
Not for true hairlines (<1/16”). Mesh tape adds bulk and visibility unless the crack is actively moving. Reserve it for cracks over 1/8” or those crossing seams between drywall and plaster sections. For fine cracks, proper priming and feathering are more effective.
How long does the repair take to fully cure?
Joint compound dries to the touch in 1–2 hours, but full chemical cure takes 72 hours. Wait at least 24 hours before light sanding and 72 before applying final paint—especially in basements or bathrooms where ambient humidity slows curing.
Can I use spackling paste instead of joint compound?
Only for very short, isolated cracks in low-traffic areas. Spackling shrinks more and lacks the flexibility of lightweight joint compound. On plaster, which expands/contracts differently than drywall, spackle often cracks again within 6 months.
A well-executed hairline crack repair shouldn’t draw attention—it should disappear into the wall like it was never there. Keep your tools handy, monitor for recurrence, and remember: the fastest fix isn’t always the longest-lasting. When in doubt, compare plaster vs. drywall repair techniques or review signs you need a licensed contractor. And if you’re working in a pre-1940 home, consider consulting a specialist familiar with lime-based plaster systems—historic plaster repair demands different chemistry and timing.