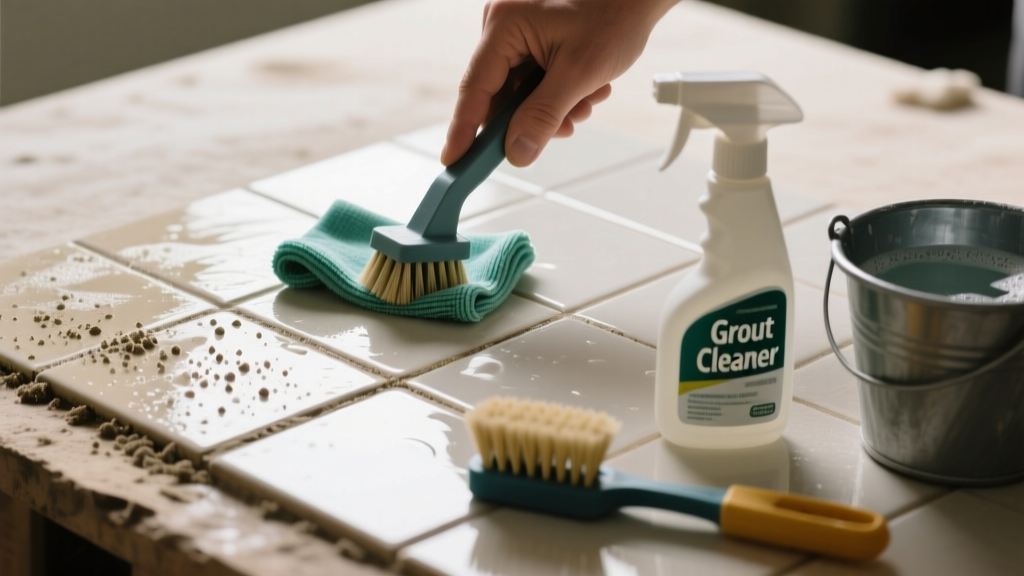
You’ve cleaned your freshly tiled floor or shower wall three times — yet that cloudy, chalky film still clings like stubborn static. Grout haze isn’t just unsightly; if left untreated or improperly removed, it can bond permanently to tile surfaces, especially polished porcelain or natural stone.
Quick Diagnosis
Before grabbing cleaners, confirm what you’re dealing with. Grout haze often mimics other issues — but true haze is a thin, uniform, dull film that wipes unevenly and feels slightly powdery or slippery when damp. It’s not efflorescence (white crystalline deposits from moisture), nor is it soap scum (greasy buildup in wet areas).
- Grout applied too thickly or not fully wiped before initial set
- Using unsealed or absorbent tile (e.g., unglazed ceramic, limestone) without pre-sealing
- Cleaning too early — before grout reached 24–48 hour cure window
- Using acidic cleaners on calcium-based grouts (like non-sanded white grout), causing micro-etching that traps residue
- Hard water minerals reacting with grout residue during rinsing
Tools & Materials Needed
| Item | Purpose | Estimated Cost |
|---|---|---|
| White vinegar (5% acetic acid) | Dissolves mineral-based haze on cementitious grout; safe for most glazed tiles | $2–$4 |
| Microfiber cloths (lint-free, 100% polyester) | Prevents scratching; absorbs residue without leaving fibers | $8–$12 for pack of 6 |
| pH-neutral stone cleaner (e.g., StoneTech All Purpose) | Required for marble, travertine, or limestone — acid-safe alternative | $12–$18 |
| Soft nylon scrub brush (0.003" bristle diameter) | Loosens haze without damaging glaze or polish | $5–$9 |
| Deionized water spray bottle | Eliminates hard water reintroduction during final rinse | $7–$11 |
Step-by-Step Fix
Start conservative and escalate only if needed. Never use abrasive pads or vinegar on natural stone — it will etch instantly.
- Test first: Apply vinegar or neutral cleaner to a 2" x 2" hidden area (e.g., behind toilet or under vanity). Wait 5 minutes, then wipe dry. Check for dulling, cloudiness, or color shift.
- Vinegar soak method (for glazed ceramic/porcelain): Spray undiluted white vinegar, wait 2–3 minutes, gently agitate with nylon brush, then wipe with damp microfiber. Repeat up to 3x. Rinse thoroughly with deionized water.
- Neutral cleaner + heat method (for stubborn haze on large floors): Mix pH-neutral cleaner per label, warm to 105°F (not boiling), apply with soft mop, let dwell 90 seconds, then buff with dry microfiber. Use a second dry cloth immediately after.
- Eraser pad method (last resort for light haze): Use a white vinyl eraser pad (e.g., Hyde 30-220) — not melamine foam — with light pressure and circular motion. Wipe residue with damp microfiber. Stop if surface sheen changes.
When to Call a Pro
DIY becomes risky — and potentially costly — in these scenarios:
- Haze covers more than 80% of a newly installed natural stone surface (marble, onyx, limestone)
- You see visible etching, pitting, or rainbow-like interference patterns after cleaning attempts
- The tile is polished porcelain with an anti-slip coating — abrasives or acids may degrade traction
- You’ve already used muriatic acid or phosphoric acid cleaners and the haze worsened
According to the Ceramic Tile Education Foundation’s 2022 Field Guide, improper grout haze removal accounts for nearly 37% of post-installation service calls — most avoidable with correct timing and chemistry.
Prevention Tips
Grout haze is almost always preventable — if you know the window and technique.
- Wipe grout joints with a dense, damp (not soaking) sponge at 20–30 minute intervals during installation — never let grout dry fully on tile surface
- Use a grout release product (e.g., Aqua Mix Grout Release) on polished or porous tile before grouting
- Wait full 48 hours before first cleaning — even if grout feels dry, hydration continues beneath surface
- Rinse sponges in two buckets: one clean water, one dirty — change water every 3–4 passes
Can I use bleach on this?
No. Bleach does not dissolve grout haze — it’s a disinfectant, not a mineral solvent. It may whiten the appearance temporarily but leaves residue and degrades grout binders over time. The U.S. EPA estimates that 14% of household water usage is from leaks, but chemical misuse causes far more frequent surface damage.
Will a steam cleaner fix it?
Not reliably — and possibly dangerously. Steam can rehydrate uncured grout, soften polymer additives, and force moisture into substrate joints. It’s ineffective on mineral-based haze and risks delamination on large-format tile installations.
Why did my vinegar make it worse?
Vinegar reacts with calcium carbonate in non-sanded grouts (especially white or light-colored), forming a temporary, insoluble calcium acetate film that looks like intensified haze. This is reversible with a pH-neutral rinse and microfiber buffing — but requires immediate action.
Can I seal over grout haze?
Absolutely not. Sealer will lock haze permanently into the surface and create an irreversible cloudy layer. Always confirm complete haze removal by viewing tile at a 45° angle under raking light before sealing.
How long should I wait before walking on the tile after haze removal?
Wait until the surface is completely dry to the touch — usually 1–2 hours — and avoid placing rugs or mats for 24 hours. Residual moisture trapped under fabric can react with residual grout salts and cause new haze formation.
Does grout haze affect grout strength?
No — haze is surface residue only. But if left unremoved, it masks bonding flaws and prevents proper sealer adhesion, which indirectly compromises long-term grout durability and stain resistance.
Grout haze isn’t a sign of failure — it’s a common hiccup in an otherwise solid install. What matters is matching the solution to your tile type, grout chemistry, and timeline. Skip the guesswork: test first, rinse twice, and when in doubt, reach for deionized water instead of stronger chemicals. For future projects, keep a sealant compatibility chart handy and review our grout curing timeline guide before your next cleanup.