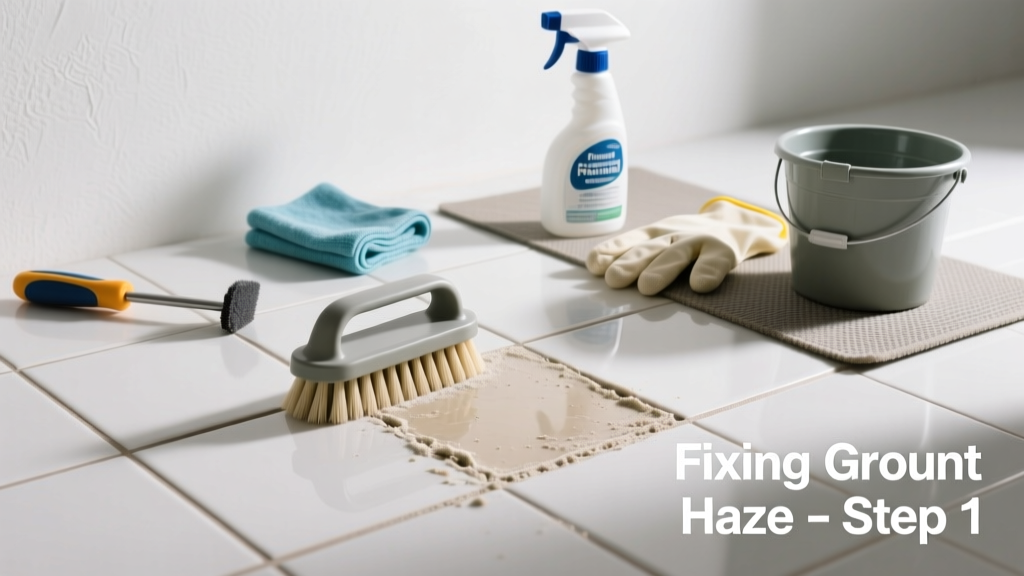
Grout haze that won’t budge after standard cleaning isn’t just stubborn—it’s often a red flag that something deeper is wrong: cracked tile, deteriorated grout joints, or moisture damage underneath. If scrubbing leaves a chalky film *and* the tile feels loose or discolored near the edges, you’re likely dealing with more than surface residue—you’re looking at partial system failure. This guide walks you through diagnosing, replacing, and preventing recurrence—no guesswork.
Quick Diagnosis
Before assuming it’s just haze, rule out these root causes:
- Uncured grout left too long before cleaning (common with cement-based grouts applied in high humidity)
- Efflorescence from water-soluble salts migrating through porous tile or substrate
- Tile lippage or subfloor movement causing micro-cracks that trap residue and moisture
- Grout mixed with too much water or contaminated with soap residue during installation
- Underlayment failure—especially in showers or laundry rooms where moisture bypassed the waterproof membrane
Tools & Materials Needed
| Item | Purpose | Estimated Cost |
|---|---|---|
| Carbide-grit grout removal tool (e.g., Mapei Keraclean Pro) | Removes cured grout without scratching adjacent tile glaze | $18–$24 |
| 1/16" notched trowel | Ensures consistent new grout depth in narrow joints (critical for adhesion) | $7–$12 |
| Epoxy grout (e.g., Spectralock Pro) | Resists staining and chemical breakdown where cement grout failed | $45–$62 per 10 lb pail |
| Tile nippers + safety goggles | Removes chipped or delaminated tile corners without damaging surrounding area | $12–$19 |
| Moisture meter (e.g., Protimeter Surveymaster) | Confirms if substrate moisture exceeds 12% MC—indicating hidden rot or mold risk | $149–$215 |
Step-by-Step Fix
Use Method A for isolated haze with minor grout joint failure; switch to Method B if >3 tiles show movement or discoloration.
- Test substrate integrity: Tap each suspect tile with a plastic mallet. A hollow sound means debonding—mark those tiles for full replacement.
- Remove compromised grout: Use carbide tool at 30° angle to avoid gouging tile edges. Clear all old grout down to 2/3 the joint depth—never leave dust or crumbly residue.
- Cut and remove damaged tile: Score perimeter with diamond blade; use tile nippers to break away pieces inward from edges. Vacuum debris and wipe with denatured alcohol to remove oils.
- Apply thinset and set replacement tile: Use modified thinset (e.g., Laticrete 254 Platinum) and press firmly with twisting motion. Let cure 24 hours before grouting.
- Grout with epoxy: Mix only what you’ll use in 30 minutes. Pack joints fully, then wipe diagonally with damp sponge—rinse sponge every 2 passes to prevent haze re-deposition.
When to Call a Pro
DIY crosses into hazardous territory when:
- You detect >15% moisture reading behind tile in a wet area (per ASTM F2170 standards)
- The affected zone spans more than 4 sq ft in a shower pan or curb—this likely indicates membrane breach
- Adjacent walls or floors show bulging, cracking, or musty odors (signs of structural rot)
- You’re working over radiant heat cables or embedded plumbing lines without shutoff access
"Over 68% of grout haze complaints linked to tile replacement involve undetected substrate moisture—most homeowners miss this until mold appears behind baseboards." — Tile Council of North America Handbook, 2022 Edition
Prevention Tips
Stop recurrence before it starts:
- Wait minimum 72 hours after tile installation before grouting (longer in temps below 65°F or above 85% RH)
- Always use a grout release agent on polished stone or unglazed porcelain before grouting
- Wipe grout residue with cheesecloth—not sponges—during initial cleanup to avoid embedding particles
- Seal grout joints with penetrating silane/siloxane sealer (e.g., Aqua Mix Sealer’s Choice Gold) every 18 months in kitchens, annually in bathrooms
Can I use vinegar to remove grout haze?
No—vinegar’s acidity etches cement-based grout and dissolves sealers. It may temporarily lighten haze but accelerates powdering and joint erosion. For light haze, use a pH-neutral grout cleaner like Aqua Mix Grout Cleaner.
Does grout haze mean my tile is defective?
Rarely. Haze is almost always an installation or maintenance issue—not a tile flaw. Porcelain and ceramic tiles themselves don’t produce haze; improper grout mixing, curing, or cleaning does. Check your top 5 tile installation mistakes for comparison.
How long should I wait before sealing new grout?
Wait at least 7 days for cement grout, 72 hours for urethane, and 24 hours for epoxy—per manufacturer specs. Rushing sealer application traps moisture and causes whitening or hazing. Always test absorbency with a water droplet first.
Can I grout over existing grout haze?
Never. Haze creates a non-porous barrier that prevents new grout adhesion. It will delaminate within weeks. You must fully remove haze—or replace the tile—if it’s bonded to the glaze surface.
Is efflorescence the same as grout haze?
No. Efflorescence is white, powdery salt deposits from groundwater wicking through mortar or substrate. It wipes off easily but returns if moisture source isn’t fixed. True grout haze is a film bonded to tile surface from uncured grout residue.
Do I need to replace the whole floor if one tile has haze-related damage?
Not unless testing reveals widespread substrate failure. Isolate and replace only affected tiles—but inspect adjacent joints with a 10x magnifier for hairline cracks. If more than 5% of visible joints show crumbling, consider full regrouting with epoxy.
Replacing part of a grouted system isn’t about aesthetics alone—it’s about stopping moisture migration before it reaches framing or insulation. A single failed joint can cost $300 in drywall repair later; catching it early with targeted replacement saves time, money, and headaches. Keep your grout joint depth consistent, your substrate dry, and your cleanup method precise—and you’ll rarely face this problem twice.