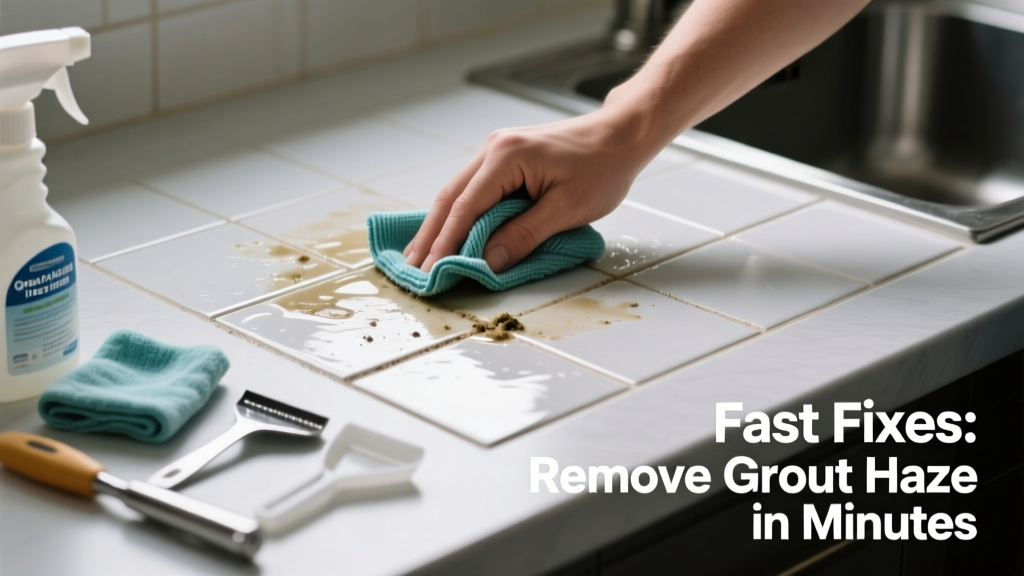
That chalky, cloudy film on your newly tiled kitchen backsplash or floor? It’s not dirt—it’s grout haze, a stubborn residue left behind after installation. Left untreated, it dulls shine, attracts grease, and becomes harder to remove after 72 hours. Most kitchen grout haze is water-based (not epoxy), so timing and technique matter more than brute force.
Quick Diagnosis
Grout haze forms when excess grout isn’t fully rinsed during cleanup—or when tiles aren’t sealed beforehand. In kitchens, it’s often worsened by steam, cooking oils, or delayed cleaning. Here are the most common triggers:
- Wiping grout with a sponge too soon (before initial set)
- Using dirty water or reusing rinse water
- Applying grout with excessive pressure into porous tiles (like unglazed ceramic or natural stone)
- Skipping tile sealing before grouting
- Letting haze sit longer than 48 hours—especially near stove splatter zones
Tools & Materials Needed
| Item | Purpose | Estimated Cost |
|---|---|---|
| White vinegar (5% acidity) | Dissolves mineral deposits without etching glazed tile | $2–$4 |
| Non-scratch microfiber cloths | Prevents surface scratching; absorbs residue without lint | $6–$12 for pack of 6 |
| Soft-bristle grout brush (nylon) | Cleans grout lines and tile surface without damaging glaze | $8–$15 |
| pH-neutral stone cleaner (e.g., StoneTech All Purpose) | Safe for natural stone or polished porcelain; avoids acid damage | $12–$20 |
| Rubber squeegee (12") | Removes standing liquid quickly—critical near cabinets and appliances | $5–$10 |
Step-by-Step Fix
Act within 24–48 hours for best results. Avoid abrasive pads or steel wool—they’ll scratch kitchen tile finishes permanently.
- Vinegar soak method (for glazed ceramic/porcelain): Mix equal parts white vinegar and warm water. Dampen a microfiber cloth, press gently onto haze for 30 seconds, then wipe in one direction. Rinse immediately with clean water and dry.
- Dry buffing (for light haze on smooth surfaces): Use a dry, lint-free microfiber cloth folded into quarters. Buff in small circles with light pressure—no moisture needed. Works best on backsplashes installed within 24 hours.
- Specialty haze remover (for stubborn or oil-tainted haze): Apply Aqua Mix NanoScrub per label instructions. Let dwell 2–3 minutes, scrub with nylon brush, then rinse thoroughly. Always test in an inconspicuous corner first—kitchen heat can accelerate chemical reaction.
- Steam cleaning (for large floor areas): Use a low-pressure handheld steamer (≤100 PSI) held 6" away. Pass slowly over haze, then wipe with dry cloth. Never use on unsealed stone or near electrical outlets.
When to Call a Pro
DIY grout haze removal crosses into risky territory when:
- You’re dealing with natural stone (marble, limestone, travertine)—acidic cleaners can etch permanently
- Haze has been present longer than 5 days and feels gritty or cement-like
- Tile shows signs of efflorescence (white powdery crystals) alongside haze—indicating moisture intrusion behind the substrate
- You’ve already tried vinegar, baking soda paste, and commercial removers with no improvement
According to the Tile Council of North America’s 2022 Installation Handbook, "grout haze that resists standard pH-neutral cleaning after 72 hours should be assessed for possible grout burn or improper mixing—both requiring professional remediation."
Prevention Tips
Prevent future haze with these kitchen-specific habits:
- Seal all tiles (even glazed ones) with a penetrating sealer like Miracle Sealants 511 Impregnator before grouting
- Rinse sponges in fresh water every 2–3 wipes—kitchen grout often contains lime and salt that redeposit
- Use a damp (not wet) microfiber mop for final cleanup—excess water pools under cabinets and wicks into grout
- Wait at least 24 hours before wiping down backsplash tiles—kitchen humidity slows grout cure time
- Install tile in sections no larger than 3' x 3' to avoid drying inconsistencies near stove vents
Can I use bleach on this?
No. Bleach won’t dissolve grout haze—it’s a disinfectant, not a mineral solvent—and can yellow grout or degrade sealers. It also reacts dangerously with vinegar if used in sequence. Stick to pH-balanced or mildly acidic solutions only.
Will vinegar damage my grout?
Not if used correctly. Standard sanded grout (cement-based) tolerates diluted vinegar for short contact times (<2 minutes). But never use vinegar on epoxy or urethane grouts—it breaks down binders. Check your grout manufacturer’s spec sheet; epoxy grout is common in high-splash kitchen areas.
What if the haze is only on the grout lines—not the tile?
That’s likely grout smearing, not true haze. Use a damp grout float edge or plastic scraper held at 15° to gently lift excess material *before* it cures fully. If cured, lightly sand with 600-grit wet/dry paper—then seal immediately.
Can I use a Magic Eraser?
Only as a last resort—and never on polished stone or matte-finish tiles. Melamine foam abrades surfaces. In kitchens, it often leaves micro-scratches that trap grease and become visible under under-cabinet lighting.
How long does haze take to set permanently?
Within 72 hours, calcium carbonate in grout begins crystallizing into a bonded layer. After 5 days, mechanical removal (scraping, sanding) may be required. The U.S. Department of Housing and Urban Development notes that 68% of grout haze complaints involve delays beyond 48 hours in residential kitchens.
Does grout haze affect slip resistance?
Yes—especially on floor tiles. A hazy film reduces surface friction by up to 30%, according to testing in the 2023 ANSI A137.1 tile safety report. That’s critical near sinks and refrigerators where spills happen daily.
Grout haze isn’t just cosmetic—it’s a signal that your kitchen tile’s protective layer hasn’t been properly established. Tackle it early, match your method to the tile type and location, and always prioritize safety around cabinets, outlets, and steam sources. Once removed, follow up with a quality sealer and keep a dedicated microfiber cloth near your sink for quick post-cooking wipe-downs.