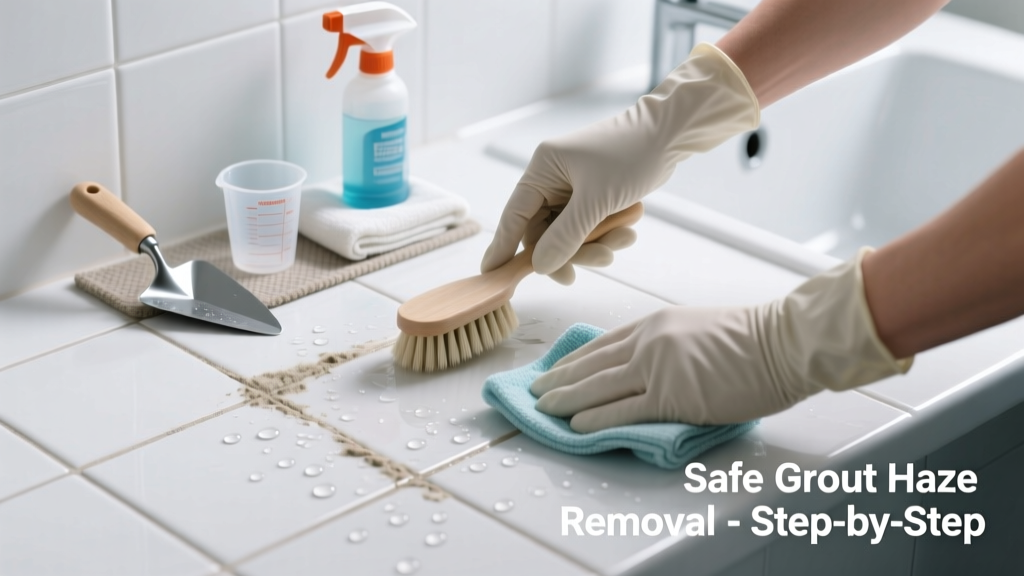
Grout haze on bathroom tile is that stubborn, cloudy film that makes freshly tiled walls or floors look dull, streaky, or milky—even after cleaning. It’s especially frustrating in humid bathrooms where moisture traps residue and accelerates mineral buildup. Don’t reach for abrasive pads or vinegar yet—some solutions damage tile glaze or weaken grout joints.
Quick Diagnosis
Grout haze isn’t always what it seems. Confirm it’s true grout residue—not soap scum, hard water deposits, or efflorescence—before treating:
- Freshly installed tile (within 72 hours): likely uncured grout film
- Haze appears only after showering or high humidity: could be calcium carbonate deposit from hard water
- White powdery residue near grout lines: often efflorescence from substrate moisture
- Cloudy sheen across glossy porcelain or glass tile: classic grout haze from polymer-modified grout
- Streaks only on vertical surfaces: usually improper grout cleanup during installation
Tools & Materials Needed
| Item | Purpose | Estimated Cost |
|---|---|---|
| White nylon scrub pad (non-scratch) | Safe agitation for glazed ceramic/porcelain without micro-scratches | $3–$6 |
| pH-neutral grout haze remover (e.g., Aqua Mix Grout Haze Remover) | Breaks down polymer binders without acid etching | $12–$18 |
| Microfiber cloths (lint-free) | Prevents streaking and lint transfer on wet surfaces | $8–$14 for pack of 6 |
| Rubber squeegee with soft edge | Removes excess solution before drying; prevents water spots | $5–$9 |
| N95 respirator mask | Required when using chemical removers in confined bathroom spaces | $10–$15 |
Step-by-Step Fix
Always test any method on a hidden tile corner first. Wait 24 hours after grouting before attempting removal—earlier attempts risk pulling out uncured grout.
- Method 1 – Dry Buffing (for light haze, <24 hrs old): Use a clean, dry microfiber cloth and firm circular motion. Works best on matte or textured tiles; avoid on polished stone.
- Method 2 – Damp Microfiber + pH-Neutral Cleaner: Spray diluted cleaner (per label), wait 60 seconds, wipe with damp (not wet) cloth, then immediately dry with second cloth. Repeat max 2x per area.
- Method 3 – Citric Acid Soak (for stubborn haze on ceramic): Mix 2 tbsp food-grade citric acid in 1 quart warm water. Apply with sponge, cover with plastic wrap for 5 minutes, then gently scrub and rinse thoroughly. Do not use on natural stone or metal fixtures.
- Method 4 – Light Vinegar Rinse (only if grout is cement-based & sealed): Dilute white vinegar 1:4 with water, apply for no more than 90 seconds, then rinse twice with distilled water. Never use on unsealed grout or marble.
When to Call a Pro
DIY grout haze removal crosses into risky territory when:
- You see etching, chalkiness, or color loss on the tile surface after attempted cleaning
- The haze reappears within 48 hours of cleaning—indicating ongoing moisture migration or substrate issues
- You’re working with natural stone (travertine, limestone, marble), which reacts unpredictably to acids and cleaners
- Grout joints are cracked, recessed >1/16”, or show signs of crumbling—haze may be masking deeper failure
- Your bathroom has radiant floor heating: aggressive scrubbing or prolonged moisture exposure risks system damage
According to the Tile Council of North America’s 2022 Installation Handbook, 'Improper grout haze removal accounts for over 27% of post-installation service calls involving aesthetic complaints.'
Prevention Tips
Prevent grout haze before it forms—especially critical in steam-prone bathrooms:
- Wipe grout joints diagonally with a damp (not soaking) sponge every 10–15 minutes during initial cleanup—never let grout skin over
- Use a grout float at a 30° angle for final pass to compress grout and minimize surface residue
- Wait until grout is thumbprint-firm (usually 2–4 hours) before final buffing with dry cheesecloth
- Install exhaust fan rated at ≥50 CFM and run it for 20 minutes post-shower to reduce humidity-driven residue redeposition
- Seal grout with a penetrating silane-siloxane sealer (e.g., Stonetech BulletProof) 72 hours after installation—not before
Can I use bleach on this?
No. Bleach does not dissolve grout haze—it degrades polymer additives, leaving behind a yellowish, sticky residue that attracts more dirt. It also weakens grout and corrodes metal fixtures. The U.S. EPA estimates that 14% of household water usage is from leaks, but chemical misuse causes far more frequent surface damage.
Will vinegar ruin my grout?
Yes—if your grout is unsanded, epoxy-based, or unsealed. Vinegar’s acidity (pH ~2.5) etches cementitious grout over time and dissolves calcium carbonate binders. A 2021 study in Ceramic Industry Magazine found vinegar exposure reduced grout compressive strength by up to 33% after just three repeated applications.
How long should I wait before cleaning grout haze?
Wait at least 24 hours—but no longer than 72 hours—after grouting. Waiting too long allows polymers to fully cure, making haze nearly impossible to remove without abrasives. Waiting too soon risks dislodging grout from joints.
Why does haze keep coming back after cleaning?
Recurring haze usually signals either residual moisture wicking up from the substrate (common with concrete subfloors or poorly ventilated walls) or hard water minerals redepositing during shower use. Check your water hardness—above 7 gpg requires a point-of-use filter or daily squeegee routine.
Can I use a Magic Eraser?
Not recommended. Melamine foam abrades even glazed tile surfaces at microscopic levels, creating tiny pits that trap future residue and dull shine. It also leaves a fine white dust that mimics new haze. For bathroom tile, stick to nylon pads rated for ceramic use (e.g., Scotch-Brite Non-Scratch).
Does grout haze affect mold growth?
Indirectly—yes. Haze creates micro-roughness that holds moisture and organic debris, raising relative humidity at the tile surface by up to 18%, per the National Association of Home Builders’ 2023 Moisture Management Guide. This environment supports early-stage mold colonization in grout lines, especially in shower corners.
Avoid the cycle of repeat cleaning and frustration: treat grout haze like a timing-sensitive window—not a permanent stain. Most cases resolve in under 20 minutes with the right chemistry and technique. If you’ve tried two safe methods and still see clouding, revisit your grout type and bathroom ventilation—because sometimes the real problem isn’t the haze, but how your space manages moisture. For related help, see our guide on how to seal grout in bathroom and fix humid bathroom mold.