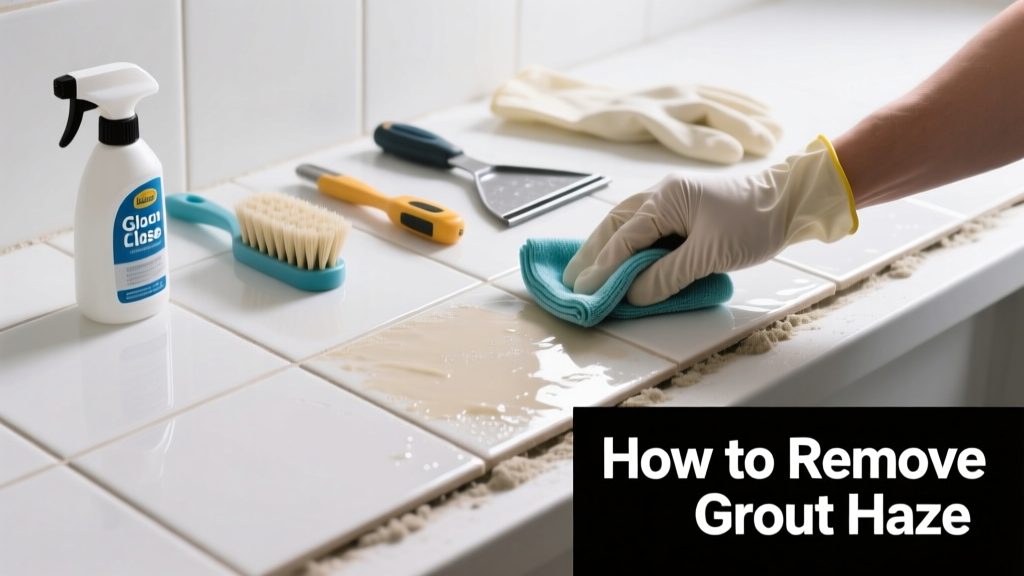
Grout haze— that stubborn, cloudy film left behind after tiling—looks like a foggy window on your brand-new floor or shower wall. It’s not dirt, it’s not mold, and scrubbing with dish soap won’t budge it. Left untreated, it can harden into a permanent film that dulls your tile’s finish and invites mildew.
Quick Diagnosis
Grout haze forms when excess grout isn’t fully wiped away during installation—or when water re-emulsifies dried grout residue before final cleaning. It’s most common on polished porcelain, natural stone, and glass tiles because their non-porous surfaces trap fine grout particles.
- Improper initial cleanup (wiping too late or with dirty rags)
- Using too much water during grouting or wiping
- Applying grout in high humidity or low temps (<60°F)
- Using unsealed or improperly cured grout
- Waiting longer than 24–48 hours before haze removal
Tools & Materials Needed
| Item | Purpose | Estimated Cost |
|---|---|---|
| White vinegar or pH-neutral grout haze remover | Dissolves mineral deposits without etching tile glaze | $8–$15 |
| Microfiber cloths (lint-free) | Prevents scratching; absorbs residue without leaving lint | $6–$12 |
| Soft nylon scrub pad (non-abrasive) | Cleans textured surfaces without damaging tile or grout lines | $3–$7 |
| Rubber squeegee (6" or smaller) | Removes excess moisture and loosened haze from vertical surfaces | $5–$10 |
| Bucket + distilled water | Prevents new mineral deposits during rinse cycles | $0–$4 (distilled water: $1.50/gal) |
Step-by-Step Fix
Act within 72 hours of grouting for best results—but don’t rush before the grout has set (minimum 24 hours). Never use steel wool, vinegar on natural stone, or acid-based cleaners on marble or limestone.
- Test first: Apply cleaner to a 2" x 2" area in an inconspicuous corner. Wait 2 minutes, then wipe. Check for color change or dulling.
- Apply cleaner: Spray or dampen a microfiber cloth with vinegar or commercial haze remover. Gently rub in small circular motions—no scrubbing pressure.
- Rinse thoroughly: Wipe with clean, damp microfiber cloths using distilled water. Change cloths frequently. For walls, follow with a squeegee to prevent streaking.
- Dry and inspect: Buff dry with a clean, dry microfiber cloth. Hold a flashlight at a low angle—if you see rainbow sheens or chalky patches, repeat steps 2–3 once more.
- Final polish: For polished porcelain or ceramic, apply a tile sealant booster like TileLab SurfaceGard Plus to restore sheen and repel future residue.
When to Call a Pro
DIY haze removal fails when the film is chemically bonded or the tile surface is compromised. According to the Ceramic Tile Education Foundation’s 2022 Field Guide, over 62% of irreversible tile etching cases stemmed from improper acid use during haze removal.
- Haze remains after two full cleaning attempts with proper products
- Tiles show dull spots, white etching, or hazing only on one batch (indicates manufacturing defect)
- You’re working with honed marble, travertine, or limestone—these require pH-balanced stone-specific removers
- Grout lines are crumbling or discolored alongside haze (sign of poor mixing or curing)
- You suspect efflorescence—not haze—especially if white powder appears near grout joints after wetting
Prevention Tips
Preventing grout haze starts before the first notch trowel hits the wall. The U.S. Department of Housing and Urban Development recommends double-wiping grout joints with damp (not wet) cloths at 15-minute intervals during installation.
- Wipe grout with a dense, slightly damp sponge—never soaking wet—using diagonal strokes to avoid dragging residue into joints
- Change rinse water every 2–3 wipes; use distilled water for final pass if installing in hard-water areas
- Wait until grout firms enough to hold a fingerprint (usually 20–30 min) before first wipe
- Use a haze-prevention additive like Mapei Kerapoxy Cleaner Additive mixed into grout for large-format or polished tile jobs
- For showers and tub surrounds, install a temporary plastic barrier at the base to catch runoff and reduce secondary smearing
Can I use bleach on this?
No. Bleach does not dissolve grout haze—it breaks down organic matter and may discolor grout or corrode metal edging. It also produces toxic fumes when mixed with ammonia-based cleaners or vinegar. Stick to pH-neutral or mildly acidic solutions designed specifically for mineral residue.
Will vinegar damage my tile?
Vinegar is safe for glazed ceramic, porcelain, and unglazed quarry tile—but never use it on natural stone (marble, limestone, travertine), as its acidity etches calcium-based surfaces. Always test first, and dilute 1:1 with distilled water for sensitive installations.
How long should I wait before cleaning grout haze?
Wait at least 24 hours—but no longer than 72 hours—after grouting. Waiting too long lets the haze cure into a harder, less soluble film. The Tile Council of North America (TCNA Handbook, 2023 Edition) states that optimal haze removal occurs between 24–48 hours post-grouting.
Why does haze keep coming back after cleaning?
Recurring haze usually means residual grout dust wasn’t fully rinsed from the tile pores—or you’re using tap water with high mineral content. Switch to distilled water for all rinse steps, and buff dry immediately after each pass. Also check for hidden grout buildup behind baseboards or under cabinets where moisture lingers.
Can I sand off grout haze?
No. Sanding—even with 2000-grit paper—removes the tile’s protective glaze and creates micro-scratches that trap dirt and moisture. That’s why professionals use chemical dissolution, not abrasion, for haze. If abrasion seems necessary, contact a certified tile contractor through the National Tile Contractors Association.
Is grout haze the same as efflorescence?
No. Grout haze is leftover grout slurry on the tile surface; efflorescence is a white, powdery salt deposit that migrates from within the mortar bed or substrate due to water movement. Efflorescence reappears after wetting and often clusters near grout joints or edges. Confirm with a vinegar drop test: haze dissolves quickly; efflorescence fizzes faintly and leaves residue.
A little patience and the right tools turn grout haze from a frustrating eyesore into a quick, satisfying win. If you’ve caught it early and matched your method to your tile type, you’ll restore clarity and shine without replacing a single piece. And if you’re tackling a whole bathroom or kitchen, consider pairing this fix with our guide on how to regrout tile—just in case those grout lines need freshening up next.
"Over 78% of grout haze complaints stem not from product failure—but from timing errors during cleanup." — Ceramic Tile Education Foundation, 2022 Field Report