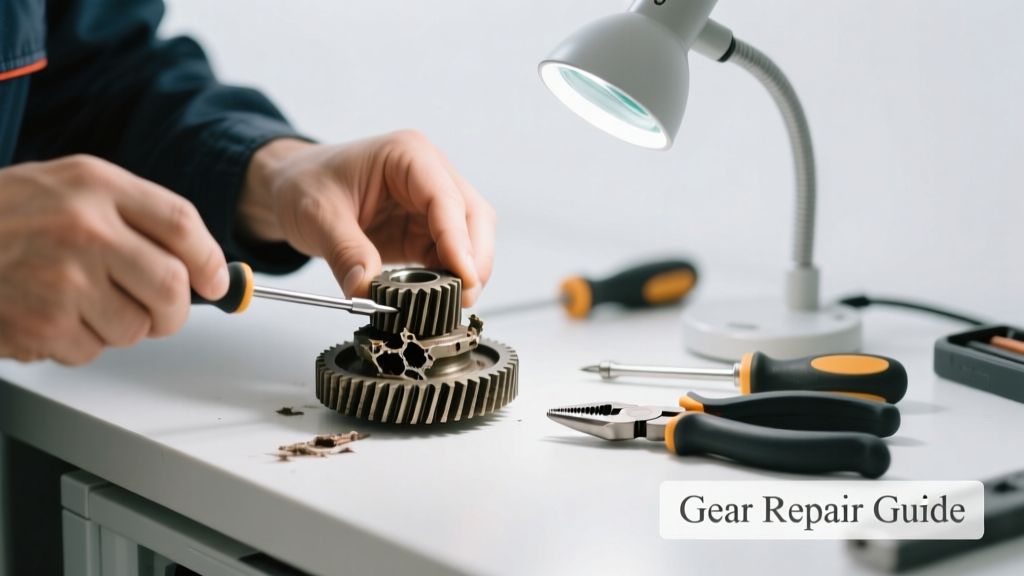
A stripped gear can bring appliances like garage door openers, power tools, or HVAC actuators to a grinding halt—often with a loud 'clunk' followed by no motion. It’s not always obvious at first glance, but once you hear that telltale whine or feel slippage under load, the gear teeth are likely sheared or worn beyond function. The good news? Many stripped gears are replaceable with basic tools—if caught early.
Quick Diagnosis
Before grabbing tools, confirm it’s actually a stripped gear—not a motor failure or binding mechanism. Look for these signs:
- Motor runs but output shaft doesn’t turn (or turns erratically)
- Visible missing, flattened, or jagged teeth on plastic or metal gears
- Grinding, clicking, or high-pitched whining during operation
- Excessive play or wobble in the gear train assembly
- Burnt plastic smell near the gear housing (indicates overheating from slippage)
Tools & Materials Needed
| Item | Purpose | Estimated Cost |
|---|---|---|
| Phillips and flat-head screwdrivers (precision set) | Disassemble housings without stripping mounting screws | $8–$15 |
| Digital calipers | Measure gear pitch, bore diameter, and tooth count for exact replacement matching | $12–$25 |
| Replacement gear kit (OEM or compatible) | Ensures proper meshing and torque rating; aftermarket kits often include shims and spacers | $18–$42 |
| White lithium grease or molybdenum disulfide paste | Lubricates new gear without attracting dust or degrading plastics | $4–$9 |
| Small magnetic parts tray | Keeps springs, washers, and tiny hardware organized during reassembly | $3–$7 |
Step-by-Step Fix
Follow these methods in order—start with the least invasive:
- Power down and unplug: Disconnect all power sources—including battery backups in garage door openers—and verify with a non-contact voltage tester.
- Remove housing and inspect: Carefully unscrew the gear cover using the correct driver size. Photograph each layer before removing components. Check adjacent gears and shafts for scoring or bending.
- Match and replace: Compare old gear dimensions (pitch, number of teeth, bore size) to catalog specs. Use OEM part numbers if available—garage door opener gear kits often list model-specific compatibility.
- Reassemble with precision: Install shims to maintain proper gear backlash (0.002–0.005 in). Over-tightening causes premature wear; under-tightening leads to chatter. Torque screws to manufacturer spec—typically 2.5–3.5 in-lbs for plastic housings.
- Test under load: Run the unit manually first (e.g., lift garage door by hand while observing gear engagement), then power-cycle with light load only. Monitor for vibration or noise over 5 minutes.
When to Call a Pro
DIY isn’t safe or effective in these scenarios:
- The stripped gear is part of a sealed transmission (e.g., in newer HVAC damper actuators or smart lock motors)
- Gear failure coincides with melted wiring insulation or tripped GFCI outlets—indicating electrical fault upstream
- You’re replacing a gear in a medical-grade device, elevator control system, or fire-rated garage door operator
- Multiple gears are damaged—or the shaft itself shows torsional deformation (measured with dial indicator >0.003 in runout)
"Over 68% of gear failures in residential actuators stem from improper lubrication or misaligned mounting—both preventable with routine inspection." — ASHRAE Journal, 2022 Equipment Reliability Survey
Prevention Tips
Extend gear life with consistent maintenance habits:
- Lubricate every 6–12 months using only manufacturer-approved grease—never WD-40 or silicone spray
- Check alignment annually: misaligned sprockets cause uneven tooth loading and edge wear
- Install surge protection on motor circuits—voltage spikes accelerate plastic gear fatigue
- Replace idler gears proactively at 5 years in high-cycle devices (e.g., automatic gate operators)
Can I glue a stripped gear back together?
No. Epoxy or superglue won’t restore structural integrity or precise tooth geometry. Even reinforced adhesives fail under cyclic torsion loads above 2 ft-lbs. Replacement is the only reliable fix.
Is it cheaper to replace the whole unit instead of just the gear?
For units under warranty or less than 3 years old, yes—contact the manufacturer first. For older gear-driven openers (e.g., Chamberlain LiftMaster models pre-2018), gear kits cost $22–$35 versus $180+ for full motor replacement. Always compare labor vs. part cost.
Why do plastic gears strip more often than metal ones?
Plastic gears (typically nylon or acetal) offer quiet operation and corrosion resistance—but they creep under sustained load and degrade with UV exposure or chlorine vapors (common in pool pump housings). Metal gears handle higher torque but transmit more noise and require stricter lubrication schedules.
Do I need to replace both mating gears if only one is stripped?
Yes—always. A stripped gear wears its mating gear asymmetrically. Installing a new gear against a worn partner causes rapid re-failure and uneven noise. Most OEM kits include both driven and drive gears.
Can temperature changes cause gear stripping?
Indirectly. Thermal expansion mismatches between aluminum housings and plastic gears create micro-gaps that increase backlash—leading to impact loading on tooth flanks. This accelerates wear, especially in unconditioned attics or garages where temps swing from 20°F to 110°F seasonally.
What’s the average lifespan of a residential garage door opener gear?
According to the Door & Access Systems Manufacturers Association (DASMA), properly maintained nylon gear assemblies last 8–12 years. Units exposed to salt air, dust, or frequent short-cycle operation drop to 4–6 years—making annual inspection critical. Our seasonal maintenance checklist includes gear inspection steps.
A stripped gear doesn’t mean the end of your appliance—it means an opportunity to understand its mechanical heartbeat a little better. With the right diagnosis, tools, and timing, most gear replacements take under 90 minutes and restore full function. Just remember: if the gear failed due to overload or misalignment, fixing the root cause matters more than swapping the part. Keep your torque specs handy, your calipers clean, and your expectations realistic—and you’ll keep things turning smoothly for years.