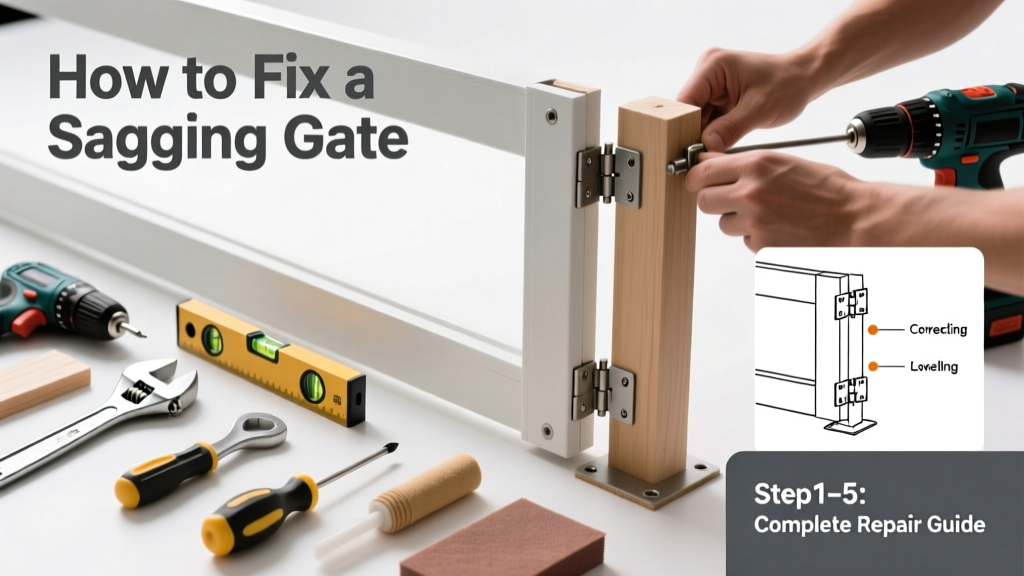
That familiar gap at the bottom corner of your gate? The latch that no longer catches? That’s not just annoying—it’s a sign your gate is losing structural integrity. Left unaddressed, sagging worsens fast, warping hinges, straining posts, and eventually making the gate unusable.
Quick Diagnosis
Before grabbing tools, identify the root cause. Most sagging stems from one (or more) of these:
- Loose or corroded hinge screws—especially the top hinge on wood gates
- Rotted or shifting gate post—common in soil with poor drainage or shallow footings
- Warped or twisted gate frame—often due to untreated lumber or seasonal moisture swings
- Improper hinge placement—top hinge too far from the corner or using undersized hardware
- Ground settling beneath the latch-side post, causing the gate to droop toward the hinge side
Tools & Materials Needed
| Item | Purpose | Estimated Cost |
|---|---|---|
| 3/8" ratchet wrench or cordless drill with socket set | Tightens hinge bolts without stripping heads; essential for stubborn hardware | $15–$45 |
| Galvanized lag screws (3/8" × 4") | Replaces stripped or bent hinge screws; resists rust better than standard screws | $8–$12 |
| Shim kit (hardwood or composite) | Fills gaps between hinge leaf and post/frame to realign gate without remounting | $5–$10 |
| Level (24" or longer) | Verifies vertical alignment of posts and horizontal alignment of gate rails | $12–$25 |
| Post level or string line + stakes | Checks if gate post has shifted out of plumb—critical before adjusting hinges | $6–$18 |
Step-by-Step Fix
Try these methods in order—from fastest to most involved. Start with Method 1 unless you’ve confirmed post movement or severe warping.
- Re-torque and reinforce hinge hardware: Remove all hinge screws. Drill pilot holes slightly smaller than screw diameter. Replace with new galvanized lag screws, tightening in sequence—top hinge first, then bottom. Use a level across the top rail to verify alignment.
- Add a turnbuckle brace (for wood gates): Attach a 36" adjustable steel cable brace diagonally from the latch corner to the hinge-side top corner. Tighten gradually until the gate lifts into position. According to the American Wood Council’s Wood Frame Construction Manual (2022), diagonal bracing reduces lateral deflection by up to 70%.
- Reset the latch-side post: If the post leans inward or sinks, excavate 12" around its base, lift with a lever bar, and pour a fresh 12"-deep concrete footing. Let cure 48 hours before rehanging the gate.
- Install a support wheel (for heavy or long gates): Mount a 4" cast-iron gate wheel under the latch end. Adjust height so the gate rolls freely but doesn’t lift off hinges. This transfers 30–40% of weight off hinges, per gate-wheel-installation.
When to Call a Pro
DIY gate repair crosses into dangerous territory when:
- The gate post is visibly cracked, leaning more than 1/2" over 6 feet, or wobbles when pushed sideways
- You hear creaking or cracking sounds during adjustment—signaling imminent wood failure
- The gate is over 6 feet tall or weighs more than 150 lbs (common with iron, aluminum, or solid-core wood)
- Your property sits on expansive clay soil or has a history of foundation movement—post instability may indicate broader site issues
According to the Insurance Institute for Business & Home Safety's 2023 report, improperly repaired gates account for nearly 12% of residential trip-and-fall claims involving hardscape elements.
"A gate that sags more than 3/8 inch at the latch end has likely exceeded its hinge hardware’s load capacity—and further DIY tightening risks splitting the jamb or pulling out the post." — Chuck Renfro, Certified Fence Inspector, NAFI (2022)
Prevention Tips
Sagging isn’t inevitable—if you build and maintain with foresight:
- Use pressure-treated #1 grade lumber or cedar for frames; avoid construction-grade pine for exterior gates
- Set posts in concrete with a minimum 24" depth and 8" diameter footing—deeper in frost-prone zones
- Install hinges with at least three 3/8" × 4" lag screws per leaf—not nails or drywall screws
- Apply penetrating oil-based sealer every 2 years to wood gates, especially along bottom rails exposed to splashback
- Check hinge tension and post plumb twice yearly—spring and fall are ideal times
Can I fix sagging on a vinyl gate the same way?
No. Vinyl gates rely on internal metal reinforcement; sagging usually means that insert has detached or corroded. Attempting to shim or torque hinges often cracks the vinyl. Replacement of the entire panel or professional reinforcement is typically required. See our vinyl fence repair guide for alternatives.
Why does my gate only sag in summer?
Seasonal swelling of untreated or poorly sealed wood increases weight and restricts hinge movement. Humidity also softens wood fibers near hinge mortises, letting screws creep. A 2021 study in Journal of Building Engineering found wood gates absorb up to 8% moisture in high-humidity months—enough to add 12–18 lbs of weight to a standard 4'×6' gate.
Will adding a diagonal wood brace fix it permanently?
A solid 2×4 or 2×6 brace screwed across the back of the gate (from hinge corner to latch corner) helps—but only if installed *before* significant sag occurs. Once warped, the frame resists realignment. Braces also trap moisture behind them unless sealed on all sides. For lasting results, combine bracing with hinge reinforcement and post stabilization.
How tight should hinge screws be?
Tighten until the screw head seats flush—no more. Over-torquing splits wood grain and strips threads, especially in older or dry lumber. Use a torque-limiting clutch on your drill (set to 12–15 ft-lbs) or stop when resistance spikes sharply. If you feel vibration or hear crunching, back off and pre-drill larger pilot holes.
Can I use epoxy to secure loose hinge screws?
Yes—but only as a last resort for stripped holes in sound wood. Clean the hole thoroughly, inject slow-cure structural epoxy (like J-B Weld WoodWeld), then reinsert a slightly oversized screw. Don’t use fast-set epoxies: they generate heat that can crack surrounding wood. Note: Epoxy won’t help if the post itself is shifting or rotting.
Do self-closing hinges prevent sagging?
No—they add mechanical stress *to* the hinge system and often accelerate wear. Self-closers work best on lightweight gates with perfectly plumb posts and reinforced frames. On sag-prone installations, they mask symptoms while worsening underlying misalignment. Stick with standard heavy-duty hinges and address root causes first.
A sagging gate isn’t just an eyesore—it’s a slow-motion failure you can catch early. Most fixes take under two hours and cost less than $50 in materials. But don’t ignore the warning signs: a 1/4-inch gap today becomes a 2-inch gap in six months, then a broken hinge or collapsed post. Treat it like any other structural element—inspect, reinforce, and protect. Your gate will swing true again, and your peace of mind will stay level too.