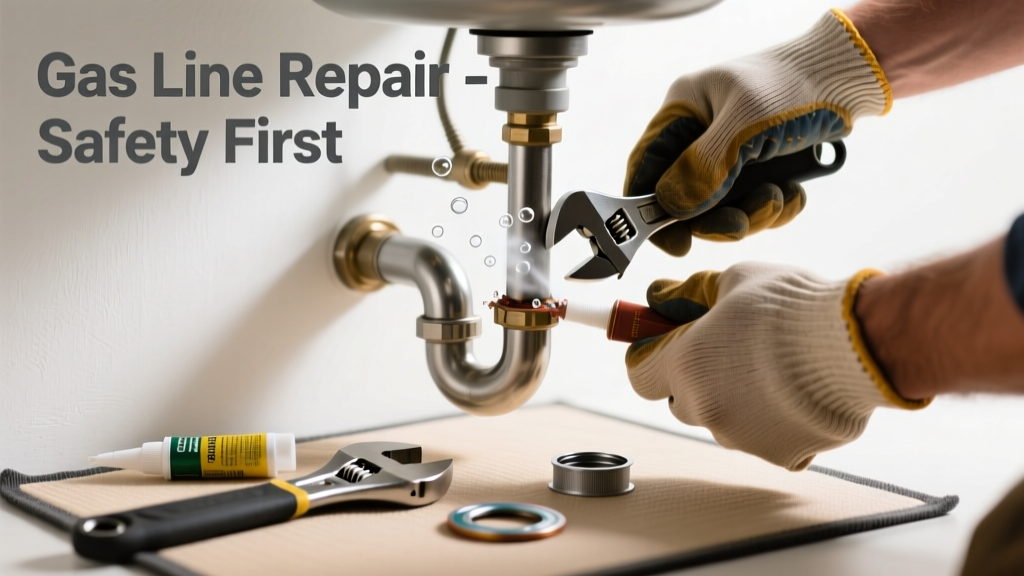
If your gas line is making a high-pitched whistle, a steady hiss, or intermittent popping sounds, it’s not just annoying — it’s a red flag. These noises often signal escaping gas, which poses fire, explosion, and carbon monoxide risks. Don’t ignore them, but don’t panic either: many causes are simple and fixable with basic tools and caution.
Quick Diagnosis
Start by ruling out harmless sources (like appliance regulators or venting), then focus on these most common leak-related culprits:
- Hissing near a pipe joint or valve — indicates a loose or corroded connection
- Whistling from a flexible connector — often due to kinking or internal damage
- Popping or sputtering when igniting an appliance — suggests air in the line or partial blockage
- Gurgling or bubbling sound near buried lines — may point to moisture intrusion or soil shifting
- Intermittent ticking after turning off gas — could mean thermal contraction in aging black iron pipe
Tools & Materials Needed
| Item | Purpose | Estimated Cost |
|---|---|---|
| Soapy water solution (dish soap + water) | Non-toxic leak detection spray; bubbles reveal escaping gas | $0.50–$2.00 |
| Adjustable wrench (10–12 inch) | Tightens brass or steel fittings without stripping threads | $12–$25 |
| Gas-rated Teflon tape (yellow) | Seals tapered pipe threads; standard white tape isn’t rated for gas | $3–$6 |
| Digital manometer (0–15 psi range) | Measures gas pressure drop over time — critical for verifying seal integrity | $45–$95 |
| Replacement flexible gas connector (CSA-certified) | Replaces cracked, kinked, or outdated corrugated stainless steel tubing | $18–$32 |
Step-by-Step Fix
Always shut off the main gas supply before starting any work. Ventilate the area and avoid sparks, flames, or electrical switches. Then follow these methods in order of increasing complexity:
- Check and tighten connections: Use soapy water on all accessible joints (fittings, shutoff valves, appliance connectors). If bubbles form, gently tighten with an adjustable wrench — no more than ¼ turn past hand-tight. Retest.
- Replace worn flexible connectors: Disconnect old connector using two wrenches (one to hold the fitting, one to loosen). Install new CSA-certified connector with yellow Teflon tape on male threads only. Hand-tighten, then snug ½ turn with wrench.
- Clear trapped air or debris: For sputtering or popping at ignition, open the appliance valve fully for 60 seconds while holding a lit match *at arm’s length* — only if you’re certain no large leak exists. This purges air pockets.
- Test pressure stability: Attach a digital manometer to the line downstream of the shutoff. Pressurize to 11 inches WC (≈0.4 psi) and monitor for 10 minutes. A drop >0.1 psi indicates an undetected leak.
When to Call a Pro
Stop immediately and call a licensed gas fitter if you encounter any of these:
- Gas odor (rotten egg smell) alongside noise — even faintly
- Leak confirmed beyond accessible fittings (e.g., inside walls, under slabs, or at meter)
- Black iron pipe shows rust-through, pitting, or thread damage
- Pressure test reveals >0.5 psi loss in 10 minutes — per NFPA 54 (2023), this requires professional re-piping
- You’re unsure whether your local code allows DIY gas work (e.g., California and Massachusetts prohibit unlicensed repairs entirely)
Prevention Tips
Extend the life of your gas system and catch problems early with these habits:
- Inspect visible connectors and shutoff valves every 6 months — look for corrosion, cracking, or discoloration
- Replace flexible gas connectors every 8 years, even if they appear intact (per CSA Z240.21.1-2022)
- Ensure appliances are level and properly anchored — vibration accelerates fitting wear
- Install a natural gas detector near gas-using appliances; models like the Kidde Nighthawk sound alarm at 50 ppm
- Label all shutoff valves clearly — use waterproof tape and permanent marker for quick access during emergencies
Can I use regular Teflon tape instead of yellow tape?
No. Standard white PTFE tape is rated for water only and lacks the density and chemical resistance needed for gas. Yellow tape contains added fillers and meets ASTM D3308 standards for fuel gas applications. Using white tape increases risk of thread leakage and is prohibited by the International Fuel Gas Code (IFGC 2021 §407.3).
Is it safe to listen for leaks with a stethoscope?
Yes — but only as a preliminary check. A mechanic’s stethoscope can help localize hissing or vibrating fittings behind drywall or cabinets. However, it doesn’t replace soap testing or pressure verification. According to the U.S. Consumer Product Safety Commission’s 2022 Gas Appliance Incident Report, 62% of reported leaks missed by auditory checks were later confirmed via pressure testing.
Why does my gas line whistle only when the furnace kicks on?
This usually points to undersized or partially restricted gas tubing feeding the furnace. When demand spikes, gas velocity increases — and if the inner diameter is compromised (by debris, kinks, or internal corrosion), turbulence creates audible whistling. Check for crimped flexible connectors and verify pipe sizing matches the furnace’s BTU rating per IFGC Table 402.4(1).
How long do I have to evacuate if I hear hissing and smell gas?
Immediately. The moment you detect both sound and odor, exit the home, leave doors open for ventilation, and call 911 or your gas utility from outside. Do not attempt to locate or shut off the leak yourself. Per the National Fire Protection Association’s 2023 Gas Emergency Response Guide, evacuation should occur within 15 seconds — hydrogen sulfide (the odorant) becomes paralyzing at concentrations above 100 ppm.
Can weather changes cause gas line noises?
Yes — especially temperature swings. Black iron pipe contracts up to 0.0000065 in/in/°F. A 30°F drop overnight can cause audible ticking or creaking as pipes shift against framing. While usually harmless, persistent noise during stable temps warrants inspection. The American Gas Association notes seasonal expansion/contraction accounts for ~18% of service calls misdiagnosed as leaks.
What’s the safest way to shut off gas in an emergency?
Locate your main shutoff valve — typically near the meter or where the line enters the home. Use a 6-inch adjustable wrench or dedicated gas key to turn the valve handle 90° so it’s perpendicular to the pipe. Confirm flow stops by checking pilot lights or using a manometer. Keep your gas key mounted next to the valve —
“Every second counts in a gas emergency. If your shutoff tool isn’t within arm’s reach, it’s not part of your safety plan.” — Mike Rizzo, Master Gas Fitter, NECA Gas Division (2023)Test the valve annually by turning it off and on once — lubricate with silicone grease if stiff.
A noisy gas line isn’t always a crisis — but it’s never something to shrug off. Most hisses and whistles stem from simple fixes you can manage safely with the right tools and awareness. Stay vigilant, test regularly, and remember: when in doubt about pressure, odor, or hidden lines, your safest move is always to step back and call a certified technician. For related guidance, see our how to test gas line pressure and gas shutoff valve replacement guides.