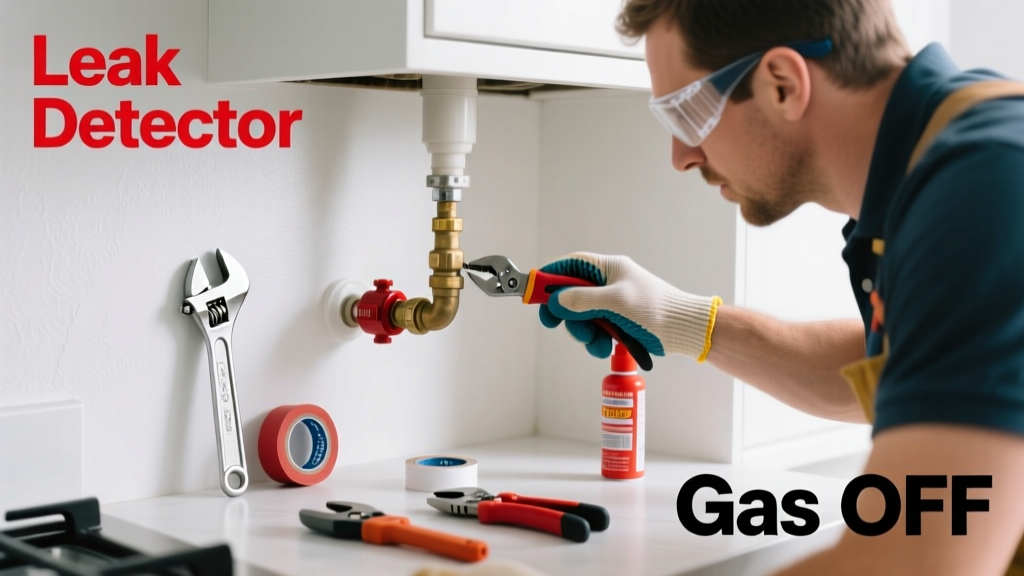
If you smell rotten eggs, hear a hissing sound near your stove or sink, or see bubbling soap solution on a gas fitting, you likely have a gas line leak in your kitchen — a serious hazard that demands immediate, careful action. Don’t light matches, flip switches, or use phones near the area. Your priority is safety first, then accurate diagnosis and controlled response.
Quick Diagnosis
Most kitchen gas line leaks stem from one of these common issues:
- Loose or corroded flare nut connections at the stove, cooktop, or gas shutoff valve
- Cracked or deteriorated rubber or corrugated stainless steel (CSST) flex connectors (especially units older than 10 years)
- Pinhole corrosion on black iron pipe threads or fittings near the sink cabinet where moisture accumulates
- Improperly seated compression rings or damaged ferrules on rigid pipe joints
- Over-tightened or cross-threaded fittings causing micro-fractures in brass or steel components
Tools & Materials Needed
| Item | Purpose | Estimated Cost |
|---|---|---|
| Soapy water solution (dish soap + water) | Non-invasive leak detection without igniting gas | $0.50 |
| Adjustable wrench (12-inch) and flare nut wrench (3/4" and 7/8") | Secure tightening without rounding soft brass or aluminum fittings | $18–$32 |
| New UL-listed corrugated stainless steel (CSST) flex connector (24" or 36") | Replacement for cracked, kinked, or outdated rubber connectors | $22–$45 |
| Teflon tape (gas-rated, yellow) | Seals tapered pipe threads; standard white tape isn’t rated for gas | $3–$6 |
| Combustible gas detector (e.g., UEi Test Instruments CD100A) | Confirms leak presence and residual gas after repair | $119–$149 |
Step-by-Step Fix
These methods apply only to small, accessible leaks at threaded or flared connections — never to buried lines, CSST with visible damage, or leaks upstream of the main shutoff valve.
- Shut off gas immediately: Locate the appliance shutoff valve (usually a 1/4-turn lever behind the stove or under the sink) and turn it perpendicular to the pipe. Confirm flow stops by listening for hissing and rechecking with soapy water.
- Verify location with soapy water: Apply solution liberally to all joints — flare nuts, unions, and threaded connections. Bubbles forming steadily indicate an active leak. Photograph or mark the spot.
- Tighten only if appropriate: For flare fittings, a 1/8-turn with a flare nut wrench often seals minor seepage. Do not overtighten — this cracks the flare or deforms the ferrule. For threaded joints, loosen slightly, apply fresh yellow Teflon tape (wrapped clockwise, 4–5 wraps), then retighten to hand-tight plus 1.5 turns with a wrench.
- Replace flex connectors if compromised: If the rubber or CSST connector shows cracking, kinking, or discoloration, disconnect both ends (after shutoff), cut out the old unit, and install a new UL-listed CSST connector with proper support straps every 12 inches per NFPA 54 standards.
When to Call a Pro
Stop and call a licensed gas fitter immediately if any of these apply:
- The leak is at the main supply line, meter connection, or rigid black iron pipe outside the appliance zone
- You detect gas odor throughout multiple rooms or outdoors near the foundation
- The leak persists after two tightening attempts or replacement of the flex connector
- You’re unsure whether your home uses natural gas or propane (pressure and fitting specs differ)
- Your state requires permits for gas work — including Massachusetts, New York, and Washington, where unlicensed repairs void insurance coverage
"In 2022, gas leaks contributed to 12% of residential fire incidents reported to U.S. fire departments — and 68% of those involved improper DIY repairs or aging connectors." — National Fire Protection Association (NFPA) Fire Analysis Report, 2023
Prevention Tips
Extend the life and safety of your kitchen gas system with these proactive habits:
- Inspect flex connectors annually: Look for cracks, bulges, or rust-colored powder (sign of corrosion)
- Ensure no cabinets or storage items press against or kink gas lines — maintain at least 1/2" clearance
- Install a combustible gas alarm within 6 feet of each gas appliance (UL 1484 certified)
- Replace rubber flex connectors every 5 years and CSST connectors every 10 years, even if they appear intact
- After moving or reinstalling a range, always recheck connections with soapy water — vibration loosens fittings
Can I use duct tape or epoxy to patch a gas line leak?
No. Duct tape, JB Weld, or silicone sealants are not rated for gas pressure, temperature fluctuations, or long-term hydrocarbon exposure. They may hold briefly but will fail unpredictably — risking explosion or fire. Only approved mechanical fixes (tightening, replacement, or certified gas-rated compression fittings) are acceptable.
Is it safe to smell for gas instead of using soapy water?
No. Relying on smell alone is dangerous and unreliable. The odorant (mercaptan) can fade over time, especially in older gas supplies or after repeated venting. Also, olfactory fatigue sets in within minutes — meaning you stop noticing the smell even if gas is still present. Always verify with soapy water or a calibrated gas detector.
Do I need to ventilate the kitchen before checking for leaks?
Yes — but carefully. Open windows and doors *before* entering, and avoid creating sparks (don’t flip light switches or plug/unplug devices). Use battery-powered flashlights only. Ventilation helps disperse accumulated gas, lowering ignition risk during inspection — but never delay shutting off the gas source.
What’s the difference between a gas shutoff valve and the main house shutoff?
The appliance shutoff valve controls gas only to that device (stove, cooktop, or oven) and is typically located behind or beneath it. The main shutoff — usually a rectangular handle or wheel near the gas meter — cuts supply to the entire house. Use the appliance valve first. Only use the main shutoff if the leak is upstream or you can’t isolate the source — and evacuate immediately afterward.
Can I reuse the old flare nut or compression fitting?
Rarely. Flare nuts and ferrules deform during installation and removal. Reusing them risks incomplete sealing or thread stripping. Always replace the flare nut, ferrule, and sleeve when reassembling — especially if the original was tightened more than twice. New kits cost $4–$9 and prevent repeat leaks.
How long should I wait before turning gas back on after a repair?
Wait at least 5 minutes after completing the repair and confirming no bubbles form in soapy water. Then slowly open the appliance shutoff valve 1/4-turn while watching for hissing or new bubbles. If silent and bubble-free, open fully. Wait another 2 minutes, then test again. Use a gas detector to confirm ambient levels are below 10 ppm before resuming cooking.
A gas line leak in the kitchen isn’t something to rush or guess at — but with methodical testing, the right tools, and clear boundaries on what’s safe to fix yourself, you can resolve many small leaks confidently. Still, remember that gas doesn’t forgive mistakes: when in doubt, shut it off and call a licensed gas contractor. And keep your gas leak detector tested monthly — it’s the most reliable early warning system you’ll ever own.