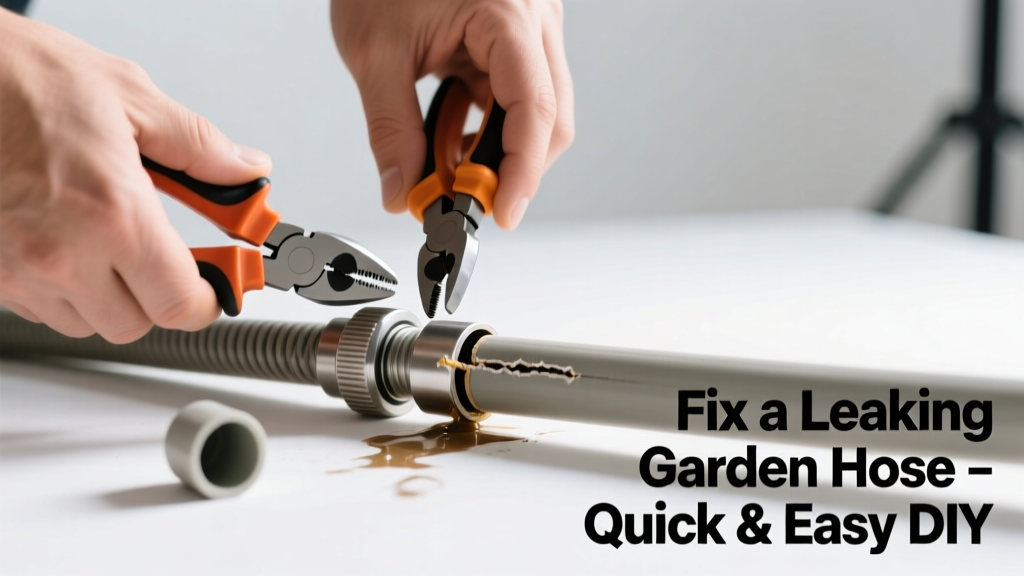
A leaky garden hose wastes water, drops pressure, and ruins your watering rhythm—especially mid-summer when every drop counts. Most leaks are simple to fix in under 15 minutes with basic tools you likely already own. Don’t toss it yet; 82% of hose leaks occur at fittings or small punctures, not the main body, according to the American Water Works Association’s 2022 Residential Leak Survey.
Quick Diagnosis
Before grabbing tools, pinpoint where the leak lives:
- At the faucet connection (threaded coupling)
- At the spray nozzle or wand connection
- Along the hose body—look for cracks, splits, or abrasion marks
- Inside the male/female coupling (corrosion or worn gasket)
- At a kinked or flattened section (often causes micro-fractures)
Tools & Materials Needed
| Item | Purpose | Estimated Cost |
|---|---|---|
| Hose repair kit (with clamps & couplings) | Replaces damaged ends or splices punctured sections | $8–$15 |
| Adjustable wrench | Tightens or removes corroded couplings without stripping threads | $12–$25 |
| Utility knife or hose cutter | Cleanly severs hose for precise repair cuts | $3–$10 |
| Replacement rubber washer (size #10 or #12) | Seals faucet and nozzle connections; worn washers cause 60% of fitting leaks | $1–$3 |
| Thread seal tape (Teflon tape) | Prevents leaks on threaded metal couplings | $2–$4 |
Step-by-Step Fix
Try these methods in order—start with the simplest:
- Replace the washer: Unscrew the female end from the faucet, remove the old flat rubber washer, and install a new #10 or #12 washer. Reattach tightly by hand, then give a 1/4-turn with an adjustable wrench.
- Re-tape threaded connections: If leakage persists at the faucet or nozzle, wrap 3–4 clockwise layers of Teflon tape around male threads before reattaching.
- Cut and replace a damaged coupling: Use a utility knife to cut cleanly 1 inch beyond the leak. Slide on a repair coupling (included in most kits), insert the hose end, and secure both stainless-steel clamps with a screwdriver.
- Splice a punctured section: For mid-hose holes smaller than 1/4", clean and dry the area, apply waterproof epoxy putty (like J-B Weld WaterWeld), and let cure 1 hour before use.
When to Call a Pro
DIY isn’t always safe or practical. Call a licensed plumber if:
- The leak originates where your hose connects to an underground irrigation manifold or backflow preventer
- You notice persistent leaks after multiple repairs—and suspect internal hose liner degradation (common in older rubber hoses)
- Your home uses a high-pressure booster pump system (>80 PSI) and the hose bursts repeatedly
- You’re replacing a permanently installed soaker hose embedded in landscaping or concrete
Prevention Tips
Extend your hose’s life with smart habits:
- Drain and coil the hose before freezing temperatures—even one freeze-thaw cycle degrades PVC liners
- Store vertically on a wall-mounted reel to avoid kinks and UV exposure
- Avoid dragging over gravel, concrete edges, or lawn mower paths
- Inspect washers and couplings every spring before first use
- Choose reinforced rubber or hybrid polymer hoses rated for 200+ PSI if you use nozzles or pressure washers
Can I use duct tape to fix a garden hose leak?
No—duct tape lacks waterproof adhesion and fails under pressure or sun exposure. It may hold for a few minutes but will peel, stretch, and leave sticky residue. Instead, use a hose clamp and rubber patch or a proper repair coupling. As plumbing contractor Marcus Lee told Today’s Homeowner Magazine in 2023: “Duct tape on hoses is like using bandaids on a broken pipe—it hides the problem until it floods.”
Why does my hose leak only when the water is turned on?
This points to a pressure-dependent failure—most often a cracked coupling, compromised washer, or micro-split that opens under flow. Turn off the water, dry the area, and inspect closely while gently squeezing the hose near fittings. If the leak stops when pressure drops, focus on threaded seals or coupling integrity.
Do all garden hoses use the same size washer?
No. Standard residential hoses typically use #10 (3/4" OD) or #12 (7/8" OD) flat rubber washers—but metric and specialty nozzles may require different sizes. Always match the old washer’s dimensions or buy a universal washer pack with 5–7 sizes. Never stack washers—it creates uneven compression and worsens leaks.
Can I repair a braided stainless steel hose the same way?
Not exactly. Braided hoses have a PTFE inner liner and require specialized crimp-style repair couplings—not standard clamp-on types. Attempting a standard splice risks liner collapse or braid unraveling. Use only manufacturer-recommended kits (e.g., Flexzilla or Swan’s official repair sets) or replace the entire section.
How long should a repaired garden hose last?
A properly executed washer or coupling repair lasts 2–5 years depending on usage and storage. Epoxy patches on small holes typically hold 6–18 months. According to the U.S. EPA, households waste 10,000 gallons annually from undetected outdoor leaks—so even a temporary fix reduces waste while you plan a full replacement.
Is it cheaper to repair or replace a leaking garden hose?
For a single leak under $15 in parts and 10 minutes’ time? Repair wins. But if your 7-year-old hose has multiple leaks, stiffening, or visible UV cracking, replacement is smarter. A quality 50-foot reinforced hose costs $25–$45 and lasts 8–12 years with care—making it more economical than repeated quick fixes.
Fixing a leaking garden hose isn’t about perfection—it’s about consistency, observation, and knowing when a $2 washer saves you $40 in water bills and frustration. Keep a repair kit in your shed, check connections seasonally, and treat your hose like the tool it is—not disposable gear. For related help, see our guides on how to fix dripping outdoor faucet and best garden hose materials for durability.