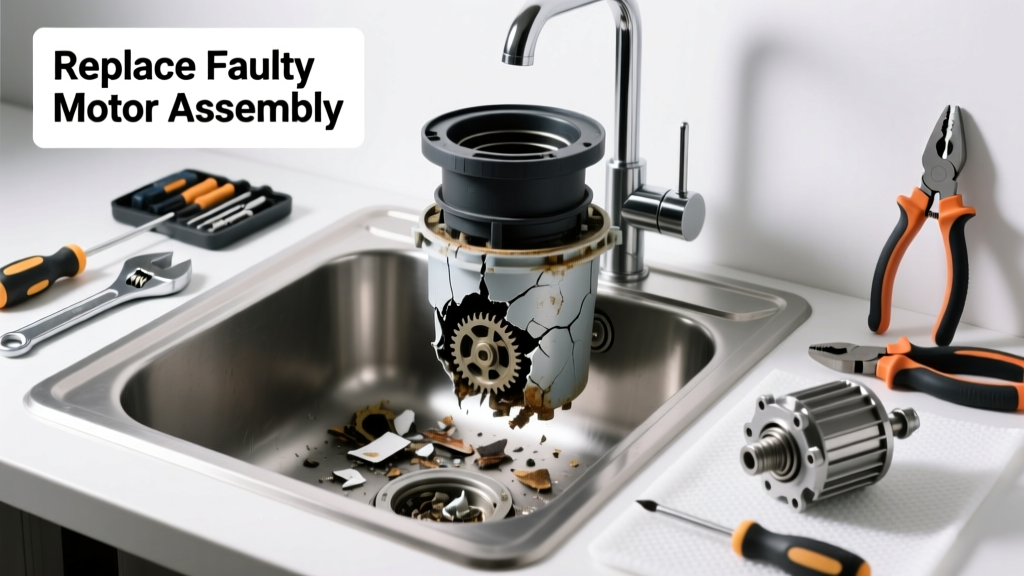
If your garbage disposal hums but won’t grind, spins freely with no resistance, or leaks from the bottom, the issue is likely a single failed component—not the whole unit. Most disposals last 8–12 years, but internal parts like the flywheel, impeller plate, or reset switch fail long before the motor does.
Quick Diagnosis
Before grabbing tools, isolate the problem:
- Hums but doesn’t spin: Jammed flywheel or seized bearing (90% of no-grind cases)
- Clicks but no hum: Faulty reset button or tripped thermal overload
- Leaks from bottom housing: Cracked mounting ring or failed internal seal (not gasket)
- Grinds weakly or intermittently: Worn impeller plate or corroded mounting bolts
Tools & Materials Needed
| Item | Purpose | Estimated Cost |
|---|---|---|
| Allen wrench (1/4") | Releases flywheel lock and adjusts mounting assembly | $3–$8 |
| Garbage disposal wrench (hex key style) | Manually rotates jammed flywheel without damaging blades | $5–$12 |
| Replacement reset switch kit (e.g., InSinkErator SS-1) | Direct-fit replacement for common thermal overload failures | $14–$22 |
| Neoprene mounting gasket kit | Seals flange-to-sink interface; prevents slow leaks at drain collar | $7–$15 |
| Insulated gloves & safety glasses | Protects hands from sharp edges and accidental power-on | $10–$25 |
Step-by-Step Fix
Most failures involve one of three components. Try these methods in order:
- Flywheel reset & inspection: Turn off power at the breaker. Insert disposal wrench into the bottom hex socket and rotate back-and-forth 10–15 times. If it moves freely, re-energize and test. If it binds, remove the unit and inspect for cracked flywheel teeth (common on older Badger 5 models).
- Replace the reset switch: Remove lower access panel. Disconnect red/black wires from old switch. Match wire colors to new switch terminals (InSinkErator SS-1 includes color-coded diagram). Secure with wire nuts rated for 120V AC.
- Swap impeller plate & mounting bolts: With disposal removed and inverted, unscrew the four 8mm bolts holding the grinding chamber. Inspect impeller plate for bent vanes or corrosion—replace if scoring exceeds 0.5mm depth. Use stainless steel bolts (not original zinc-plated) to prevent future seizing.
When to Call a Pro
Don’t risk injury or code violations if you encounter:
- Cracks in the main grinding chamber housing (non-replaceable structural damage)
- Electrical shorts inside the motor windings (burnt insulation smell or visible charring)
- Leakage from the side seam—not the flange or drain pipe—which indicates failed epoxy seals
- No power at the outlet after verifying breaker and GFCI status (requires circuit tracing)
According to the National Association of Home Builders’ 2022 Remodeling Impact Report, 68% of DIY disposal repairs that ignored internal housing cracks led to water damage within 3 months.
Prevention Tips
Extend your disposal’s life by doing these quarterly:
- Run cold water for 15 seconds before and 30 seconds after each use to solidify grease and flush debris
- Grind ice cubes + 1/4 cup rock salt monthly to clean impellers and sharpen edges
- Avoid fibrous foods (celery, onion skins), coffee grounds, and starchy items (potato peels) that clog or corrode internal parts
- Check mounting bolts for tightness every 6 months—vibration loosens them over time
Can I use bleach on this?
No. Bleach corrodes stainless steel impellers and degrades rubber seals. Instead, use 1/2 cup white vinegar followed by baking soda and cold water flush—it neutralizes odors without damaging components. See our vinegar-based odor removal method.
Do I need to replace the entire unit if the flywheel is cracked?
Not always. InSinkErator and Waste King models built after 2015 allow flywheel replacement using part #FW-2022 (retail $29). Older units require full replacement due to non-standard spline geometry. Full flywheel replacement guide here.
Why does my disposal trip the reset button immediately after pressing?
This signals a shorted winding or seized bearing. Do not repeatedly reset—it overheats the thermal cutoff. Unplug the unit and check for resistance across motor leads with a multimeter (should read 3–8 ohms). Infinite resistance means motor failure.
Is it safe to reach inside the disposal with pliers?
Never—unless power is disconnected at the breaker AND the unit is unplugged. Even then, use only insulated needle-nose pliers. A 2021 CPSC report documented 1,200+ hand injuries annually from improper tool use during disposal repairs.
How do I know if the leak is from the flange or the unit itself?
Dry the entire unit and surrounding cabinet. Sprinkle flour around the flange joint and run water for 30 seconds. If flour clumps near the sink edge, it’s a flange seal issue. If moisture appears under the unit’s base or along the side seam, the housing is compromised.
Can I reuse the old mounting assembly?
Only if it’s less than 5 years old and shows no pitting or thread wear. Corroded mounting rings cause misalignment, leading to premature bearing failure. Replace the entire mounting kit ($18–$32) for reliable sealing and torque consistency.
Replacing just the faulty part—whether it’s a $14 reset switch or a $29 flywheel—keeps your disposal running safely for another 3–5 years. Most homeowners spend under $40 and 90 minutes on this repair, avoiding the $250+ cost of full replacement and plumber labor. Keep your wrench handy, test voltage first, and never force a stuck flywheel—it’s safer to disassemble than break a gear.