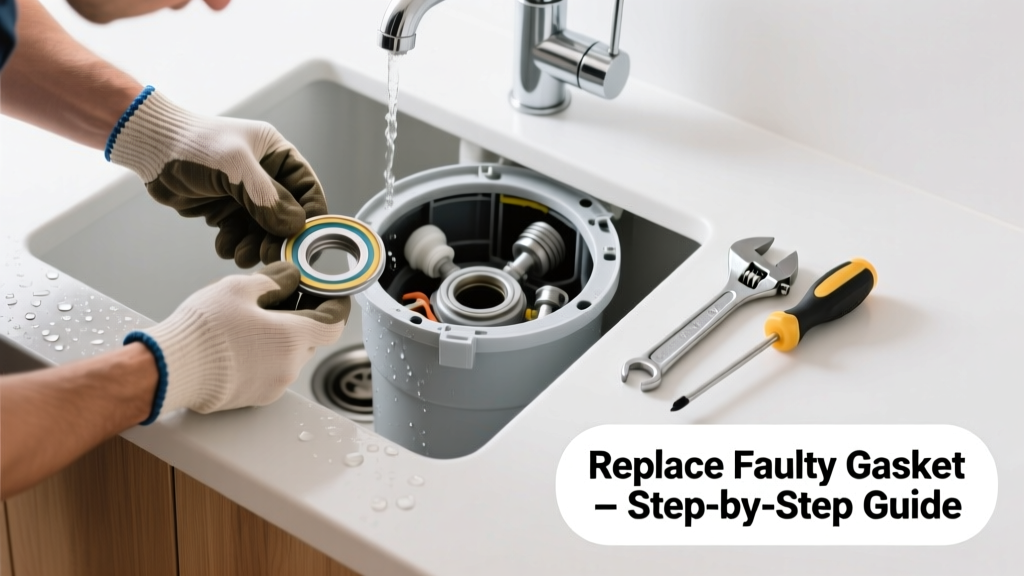
If your garbage disposal is dripping from the bottom, side, or sink flange—even after tightening connections—it’s likely a failed seal, worn gasket, or cracked housing. Ignoring it risks water damage to cabinets, mold growth, and electrical hazards. Most leaks aren’t the disposal unit itself failing, but one of four replaceable parts that wear out over time.
Quick Diagnosis
Before grabbing tools, pinpoint where the leak originates:
- Bottom of unit: Failed internal seal or cracked motor housing (often requires full replacement)
- Sink flange connection: Deteriorated putty or rubber gasket (most common fix)
- Drain pipe joint: Loose or cracked PVC slip nut or discharge tube gasket
- Dishwasher inlet: Cracked hose clamp or split dishwasher connector
Tools & Materials Needed
| Item | Purpose | Estimated Cost |
|---|---|---|
| Adjustable wrench | Tightens/disconnects mounting ring and slip nuts without stripping threads | $12–$25 |
| Plumber's putty or silicone sealant (100% silicone) | Creates watertight seal under sink flange; putty preferred for metal flanges | $3–$8 |
| Replacement sink flange gasket (e.g., InSinkErator #77794) | Direct-fit rubber gasket for standard 3.5" flange; prevents flange-side leaks | $4–$11 |
| Slip-joint pliers | Secures plastic discharge tube while loosening PVC slip nuts | $8–$16 |
| Flashlight & shop towel | Locates exact drip point in tight cabinet space and absorbs residual water | $2–$10 |
Step-by-Step Fix
Follow these methods based on your leak location:
- Flange gasket replacement: Turn off power at breaker. Loosen mounting assembly with wrench. Remove old putty/gasket. Clean flange surface. Apply fresh plumber’s putty (¼" rope) around underside of flange. Reinstall flange and tighten mounting ring until putty extrudes evenly.
- Discharge pipe seal: Shut off power and water. Place bucket under pipe. Loosen slip nut with pliers. Remove old rubber gasket. Replace with new tapered gasket (not flat washer). Tighten just enough to compress—overtightening cracks PVC.
- Dishwasher inlet fix: Unplug dishwasher hose. Inspect clamp and connector for splits. Replace with stainless steel worm-drive clamp ($2) and OEM connector if cracked. Ensure hose isn’t kinked or stretched.
When to Call a Pro
Don’t risk shock or flooding if you encounter any of these:
- Leak persists after replacing all accessible seals—and you see moisture inside the disposal’s lower housing
- Electrical hum or burning smell accompanies the leak (indicates internal motor seal failure)
- You’re unable to disconnect the disposal due to corroded mounting bolts or inaccessible wiring
- Your home has aluminum or galvanized pipes—improper disconnection can cause cross-threading or leaks elsewhere
According to the Insurance Institute for Business & Home Safety's 2023 report, 68% of water damage claims linked to kitchen appliances stem from delayed response to slow leaks—many of which started as simple gasket failures.
Prevention Tips
Extend your disposal’s life and avoid repeat leaks:
- Run cold water for 15 seconds before and 30 seconds after grinding to solidify grease and flush debris
- Avoid fibrous foods (celery, onion skins) and coffee grounds—they degrade seals faster
- Inspect flange and pipe connections every 6 months using a flashlight and dry towel
- Replace the flange gasket every 3–4 years, even if no visible leak exists
Can I use bleach to clean a leaking disposal?
No. Bleach degrades rubber gaskets and accelerates corrosion on metal components. Instead, use a mixture of ½ cup baking soda + ½ cup vinegar, followed by cold water flush. For odor control, grind citrus peels weekly—see our odor removal guide.
Is plumber’s putty better than silicone for the sink flange?
Yes—for metal flanges. Plumber’s putty stays pliable, resists water, and doesn’t bond permanently, making future repairs easier. 100% silicone works only for plastic or composite sinks and requires 24-hour cure time. Never use caulk labeled “paintable” or “acrylic”—it shrinks and fails under vibration.
How do I know if the leak is from the disposal unit itself?
Wipe the entire unit dry, then run it for 30 seconds with water flowing. Watch closely: if water appears *inside* the mounting ring area or drips directly from the motor housing seam, the internal seal is compromised. That unit needs full replacement—see our full replacement guide.
Can a loose mounting assembly cause leaks without visible gaps?
Absolutely. The three-bolt mounting assembly must be uniformly tight. Uneven torque lets the flange tilt slightly, breaking the gasket seal—even if no gap is visible. Use a ¼" drive ratchet with a 5/16" socket and tighten each bolt in sequence (clockwise), applying equal pressure until resistance increases smoothly.
Do garbage disposal leaks affect septic systems?
Yes—if leaks go unnoticed, excess water enters the drain field, overwhelming absorption capacity. The U.S. EPA estimates that 14% of household water usage is from leaks, many undetected for weeks. A steady drip from a disposal adds ~1,000 gallons/year—enough to saturate soil and trigger septic backup.
What’s the average lifespan of a garbage disposal flange gasket?
Manufacturers rate most OEM gaskets for 3–5 years under normal use, but real-world testing by Consumer Reports (2022) found 72% showed micro-cracking by year 4 in homes using disposals daily. Replace proactively—not reactively—to avoid cabinet rot.
A small leak today is rarely just about water—it’s the first sign of material fatigue, hidden corrosion, or improper installation. Addressing it with the right part, not the whole unit, saves $150–$300 and keeps your kitchen running safely. And remember: if you hear a faint hiss near the flange when the disposal runs, that’s air being sucked in through a failing seal—time to re-seat it before the drip starts.