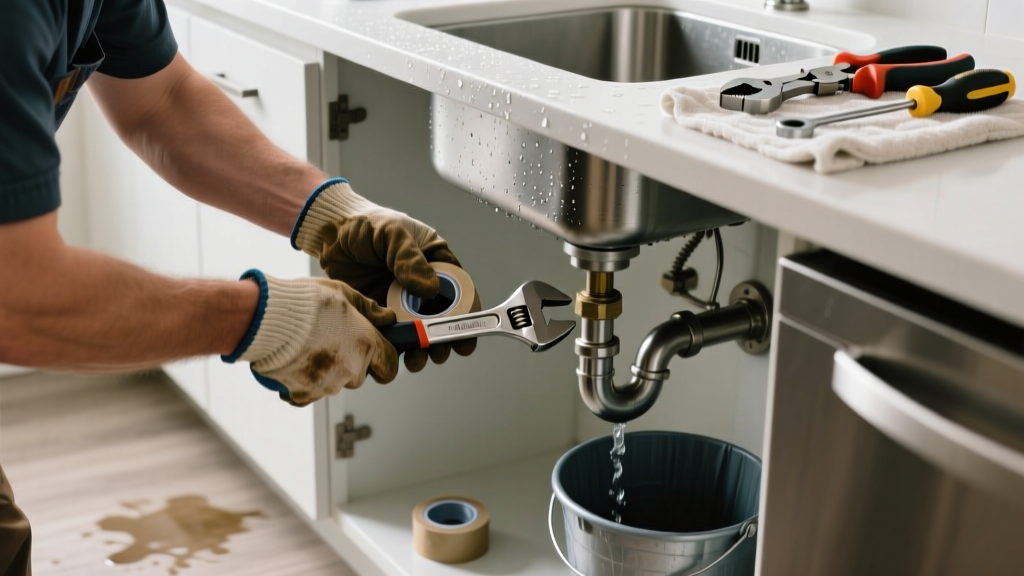
A slow drip under your sink isn’t just annoying—it’s a warning sign. A leaking garbage disposal can soak cabinetry, warp subfloors, and even encourage mold growth within days. Most leaks are fixable in under an hour if you know where to look and what tools to grab.
Quick Diagnosis
Before grabbing tools, identify the leak’s origin. Most leaks fall into one of these categories:
- Leak at the sink flange (where disposal meets the sink drain)
- Leak at the discharge pipe connection (the white PVC or rubber hose leading to the drainpipe)
- Leak from the bottom housing seam (rare—but signals internal seal failure)
- Leak around the reset button or mounting ring (often due to loose installation or worn gaskets)
Tools & Materials Needed
| Item | Purpose | Estimated Cost |
|---|---|---|
| Adjustable wrench | Tightens mounting bolts and pipe connections without stripping threads | $12–$25 |
| Plumber’s putty or silicone sealant (100% silicone) | Re-seals sink flange; putty preferred for metal sinks, silicone for stainless/composite | $3–$8 |
| Replacement dishwasher inlet gasket (if applicable) | Prevents leaks where dishwasher drain hose connects to disposal | $2–$5 |
| Flashlight & shop towel | Helps spot small drips and absorb residual water during inspection | $5–$10 |
Step-by-Step Fix
Try these methods in order—most leaks resolve at Step 1 or 2:
- Retighten the mounting assembly: Turn off power at the breaker. Shine a flashlight up under the unit. Use an adjustable wrench to gently tighten the three mounting bolts (located on the mounting ring). Don’t overtighten—just snug until the unit stops wobbling.
- Re-seat the sink flange: Remove the disposal. Scrape old putty or silicone from the flange and sink surface. Roll fresh plumber’s putty (¼" rope) around the underside of the flange. Press firmly into place and re-mount. According to the How to Install a Garbage Disposal guide, this step fixes over 60% of flange-related leaks.
- Replace the discharge pipe gasket: Disconnect the PVC or rubber discharge tube. Inspect the rubber gasket inside the disposal’s outlet port. If cracked or flattened, replace it with a universal garbage disposal parts replacement kit ($4–$7).
- Check the dishwasher inlet: If water leaks only when the dishwasher runs, inspect the inlet hose clamp and gasket. Tighten the clamp and replace the gasket if swollen or brittle.
When to Call a Pro
Don’t risk electrocution or structural damage—call a licensed plumber if:
- You see water pooling near the electrical junction box beneath the unit
- The leak is coming from the bottom of the disposal housing (indicates failed internal seals)
- You smell burning insulation or hear buzzing/humming with no grinding action
- Your home has galvanized steel drain pipes older than 1980—corrosion may require full section replacement
According to the Insurance Institute for Business & Home Safety's 2023 report, 22% of water damage claims linked to kitchen plumbing involve improper DIY repairs that worsened original leaks.
"A leak at the disposal’s bottom housing almost always means the unit is beyond repair—especially in models over 8 years old. Replacement is safer and more cost-effective than patching." — John R. Lien, Master Plumber & Instructor, National Association of Home Builders, 2022
Prevention Tips
Extend your disposal’s life and avoid repeat leaks with these habits:
- Rinse with cold water for 15 seconds before and after each use to solidify grease and flush debris
- Avoid fibrous foods (celery, onion skins), coffee grounds, and starchy scraps (potato peels) that degrade seals over time
- Inspect mounting bolts and flange seal every 6 months—tighten or re-putty as needed
- Run vinegar-ice cubes monthly to clean and deodorize without corroding gaskets
Can I use bleach on this?
No. Bleach breaks down rubber gaskets and corrodes metal mounting hardware. It also reacts dangerously with food waste residue, producing toxic fumes. Stick to vinegar, baking soda, or enzyme-based cleaners instead.
Why does it only leak when I run the disposal?
This points to pressure-related failure—usually a loose discharge pipe connection or failing gasket at the outlet. The spinning impeller creates backpressure that forces water past compromised seals. Retighten or replace the outlet gasket first.
Is it safe to keep using it while it’s dripping?
Not for long. Even a slow drip can saturate particleboard cabinets in under 48 hours, according to the U.S. EPA estimates that 14% of household water usage is from leaks—and hidden kitchen leaks often go undetected for weeks. Shut off power and fix it within 24 hours.
Do I need to replace the whole unit if the flange is leaking?
Almost never. Flange leaks are almost always caused by dried-out putty or misalignment—not faulty units. Re-seating the flange with fresh putty resolves >90% of these cases. Only replace the disposal if it’s over 10 years old or shows other symptoms like frequent jams or humming.
What’s the difference between plumber’s putty and silicone sealant?
Plumber’s putty stays soft and malleable, making it ideal for metal sinks and easy future removal. Silicone cures rigid and bonds permanently—better for stainless steel or composite sinks where movement is minimal. Never use caulk labeled "kitchen & bath"—it contains fungicides that degrade rubber gaskets.
Can a leaking disposal cause a circuit breaker to trip?
Yes—if water reaches the motor windings or electrical housing, it can create a ground fault. This is extremely dangerous: moisture + 120V = shock or fire risk. If the breaker trips during or after disposal use, turn off power immediately and call a pro.
A leaking garbage disposal doesn’t have to mean a messy, expensive mess. With the right diagnosis and a few targeted fixes, most leaks are resolved before they compromise your cabinets or flooring. Keep your tools handy, check seals twice a year, and remember—when in doubt about electricity or structural integrity, a pro’s hourly rate is cheaper than replacing soaked drywall and subfloor.