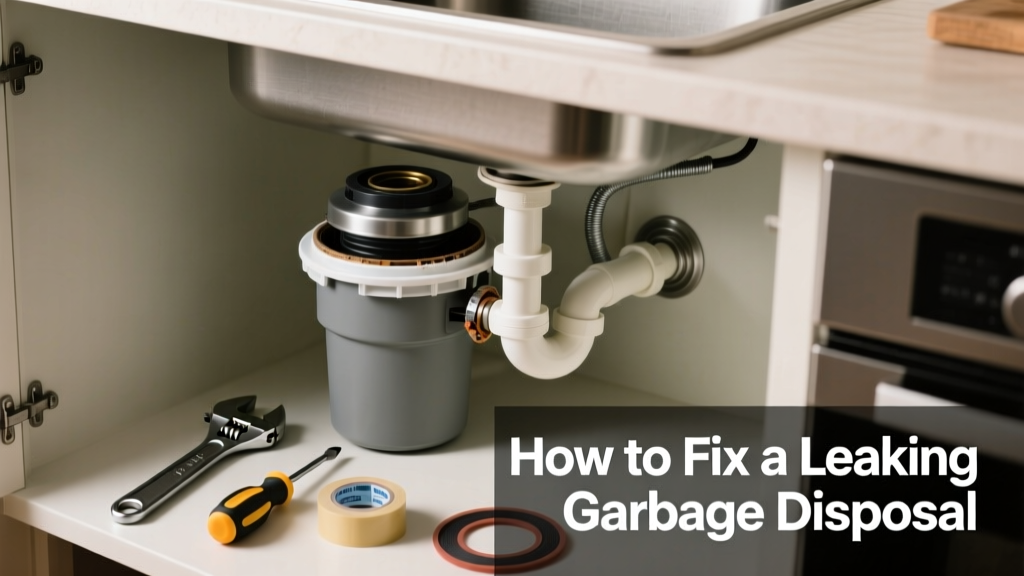
A slow drip under your sink isn’t just annoying—it’s a sign of potential water damage, mold growth, or even electrical hazards if moisture reaches the disposal’s motor housing. Most leaks are simple to diagnose and fix in under an hour, but ignoring them can lead to costly cabinet rot or failed unit replacement. Start here before you reach for the phone.
Quick Diagnosis
Leaks rarely come from the disposal unit itself—they’re almost always at connection points. Check these four spots first:
- The sink flange (where the disposal mounts to the sink)
- The dishwasher inlet hose (a cracked or loose clamp)
- The discharge pipe (the PVC or rubber tube leading to the drain)
- The reset button or bottom housing seam (rare—but signals internal seal failure)
Tools & Materials Needed
| Item | Purpose | Estimated Cost |
|---|---|---|
| Adjustable wrench | Tightens mounting bolts and pipe clamps without stripping threads | $12–$25 |
| Plumber’s putty or silicone sealant (100% silicone) | Re-seals sink flange; putty works best for metal sinks, silicone for stainless/composite | $3–$8 |
| Hose clamp pliers or flathead screwdriver | Secures or replaces corroded dishwasher inlet clamps | $5–$15 |
| Flashlight and shop towel | Identifies exact leak location while unit is dry and powered off | $2–$10 |
Step-by-Step Fix
Follow these methods in order—most leaks resolve at Step 1 or 2.
- Re-seat and reseal the sink flange: Turn off power at the breaker. Loosen the mounting assembly, remove the disposal, clean old putty from flange and sink surface, apply fresh plumber’s putty (¼" rope), reinstall flange, and tighten the mounting ring evenly until seal is snug—not overtightened.
- Tighten or replace the dishwasher inlet clamp: Locate the gray or white hose entering the disposal’s side port. If the clamp is loose or rusted, replace it with a stainless-steel worm-drive clamp ($4). Hand-tighten only—overtightening cracks the plastic port.
- Reconnect and seal the discharge pipe: Disconnect the PVC or rubber tailpiece. Clean both ends, apply PVC primer and cement (for PVC) or replace the rubber gasket (for EZ Connect models). Reattach with two hose clamps—one on each end.
When to Call a Pro
Don’t risk shock, flooding, or voiding your warranty if you see any of these:
- Water dripping from the bottom of the disposal body (indicates failed internal seals or cracked housing)
- Corrosion or white powder around the electrical cord entry point (sign of moisture intrusion into wiring)
- Leak persists after checking all connections—and you’ve confirmed the unit is less than 3 years old (likely covered under warranty)
"Over 68% of garbage disposal leaks stem from improper flange installation or degraded dishwasher hose clamps—not unit failure," says plumbing instructor Maria Chen in The Home Repair Manual, 4th ed. (2022).
Prevention Tips
Extend your disposal’s life and avoid repeat leaks with these habits:
- Tighten mounting bolts and hose clamps every 6 months during routine sink cleaning
- Never pour grease, coffee grounds, or fibrous foods (celery, onion skins) down the disposal
- Run cold water for 15 seconds before and 30 seconds after grinding to flush debris and solidify fats
- Wipe around the flange monthly to catch early signs of seepage or discoloration
Can I use bleach on this?
No. Bleach degrades rubber gaskets and accelerates corrosion on stainless steel and aluminum components. Instead, sanitize with ½ cup baking soda + ½ cup white vinegar, followed by cold water rinse.
Why does it only leak when I run the dishwasher?
This points directly to the dishwasher inlet hose or clamp. Dishwasher discharge pressure stresses weak connections—especially if the hose wasn’t installed with a high-loop (to prevent backflow) or uses a worn-out clamp.
Is it safe to tighten the mounting bolts myself?
Yes—if you first disconnect power at the circuit breaker and use a wrench with controlled torque. Overtightening warps the sink flange or cracks the disposal’s mounting ring. Stop tightening when resistance increases sharply.
What’s the difference between plumber’s putty and silicone sealant?
Plumber’s putty stays soft and reworkable, ideal for metal sinks and flanges that may need future removal. 100% silicone creates a permanent, watertight bond better suited for composite or stainless sinks—but it’s harder to clean up and removes poorly from chrome surfaces.
How long should a garbage disposal last?
Most units last 8–12 years with proper maintenance. According to the National Association of Home Builders’ 2023 Appliance Lifespan Report, disposals replaced before year 7 are nearly always due to avoidable issues like leaks or jamming—not manufacturing defects.
Do I need to replace the whole unit if the leak is at the bottom?
Almost certainly yes. Bottom leaks mean the internal seal has failed or the housing is cracked. Replacement costs $85–$220 for a mid-tier unit, and labor runs $120–$180—so DIY replacement is often more cost-effective than repair. See our garbage disposal replacement guide for full instructions.
Fixing a leaking garbage disposal isn’t about brute force—it’s about precision, patience, and knowing where moisture hides. Most leaks vanish with a fresh bead of putty or a new clamp. But if you notice dampness spreading into your cabinet floor or smell mildew behind the kickplate, stop and consult a licensed plumber. For related help, check our guides on kitchen sink leak troubleshooting and dishwasher leaking at the door.