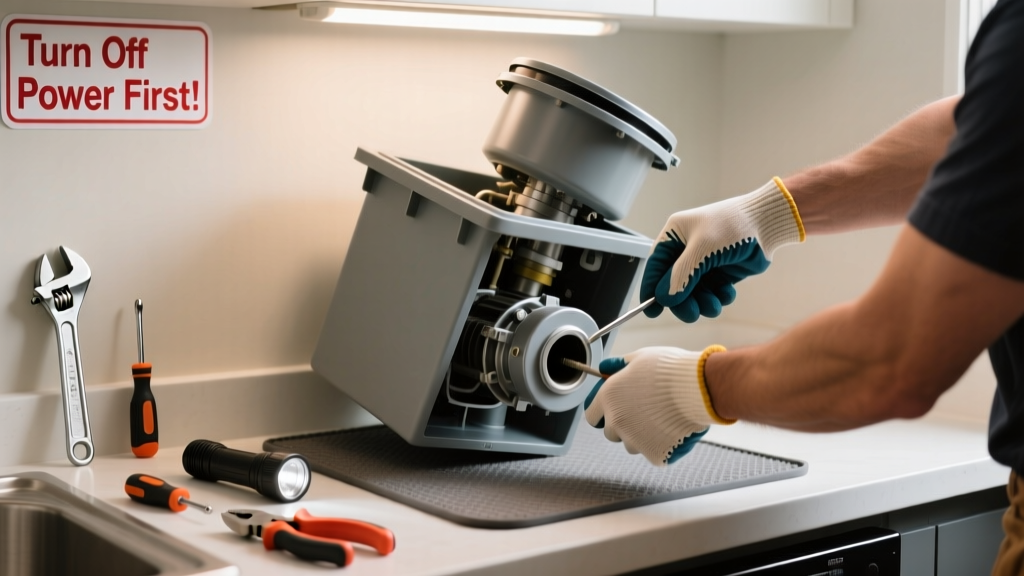
Your garbage disposal hums but won’t grind — or worse, it’s completely silent when you flip the switch. That grinding halt isn’t just inconvenient; it’s a sign something’s wedged in the impeller plate or motor assembly. Most jams are simple to clear in under 15 minutes if you act safely and methodically.
Quick Diagnosis
Before grabbing tools, confirm it’s actually jammed — not just tripped or unplugged. Common causes include:
- Hard food scraps like bones, fruit pits, or fibrous celery stalks wedged between impellers
- Non-food items accidentally dropped in (utensils, bottle caps, twist-ties)
- Buildup of grease, coffee grounds, or starchy foods like rice or pasta that swell and bind
- A tripped internal overload protector (often due to overheating from prolonged use)
- Faulty wall switch or reset button not pressed
Tools & Materials Needed
| Item | Purpose | Estimated Cost |
|---|---|---|
| Allen wrench (¼") | Standard size for most disposal reset/rotation sockets — fits the center hub underneath | $2–$5 |
| Hex key set | Backup in case your unit uses a non-standard size (e.g., 5/16" on older Insinkerator models) | $8–$15 |
| Plumber’s pliers or tongs | For gripping and removing stuck objects without scratching the grind chamber | $10–$22 |
| Flashlight | Essential for inspecting dark interior — LED headlamp preferred for hands-free work | $5–$18 |
| Rubber gloves | Protect hands from sharp edges and residual food debris | $3–$7 |
Step-by-Step Fix
Always shut off power at the circuit breaker before any physical contact with the disposal — never rely solely on the wall switch. Then follow these methods in order:
- Press the reset button: Locate the red reset button on the bottom or side of the unit. Press firmly. If it clicks and stays in, power is restored — try turning it on. If it pops back out immediately, there’s still mechanical resistance.
- Manually rotate the impellers: Insert the Allen wrench into the hex socket on the bottom center of the disposal. Turn back-and-forth gently — clockwise then counterclockwise — to free binding. You’ll feel resistance break once the obstruction shifts.
- Remove visible debris with tongs: With power OFF and flashlight in hand, peer inside. Use long-nose tongs or needle-nose pliers to extract any lodged item. Never use fingers — even unplugged units can shift unexpectedly.
- Flush and test: Run cold water for 15 seconds, turn on disposal, and let it run 30 seconds with water flowing. Listen for smooth operation and check for leaks beneath the unit.
When to Call a Pro
Stop and call a licensed plumber if:
- The unit emits burning smells or smoke after resetting
- You hear loud grinding or screeching that persists after clearing visible debris
- The disposal leaks water from the bottom housing (sign of cracked seal or failed mounting gasket)
- Reset button won’t stay engaged and manual rotation offers no movement — suggests seized motor or broken flywheel
- You suspect electrical issues: flickering lights, tripped GFCI outlets, or buzzing from the switch box
According to the U.S. EPA, 14% of household water usage is wasted from undetected leaks — including those caused by improperly repaired disposals (U.S. Environmental Protection Agency, WaterSense Report 2022). A pro can diagnose hidden damage before it escalates.
Prevention Tips
Extend your disposal’s life and avoid repeat jams with these habits:
- Run cold water for 15 seconds before and 30 seconds after grinding — cold water solidifies grease so it flushes cleanly
- Never put fibrous foods (onion skins, corn husks, artichoke leaves), coffee grounds, eggshells, or potato peels down the drain
- Grind citrus rinds weekly to deodorize and help clear minor buildup
- Clean monthly with ice cubes + ½ cup rock salt — the abrasive action scrubs impellers without harsh chemicals
- Install a sink strainer to catch large particles before they enter the disposal
Can I use bleach on this?
No. Bleach corrodes metal components and damages rubber seals over time. It also reacts dangerously with other cleaners or food residue, potentially releasing chlorine gas. Stick to vinegar-and-baking-soda flushes or dedicated enzyme-based cleaners like enzyme drain cleaner for odor control.
Why does my disposal hum but not spin?
A humming sound means power is reaching the motor, but the impellers are physically blocked — classic jam signature. It could also indicate a failed start capacitor, but that’s rare compared to simple obstructions. Always try manual rotation first before assuming electrical failure.
Is it safe to use a plunger?
Only on disposals with a confirmed clog *downstream* in the P-trap or branch drain — not inside the disposal itself. Plunging a jammed unit can force debris deeper or crack the sink flange. If water backs up into the sink, remove the P-trap first using a bucket and adjustable wrench — see our guide on how to clear a P-trap clog.
What if the reset button won’t stay in?
This signals persistent mechanical resistance or internal overheating. Let the unit cool for 10–15 minutes, then try again. If it still won’t hold, unplug it and inspect for foreign objects. If none are visible and rotation feels stiff, the motor bearings may be failing — time for replacement or professional assessment.
Can I replace the disposal myself?
Yes — many homeowners successfully swap units in 2–3 hours using basic tools. You’ll need a new mounting assembly, discharge tube, and electrical connector kit. Review our full walkthrough on how to replace a garbage disposal for wiring diagrams, torque specs, and leak-testing steps.
Do garbage disposals have filters I should clean?
No — unlike dishwashers or HVAC systems, disposals don’t have user-serviceable filters. What looks like a ‘filter’ is usually the splash guard or rubber baffle, which you can wipe clean but shouldn’t remove. Buildup occurs on impeller surfaces and drain pipes — not inside a filter housing.
A jammed disposal doesn’t have to mean a service call or replacement — most are resolved with patience, the right tool, and respect for safety protocols. Keep your Allen wrench taped to the cabinet door, and treat every disposal session like a mini-maintenance routine: cold water in, small batches, and nothing tougher than cooked carrots. That little hum? It’s not a death rattle — it’s just asking for a nudge in the right direction.