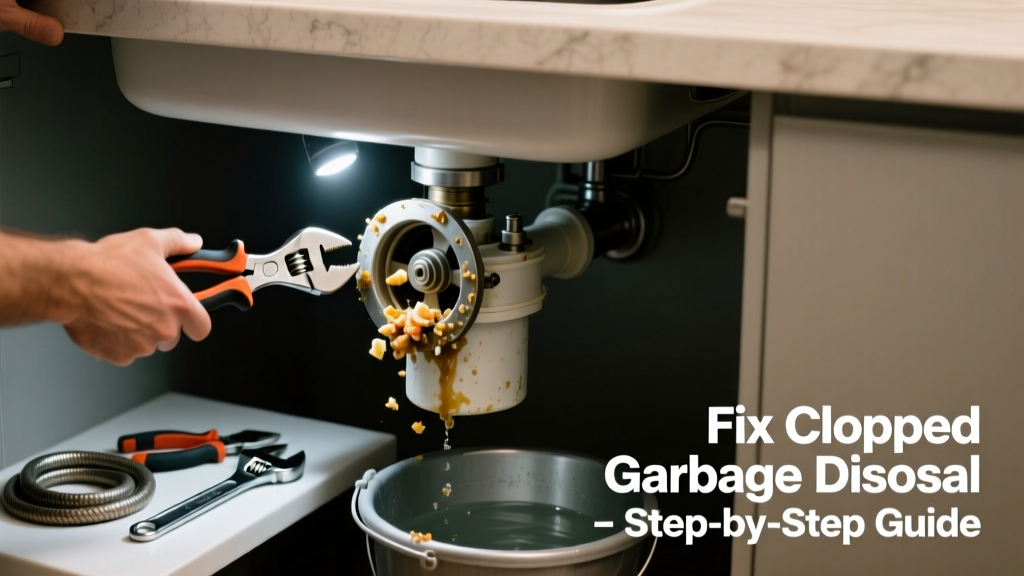
Your garbage disposal hums but won’t grind, or water backs up into the sink — that’s not just annoying, it’s a sign of a clog or mechanical issue that can worsen fast. Ignoring it risks motor burnout, foul odors, or even overflow into your kitchen. Most clogs are fixable in under 30 minutes with basic tools and the right approach.
Quick Diagnosis
Before grabbing tools, identify what’s really wrong. A non-working disposal isn’t always about a clog — sometimes it’s electrical, mechanical, or misdiagnosed entirely.
- No sound when switched on: Likely a tripped reset button, blown fuse, or faulty switch — not a clog.
- Hums but doesn’t grind: Jammed impeller or foreign object blocking rotation (most common cause).
- Water backs up in both sinks: Clog is likely downstream in the shared P-trap or branch drain line.
- Gurgling or slow drainage only after running disposal: Partial clog in the drainpipe or air gap.
- Burning smell or smoke: Motor failure — stop immediately and call a pro.
Tools & Materials Needed
| Item | Purpose | Estimated Cost |
|---|---|---|
| Allen wrench (¼") | Manually rotate jammed impellers through the bottom hex socket | $2–$5 |
| Plumber's flashlight | Inspect inside disposal chamber and P-trap for debris or corrosion | $8–$15 |
| Needle-nose pliers | Safely retrieve small objects like bottle caps or silverware fragments | $6–$12 |
| Zip-it tool or bent wire hanger | Hook and pull out hair, grease clumps, or fibrous debris from trap | $3–$7 |
| White vinegar + baking soda | Natural degreaser for organic buildup; safer than caustic drain cleaners | $4–$6 |
Step-by-Step Fix
Work methodically — start simple and escalate only if needed. Always shut off power at the circuit breaker before touching internal parts.
- Reset the disposal: Locate the red reset button on the bottom or side of the unit. Press firmly. If it pops back out immediately, don’t force it — a jam is likely present.
- Free the impellers manually: Insert the Allen wrench into the hex socket on the bottom center of the disposal. Rotate back and forth gently to dislodge stuck objects. You’ll feel resistance release when the jam breaks.
- Clear the P-trap: Place a bucket under the U-shaped pipe beneath the sink. Loosen slip nuts with channel-lock pliers, remove the trap, and empty debris into the bucket. Scrub interior with a bottle brush and warm soapy water.
- Flush with natural cleaner: Pour ½ cup baking soda followed by ½ cup white vinegar down the disposal. Let foam for 10 minutes, then flush with 2 quarts of boiling water (not boiling if PVC pipes — use hot tap water instead).
- Test with cold water: Restore power, run cold water for 15 seconds, then turn on disposal for 20 seconds. Repeat if grinding sounds uneven.
When to Call a Pro
Some situations demand professional expertise — not just for convenience, but safety and code compliance.
- You smell burning insulation or see scorch marks near the unit — indicates motor or wiring failure.
- The disposal leaks from its mounting assembly or bottom seal — requires replacement, not repair.
- After clearing the trap and resetting, the unit still hums but won’t spin — internal bearing or flywheel damage is likely.
- Your home has older galvanized or cast-iron drain lines that corrode easily; snaking may collapse them.
- You’ve attempted three DIY methods over 48 hours with no improvement — hidden blockage may be beyond the trap (e.g., in the wall or main stack).
According to the Insurance Institute for Business & Home Safety's 2023 report, 68% of homeowner plumbing claims involving disposals stem from delayed response to early symptoms like slow drainage or intermittent operation.
Prevention Tips
Most clogs happen because of what goes in — not how often you run it. Prevention is simpler and cheaper than repair.
- Always run cold water for 15–30 seconds before, during, and after using the disposal — cold water solidifies grease so blades can chop it, not let it coat pipes.
- Avoid fibrous foods: celery, onion skins, corn husks, and artichoke leaves wrap around impellers and bind drains.
- Never pour grease, oil, or coffee grounds down the disposal — they congeal and trap other debris.
- Run citrus peels (lemon, orange) weekly to deodorize and help break down light residue.
- Clean monthly with ice cubes + ¼ cup rock salt — the ice sharpens blades while salt scrubs buildup.
Can I use bleach on this?
No. Bleach reacts poorly with food waste and metal components, accelerating corrosion in pipes and disposal housings. It also produces toxic fumes when mixed with other cleaners. The U.S. EPA estimates that 14% of household water usage is from leaks caused by chemical damage to seals and joints — avoid harsh chemicals unless absolutely necessary and certified for your system.
Why does my disposal smell even after cleaning?
Foul odors usually mean organic matter is trapped in the rubber splash guard (the flaps at the top), the drain flange, or behind the impeller plate. Remove the splash guard and scrub with vinegar-soaked toothbrush. For stubborn smells, soak the disposer chamber overnight with a mixture of 1 tablespoon hydrogen peroxide and 1 cup water — then flush.
Is it safe to put my hand in the disposal?
Never — even with power off. Blades aren’t sharp like knives, but impellers are heavy, spring-loaded, and can snap into place unexpectedly. Always use tongs or needle-nose pliers. If something’s lodged deep, use a flashlight and mirror to assess first — then decide whether to attempt retrieval or call a pro.
What if the reset button won’t stay in?
This signals an active overload or jam. Do not repeatedly press it. Confirm the unit is unplugged or power is off at the breaker, then manually rotate the impellers with the Allen wrench until movement is smooth. If the button still won’t hold after clearing all visible obstructions, internal thermal overload protection may be damaged — time for replacement.
Can a clogged disposal cause a leak elsewhere?
Yes. Backpressure from a clog can force water past worn gaskets, especially at the dishwasher inlet hose or sink flange. If you notice dripping from the unit’s underside or where it mounts to the sink after a clog event, inspect and replace the mounting gasket and dishwasher drain hose clamp.
How long should a garbage disposal last?
With proper care, most units last 8–12 years. Inconsistent maintenance — like skipping cold water use or ignoring early grinding noises — cuts lifespan by up to 40%, per Consumer Reports’ 2022 Appliance Longevity Study. Replacing a worn-out unit is often smarter than repairing one older than a decade.
A clogged garbage disposal isn’t an emergency — but it’s a warning sign your system needs attention. Fixing it today prevents bigger issues tomorrow: flooded cabinets, mold growth from chronic moisture, or a full drain line backup. Keep your tools handy, follow the prevention habits consistently, and remember — when in doubt about electrical or structural concerns, calling a licensed plumber saves time, money, and stress in the long run.