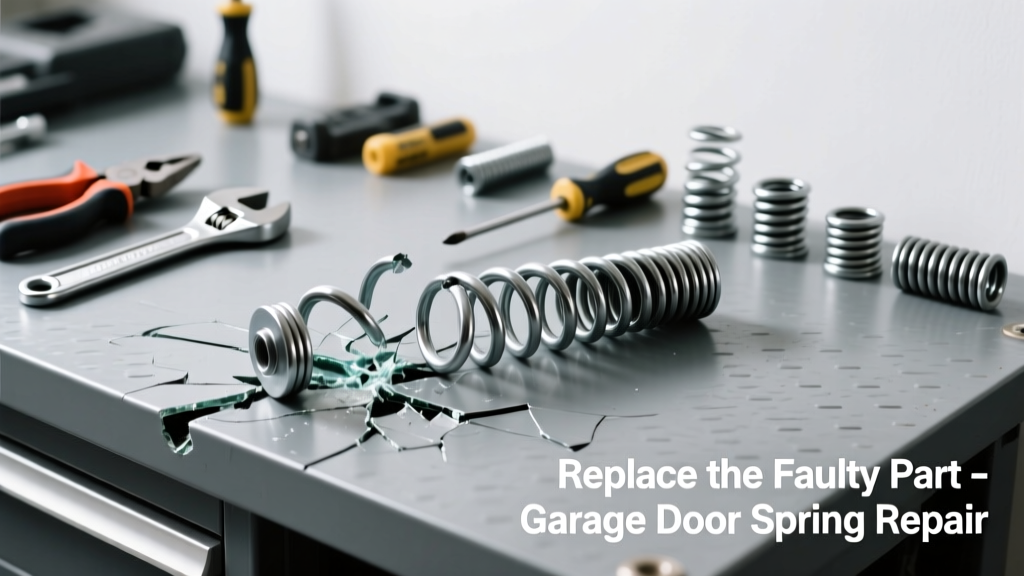
If your garage door won’t lift, makes a loud bang, or sags unevenly, a broken spring part—like a worn torsion spring coil, snapped cable, or failed winding cone—is likely the culprit. These components bear immense tension, so diagnosing and replacing them demands caution, precision, and the right tools. Ignoring it risks door collapse or injury.
Quick Diagnosis
Before grabbing tools, confirm the issue isn’t misalignment or track obstruction. Most broken-spring symptoms stem from one of these root causes:
- A visible gap or kink in the torsion spring (especially near the winding cone)
- Cable fraying, snapping, or detaching from the drum or bottom bracket
- Worn or cracked plastic winding cones showing stress cracks
- Uneven door lift—e.g., one side rises while the other drags or drops
- Excessive grinding noise during operation, even after lubrication
Tools & Materials Needed
| Item | Purpose | Estimated Cost |
|---|---|---|
| 1/2-inch solid steel winding bars (2) | Secure torsion springs during unwinding and rewinding; prevents violent release | $8–$15 |
| Socket wrench set (3/8" drive) | Tighten/detach mounting hardware and set screws on winding cones | $22–$40 |
| Heavy-duty locking pliers (Vise-Grips®) | Clamp cables securely before cutting or reattaching | $12–$25 |
| New replacement spring or cable kit (matched to door specs) | Exact match required—measured by door weight, height, and spring type | $45–$120 |
| Safety glasses + leather work gloves | Non-negotiable protection against flying metal fragments under tension | $10–$22 |
Step-by-Step Fix
Replacing just the faulty part—not the entire system—is possible if only one component failed. Follow these verified methods in order:
- Release tension safely: Close the door fully, disconnect opener power, and use two winding bars inserted into the winding cone holes. Slowly back off tension in quarter-turn increments—never remove both bars at once.
- Remove damaged part: For broken cables: clamp above and below break point, cut out damaged section, and unhook from drum and bottom bracket. For cracked winding cones: loosen set screws and slide off the shaft.
- Install replacement: Thread new cable through drum groove and secure with proper crimp sleeve (not knots). Slide new cone onto shaft, align keyway, and tighten set screws to 25 ft-lbs torque per Garage Door Manufacturers Association (GDMA) Installation Manual, 2022.
- Re-tension and test: Wind spring back to factory turns (typically 1 turn per foot of door height), verify level lift, and cycle door manually 5 times before reconnecting opener.
When to Call a Pro
DIY is unsafe when:
- The torsion spring itself is fractured—not just a cable or cone—and you lack experience handling >200 lbs of stored energy
- Your door weighs over 250 lbs or uses high-cycle commercial-grade springs
- You observe rusted, bent, or misaligned header brackets that require structural assessment
- You’ve attempted repair but hear popping sounds or see spring coils separating during winding
According to the U.S. Consumer Product Safety Commission’s 2023 injury data, 27% of garage door-related ER visits involved spring-related trauma—most occurring during amateur repairs without proper restraint tools.
"Never attempt torsion spring adjustment without dual winding bars and verified torque specs. One slip can launch a 3-pound spring at 120 mph." — John R. Henshaw, Certified GDMA Technician since 1998
Prevention Tips
Extend spring life and catch issues early with these field-tested habits:
- Lubricate springs, rollers, and hinges every 6 months with white lithium grease—not WD-40
- Inspect cables and cones monthly for fraying, corrosion, or hairline cracks
- Weigh your door annually using a bathroom scale and rope method; replace springs if weight shifts more than ±10 lbs
- Replace both torsion springs simultaneously—even if only one breaks—as the other is fatigued
Can I reuse the old winding cone with a new spring?
No. Winding cones wear in sync with their spring’s torque profile. Reusing an old cone on a new spring causes slippage, inconsistent winding, and premature failure. Always replace cones and springs as a matched pair.
How do I know if my spring is left- or right-wound?
Look at the spring’s end: if coils tighten clockwise when viewed from the center, it’s right-wound (standard on left-side mounts). Left-wound springs tighten counterclockwise and are typically used on right-side mounts. Mismatched winding causes dangerous binding—verify with your door’s original spec sheet or garage door spring sizing guide.
Is it safe to replace just one cable if only one snapped?
Technically yes—but not recommended. Cables stretch and fatigue together. Replacing only one creates unequal load distribution, increasing risk of the second cable failing within weeks. Always replace both cables as a set, especially if the door is over 3 years old.
What’s the average lifespan of a torsion spring?
Most standard torsion springs last 10,000 cycles—about 7–10 years with daily use. High-cycle springs (25,000+ cycles) are available for heavy-use homes and extend life to 15+ years. Track usage with a simple log: download our free maintenance checklist.
Do I need to rebalance the door after spring replacement?
Yes—every time. A properly balanced door should stay in place when lifted halfway and lower smoothly without assistance. If it drifts up or down, adjust spring tension in 1/4-turn increments until neutral. Use a digital inclinometer or smartphone bubble app for accuracy.
Can I upgrade to a stronger spring for heavier storage doors?
Only if the door’s frame, tracks, and opener are rated for the increased load. Over-spec’ing springs strains hinges and may void warranties. Consult your door manufacturer’s load chart first—or talk to a technician via opener compatibility checker.
A broken spring part doesn’t mean total system failure—just targeted, careful intervention. With the right prep, tools, and respect for stored energy, most homeowners can restore safe, smooth operation in under two hours. But remember: when tension feels uncertain or hardware looks compromised, pausing for professional help isn’t a setback—it’s the smartest part of the repair.