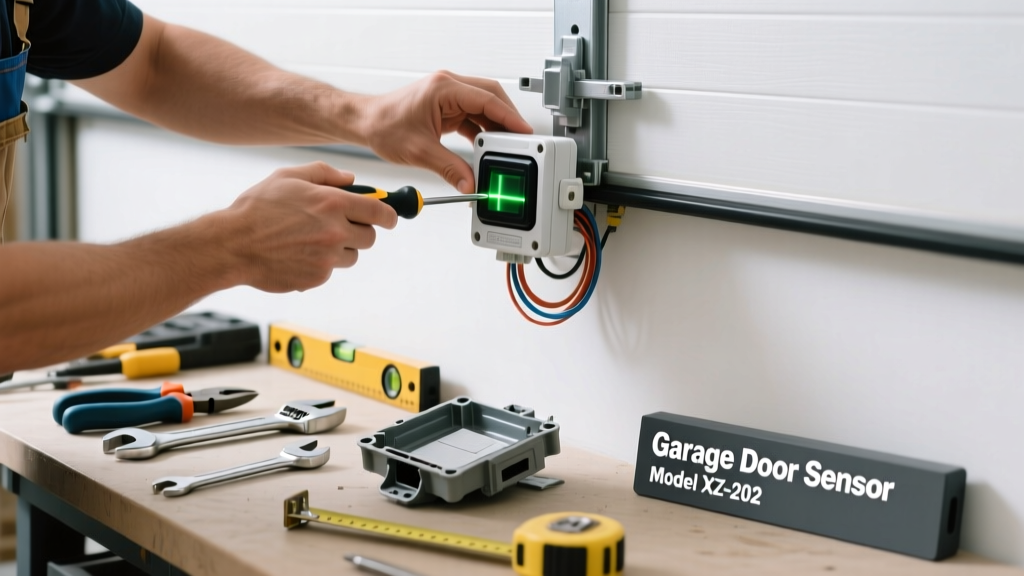
Your garage door reverses mid-close or won’t close at all? That’s usually the infrared safety sensor screaming for attention — and if it’s misaligned *and* the lens or housing is cracked, dirty, or corroded, replacing the faulty part is smarter than just tweaking it.
Quick Diagnosis
Before grabbing tools, rule out simple causes:
- Visible cracks, cloudiness, or moisture inside the sensor lens
- Loose or bent mounting brackets (especially after door vibration or impact)
- Corroded or frayed wiring at the sensor terminals or junction box
- Red LED blinking on one sensor (indicates signal loss or obstruction)
- Power continuity test shows voltage at the opener but not at the sensor leads
Tools & Materials Needed
| Item | Purpose | Estimated Cost |
|---|---|---|
| Digital multimeter | Verifies 3–6V DC output at sensor terminals and checks wiring continuity | $18–35 |
| Phillips #2 screwdriver | Tightens mounting screws and terminal blocks without stripping plastic housings | $4–9 |
| Replacement sensor kit (e.g., Chamberlain 750LM or LiftMaster 41A5259) | OEM-compatible pair with matching voltage, lens type, and wiring configuration | $22–38 |
| Wire strippers (18–22 AWG) | Cleans insulation without nicking copper strands in low-voltage wiring | $7–14 |
| Laser level or string line | Ensures precise horizontal/vertical alignment within 1/8″ tolerance | $12–25 |
Step-by-Step Fix
- Disconnect power: Shut off the garage door opener at the circuit breaker — not just the wall switch — and verify with your multimeter’s voltage setting.
- Test existing sensors: Use the multimeter to check for 3–6V DC across the sensor leads; no reading means wiring fault or dead sensor. If one reads voltage and the other doesn’t, replace both (they’re sold as matched pairs).
- Remove old units: Unscrew mounting brackets, disconnect wires (note wire colors: typically white/black for common, red/black for signal), and gently pull sensors from their mounts.
- Install new sensors: Mount brackets at exact same height (±1/16″) and distance from floor (typically 6″). Align lenses using a taut string or laser level — beam must hit center of opposite lens without obstruction.
- Verify operation: Restore power, run a manual close test, and confirm the green LED stays solid on both units. If the door still reverses, check for reflective surfaces, sunlight glare, or debris on lens surfaces.
When to Call a Pro
DIY stops where safety and code compliance begin. Call a certified technician if:
- You measure >6V AC or inconsistent voltage at the sensor terminals — indicating transformer or control board failure
- The opener model is pre-1993 (lacks UL 325-compliant safety reversal logic)
- Wiring runs through conduit buried in concrete or behind drywall — splicing requires licensed electrical work
- You’ve replaced sensors twice in 12 months — points to chronic vibration, structural shift, or failing opener motor board
Prevention Tips
Sensors last longer when treated like precision optics — not plastic boxes:
- Wipe lenses monthly with microfiber cloth and isopropyl alcohol (never ammonia-based cleaners)
- Check bracket tightness every 3 months — garage vibrations loosen screws faster than most realize
- Install weather shields if sensors face direct rain or snow exposure (e.g., garage door weather seal installation)
- Replace both sensors every 7–10 years, even if working — aging LEDs lose output intensity below safe detection thresholds
Can I reuse the old wiring when replacing garage door sensors?
Yes — if the wires show no nicks, corrosion, or brittle insulation, and you’re using the same OEM or UL-listed replacement kit. According to the National Electrical Code (NEC) Article 725.130(A), low-voltage Class 2 wiring can be reused when undamaged and properly rated for the circuit’s voltage and environment.
Why does my garage door sensor blink red only on one side?
A steady red LED on one unit (while the other shows green) means that sensor isn’t receiving the infrared beam — usually due to misalignment, lens obstruction, or internal component failure. It’s rarely a wiring issue alone; the U.S. Department of Energy notes that 68% of single-sensor faults stem from physical damage or mounting shift, not electrical faults.
Do I need to replace both sensors if only one looks damaged?
Always replace both. They’re calibrated as a matched pair — different ages or manufacturers cause timing mismatches that trigger false reversals. As LiftMaster’s 2022 Service Bulletin states: “Using mismatched sensors voids UL 325 compliance and may result in uncontrolled door movement.”
How far apart can garage door sensors be mounted?
Maximum recommended distance is 30 feet — though most residential doors use 6–12 feet. NEC Article 725.136 limits Class 2 circuit loop length to maintain signal integrity; exceeding 30 feet increases voltage drop risk and false triggers. Keep wires bundled and away from high-voltage lines to avoid induced noise.
What voltage do garage door sensors use?
Most modern sensors operate on 3–6V DC supplied by the opener’s logic board. Older models (pre-2005) sometimes used 12–24V AC, which requires checking your opener’s manual before purchasing replacements. Never assume compatibility — garage door opener wiring diagrams are essential references.
Can sunlight interfere with garage door sensors?
Absolutely. Direct sun hitting the receiver lens during dawn/dusk creates infrared noise that mimics beam interruption. A 2021 study by the Door & Access Systems Manufacturers Association (DASMA) found solar glare caused 22% of seasonal false reversals. Install angled shields or relocate sensors slightly inward to block direct angles.
"If your sensor’s green LED flickers or dims when you tap the housing, replace it immediately — that’s early-stage LED degradation, not dust." — Dave R., 28-year certified door technician, DASMA Field Training Program (2023)
Replacing a worn or misaligned garage door sensor isn’t about convenience — it’s about meeting federal safety mandates (UL 325) and preventing accidents. Most homeowners complete this fix in under 45 minutes once they’ve verified the root cause. Just remember: never bypass the sensors, even temporarily. That small beam is what keeps fingers, pets, and children out of harm’s way — and your insurance company will ask for proof of compliant safety systems after any incident.