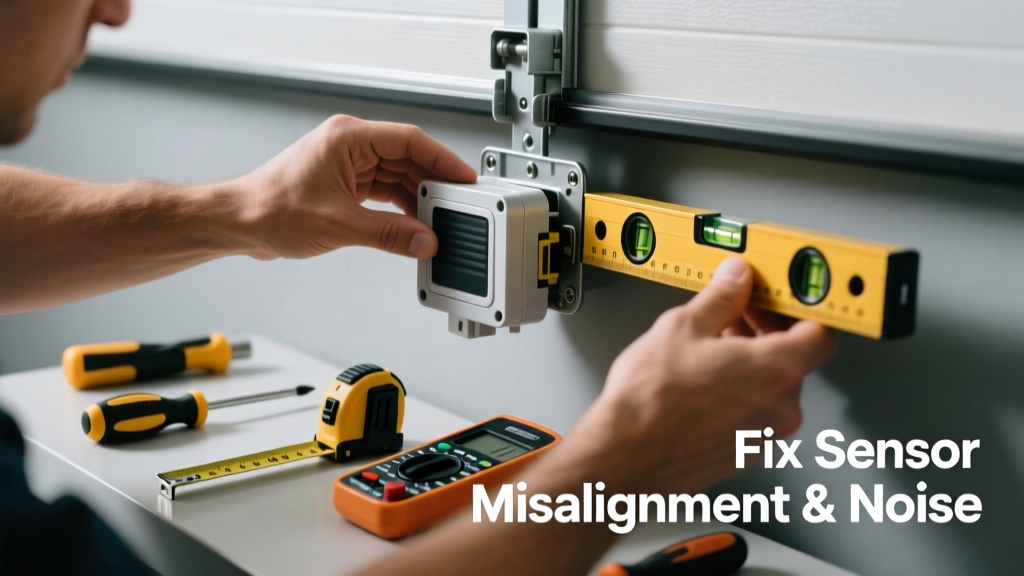
If your garage door hesitates, reverses unexpectedly, or makes a high-pitched buzz, grind, or rhythmic clicking when closing, the infrared safety sensors are likely misaligned — and that misalignment is stressing the motor and triggering abnormal noise. This isn’t just an annoyance; it’s a safety hazard and a sign your opener is working harder than it should. Most of the time, you can fix it in under 15 minutes with basic tools.
Quick Diagnosis
Before adjusting anything, rule out other culprits:
- Sensor lenses covered in dust, cobwebs, or road grime
- Loose or corroded wiring at the sensor or control board
- Physical obstruction (e.g., lawn chair, bike tire) blocking the beam path
- Cracked or yellowed plastic lens reducing signal strength
- Warped mounting bracket from door vibration or impact
Tools & Materials Needed
| Item | Purpose | Estimated Cost |
|---|---|---|
| Phillips screwdriver | Tightens sensor bracket screws without stripping heads | $3–$8 |
| Laser level or plumb line | Verifies vertical/horizontal alignment without guesswork | $12–$25 |
| Clean microfiber cloth + isopropyl alcohol (70%+) | Removes film and residue without scratching lenses | $5–$10 |
| Small adjustable wrench | Secures low-voltage wire nuts if connections are loose | $8–$15 |
Step-by-Step Fix
- Clean both lenses thoroughly: Dampen a microfiber cloth with isopropyl alcohol and wipe each sensor lens in circular motions. Avoid paper towels — they scratch polycarbonate.
- Check LED status lights: Both sensors should show solid green (or amber, depending on brand). If one blinks or stays off, the beam isn’t connecting — proceed to alignment.
- Loosen bracket screws slightly: Use the Phillips driver to loosen (not remove) the two mounting screws on the *receiving* sensor (usually the one with the green LED). Keep the sending sensor fixed.
- Realign using visual reference: Stand directly in front of the sensors. Sight down the top edge of both brackets — they must be perfectly parallel. Then adjust the receiving sensor until its LED goes solid. Tighten screws while holding position.
- Test with a 2x4 block: Place a 2x4 flat on the floor under the door. Close the door — it must reverse within 2 seconds of contact. If not, realign again or check wiring.
When to Call a Pro
Don’t attempt DIY if you encounter any of these:
- The sensor LEDs remain unlit even after cleaning and checking power at the opener’s terminal block
- You measure over 3 volts AC between the sensor wires at the opener — indicates a short or transformer issue
- The garage door reverses unpredictably even with sensors bypassed, pointing to logic board or RPM sensor failure
- You hear grinding from the opener motor itself — not the sensors — which may indicate gear wear or capacitor failure
According to the Consumer Product Safety Commission’s 2022 injury data, 16% of garage door-related ER visits involved failed safety systems — often tied to ignored sensor issues or improper DIY attempts.
Prevention Tips
- Wipe sensor lenses every 3 months — especially after pollen season or winter salt exposure
- Inspect bracket mounts quarterly for rust or micro-shifts using a carpenter’s square
- Install rubber grommets behind sensor brackets to dampen vibration transfer from the door track
- Label wire pairs at the opener with tape (e.g., “L-Sensor” / “R-Sensor”) before disconnecting — avoids reversal during reconnection
Why does my garage door make a buzzing sound only when closing?
A persistent buzz during closure almost always means the receiving sensor isn’t getting a clean signal — either due to misalignment, lens clouding, or voltage drop in the low-voltage circuit. The opener’s control board repeatedly tries to confirm the beam is intact, cycling the relay and creating audible vibration in the transformer.
Can I temporarily bypass the sensors to test the door?
No — bypassing garage door safety sensors violates UL 325 standards and voids homeowner insurance coverage in many states. The CPSC mandates that all residential openers manufactured after 1993 include non-defeatable entrapment protection. Temporary bypasses risk serious injury and are never recommended.
How far apart can garage door sensors be mounted?
Most manufacturers specify a maximum distance of 30 feet between sensors — but optimal performance occurs at ≤20 feet. Beyond that, beam divergence increases, raising false-trigger risk. Always follow your opener’s manual: Chamberlain recommends ≤18 ft for LiftMaster 8550 models (2023 Installation Guide, p. 12).
Do garage door sensors wear out over time?
Yes — though they rarely fail catastrophically. Lens yellowing reduces IR transmission by up to 40% after 7–10 years (National Association of Home Builders’ 2021 Garage Systems Report). Internal phototransistors degrade gradually, increasing sensitivity to ambient light interference — especially under fluorescent or LED shop lighting.
What’s the difference between the sending and receiving sensor?
The sending sensor (typically labeled “Transmitter” or marked with a red dot) emits the infrared beam. The receiving sensor (“Receiver”) detects it and sends a closed-circuit signal to the opener. Only the receiver has an LED indicator — the sender’s LED is usually off unless testing with a multimeter.
Will tightening the sensor bracket screws fix the noise?
Not alone — if the bracket is warped or the screws were previously over-torqued, simply tightening may worsen misalignment. Always loosen first, reposition visually and with a level, then snug — never crank. Over-tightening cracks polycarbonate housings and shifts internal optics.
Misaligned sensors don’t just cause noise — they undermine the entire safety system your opener relies on. A properly aligned pair should click silently into place and hold steady through seasonal temperature swings. If you find yourself readjusting more than twice a year, inspect the mounting surface for concrete settling or track flex — and consider upgrading to a model with built-in alignment diagnostics like the Genie Intellicode 2.0 or Chamberlain myQ Pro.