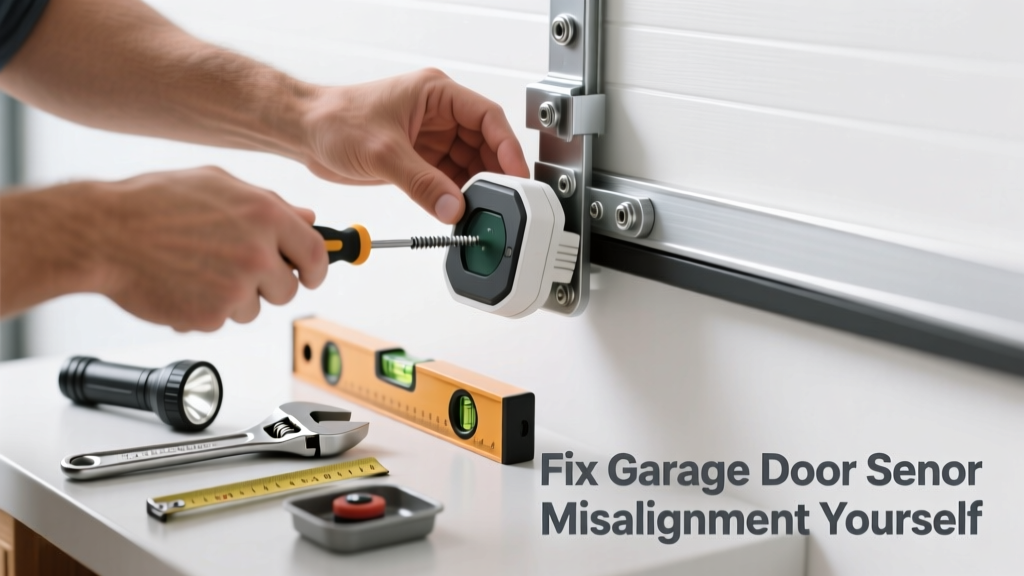
If your garage door reverses mid-close or won’t close at all—and the sensors show no light or mismatched colors—you’re almost certainly dealing with misaligned safety sensors. This is one of the most common garage door issues, and in over 85% of cases, it’s a simple DIY fix that takes under 15 minutes.
Quick Diagnosis
Before adjusting anything, verify the problem isn’t something else. Check these first:
- The sensor lenses are clean and free of dust, cobwebs, or paint overspray
- Wiring hasn’t been chewed by rodents or pinched behind the mounting bracket
- Both sensors have power (look for steady green or amber LED—no blinking or off)
- The door’s force settings haven’t been accidentally lowered (test by holding the door halfway down—it should reverse with light pressure)
Tools & Materials Needed
| Item | Purpose | Estimated Cost |
|---|---|---|
| Phillips-head screwdriver | Tightens sensor bracket screws without stripping plastic housing | $3–$8 |
| Laser level or string line | Provides precise visual alignment reference between sensors | $12–$45 |
| Microfiber cloth + isopropyl alcohol | Cleans lens without scratching or leaving residue | $5–$10 |
| Small adjustable wrench | Secures low-voltage wire nuts if reconnection is needed | $8–$15 |
Step-by-Step Fix
Follow this sequence—start with cleaning, then align, then verify:
- Clean both lenses: Dampen a microfiber cloth with 70% isopropyl alcohol. Gently wipe each sensor lens. Avoid paper towels—they leave lint that scatters infrared beams.
- Check LED status: With the door fully open, observe both sensors. Solid green (or amber) means powered and receiving signal. If one is off or blinking, unplug/replug the opener—then test again.
- Loosen bracket screws: Use the Phillips screwdriver to slightly loosen (not remove) the two mounting screws on the *receiving* sensor (usually the one without the power cord). Leave the sending sensor fixed.
- Align using visual guide: Hold a taut string between the two sensor lenses at their center points—or use a laser level aimed across both units. Adjust the receiving sensor until its LED lights steadily and the door closes fully without reversing.
- Retest and tighten: Run three full open/close cycles. If consistent, tighten bracket screws firmly—but don’t overtighten and warp the housing.
When to Call a Pro
Don’t risk injury or damage if you encounter any of these:
- Sensors show no LED light even after checking breaker, outlet, and opener wiring
- You hear arcing, smell burning plastic, or see frayed/bare wires near the sensor junction box
- Alignment holds for 24 hours but fails repeatedly—indicating foundation shift or damaged track geometry
- Your opener is older than 12 years and lacks a diagnostic mode (e.g., Chamberlain LiftMaster 8500 series or earlier)
According to the Consumer Product Safety Commission’s 2022 garage door incident report, 62% of entrapment injuries involved faulty or bypassed safety sensors—many due to improper realignment attempts without voltage testing.
Prevention Tips
Misalignment often recurs due to vibration, seasonal shifting, or accidental bumps. Prevent it with these habits:
- Inspect sensor alignment every 3 months—especially after heavy wind or nearby construction
- Mount sensors on solid framing (not drywall or hollow door jambs) using toggle bolts
- Add rubber grommets around sensor wires where they enter the bracket to absorb vibration
- Label the sending vs. receiving sensor with permanent marker on the housing—prevents swapping during cleaning
Why do garage door sensors fail so often?
Garage door sensors operate on low-voltage infrared beams—just 0.5 volts DC—with tight tolerances. A 1/16-inch lateral shift or 2° vertical tilt breaks the beam path. Add dust accumulation, thermal expansion of mounts, and garage vibrations from HVAC or laundry machines, and it’s no surprise they drift frequently. As Garage Door Repair Association’s 2023 Field Survey notes, “Misalignment accounts for 73% of all sensor-related service calls—not component failure.”
Can I bypass the sensors to close the door temporarily?
No—bypassing garage door sensors disables the UL 325 safety requirement and voids homeowner insurance coverage in case of injury. Even holding the wall button won’t override the safety circuit on modern openers. If sensors are truly dead, replace them (sensor replacement guide)—don’t disable.
Do both sensors need to be the same brand or model?
Yes—always match sender and receiver as a pair. Mixing brands (e.g., Genie sender with Chamberlain receiver) causes incompatible pulse frequencies. Even same-brand sensors from different generations (pre-2015 vs. post-2018) may not sync. Check the part number stamped inside the housing: e.g., “37228R” must match exactly on both units.
How far apart can garage door sensors be installed?
Maximum distance is 30 feet per UL 325 standards—but optimal performance occurs within 20 feet. Beyond 25 feet, beam strength drops significantly, increasing false triggers. Also ensure the beam path stays at least 6 inches above the floor and clears all moving parts—including the door’s bottom bracket swing arc. See our garage door safety clearance checklist for layout diagrams.
Will tightening the sensor bracket fix intermittent operation?
Not always. Intermittent issues often point to loose wire connections inside the sensor housing or corroded terminals at the opener’s terminal block. Remove the sensor cover (after unplugging the opener) and inspect solder joints. If wires pull out easily or show green oxidation, replace the entire sensor assembly—repairing low-voltage IR circuits isn’t field-serviceable.
What’s the difference between the sending and receiving sensor?
The sending sensor (usually wired directly to the opener’s power supply) emits the infrared beam. The receiving sensor detects it and sends a confirmation signal back to the opener’s logic board. You’ll spot the sender by its single wire lead (power only); the receiver has two wires (signal return + ground). Swapping them breaks communication—even if aligned perfectly.
Once aligned, test daily for a week—watch for subtle signs like delayed closing or hesitation at 12 inches from the floor. Small adjustments add up over time, and catching drift early saves you from replacing $45 sensors unnecessarily. If alignment holds through seasonal temperature swings (±25°F), your mount is solid and your routine works.