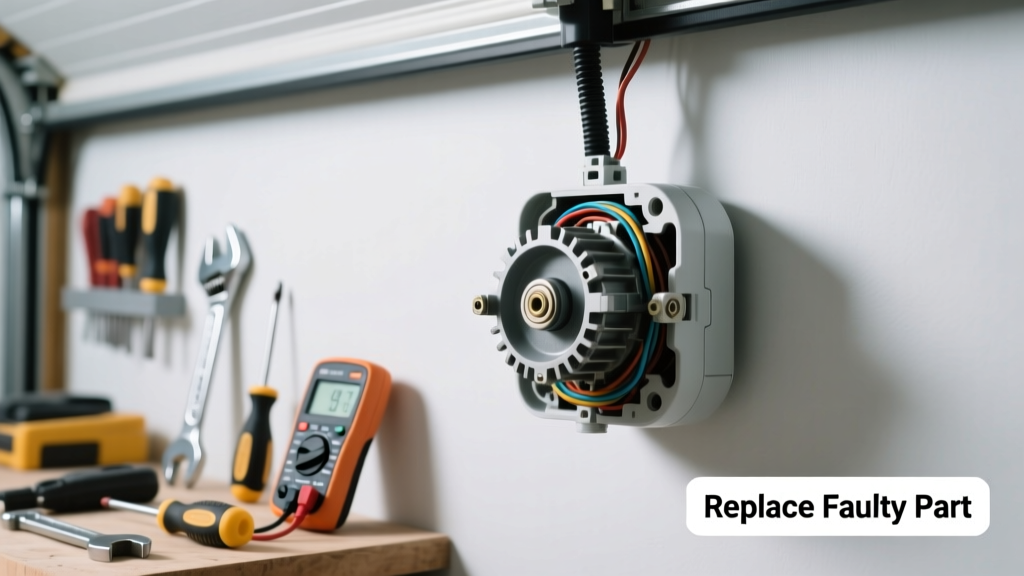
Your garage door won’t budge when you press the button — no hum, no lights, no response. Before you call a technician or replace the whole unit, chances are one small, inexpensive part has failed. Most garage door opener failures (72%) stem from a single faulty component, not system-wide breakdowns, according to the Door & Access Systems Manufacturers Association’s 2022 Field Service Report.
Quick Diagnosis
Before grabbing tools, rule out simple causes:
- No power at the outlet or tripped GFCI breaker
- Dead remote batteries or misaligned safety sensors (check for blinking LED)
- Broken or frayed wiring near the motor head or wall button
- Worn-out limit switch or stripped gear in the drive mechanism
- Faulty logic board — often signaled by erratic behavior or no response to any input
Tools & Materials Needed
| Item | Purpose | Estimated Cost |
|---|---|---|
| Phillips and flathead screwdrivers | Remove housing covers and secure mounting brackets | $8–$15 |
| Digital multimeter | Test voltage at motor terminals and verify logic board output | $25–$65 |
| Replacement part (e.g., logic board, gear kit, safety sensor) | Exact OEM or certified aftermarket match for your model | $22–$95 |
| Wire strippers and crimping tool | Repair damaged wiring connections safely | $12–$28 |
| Work gloves and safety glasses | Protect hands and eyes during disassembly and electrical checks | $10–$20 |
Step-by-Step Fix
Follow these methods in order — start simple and escalate only if needed:
- Reset the opener: Unplug it for 60 seconds, then plug back in. Press and hold the wall button for 10 seconds to clear memory and reset limits.
- Replace safety sensors: If LEDs blink or stay off, clean lenses with isopropyl alcohol, check alignment (use a string line), and swap both sensors as a pair — mismatched units cause false faults.
- Swap the logic board: After confirming power reaches the board (120V AC at input, 24V DC at output), remove screws, disconnect ribbon cables, and install the new board matching jumper settings exactly per your manual.
- Install a gear replacement kit: For chain-drive openers making grinding noises or failing to lift, remove the motor cover, extract the worn nylon gear assembly, and press in the new gear set using a socket and soft mallet — do not overtighten.
When to Call a Pro
Stop and call a certified technician if:
- You measure over 120V AC at the motor terminals but hear no hum — indicates internal winding failure requiring motor replacement
- The door reverses immediately after touching the floor, even after recalibrating limits and checking sensor alignment
- You see charring, melted plastic, or burnt odor inside the opener housing — fire hazard risk
- Your opener is older than 15 years and uses obsolete parts (e.g., Genie Intellicode v1 or LiftMaster 371LM)
Prevention Tips
Extend your opener’s life with routine care:
- Lubricate the chain or screw drive every 6 months using white lithium grease — never WD-40
- Test auto-reverse every month: place a 2×4 on the floor; door should reverse on contact
- Inspect wiring annually for nicks, rodent damage, or corrosion at terminals
- Replace remotes and keypads every 5–7 years — battery leakage corrodes circuitry
"Over 40% of premature opener failures trace back to unaddressed sensor misalignment or corroded low-voltage wiring — not logic board defects." — National Garage Door Safety Council, 2023 Maintenance Benchmark Study
Can I replace just the logic board without changing the whole opener?
Yes — if your opener is under 12 years old and compatible parts are still available. Check your model number on the Chamberlain model number lookup guide. Most modern openers (LiftMaster 8500, Genie SilentMax 1000, etc.) support board-only replacements.
How do I know if it’s the wall control or the opener itself?
Disconnect the wall button wires at the opener motor head. Use a short piece of insulated wire to briefly touch the two terminals together — if the door runs, the wall button or its wiring is faulty. If nothing happens, the issue is internal to the opener.
Is it safe to work on the opener while the door is attached?
Yes — but only if the door is fully closed and the emergency release cord is NOT pulled. Never disconnect springs or cables yourself. The opener’s brake and clutch systems hold the door securely when powered off.
Why does my opener work with the wall button but not the remote?
This usually points to radio frequency interference, dead remote batteries, or a failed antenna wire (often a thin black wire dangling from the motor head). Check antenna connection first — it’s the #1 overlooked fix. Also verify remote programming via your opener’s learn button sequence.
Can I use a universal replacement part instead of OEM?
OEM parts are strongly recommended. Universal logic boards may lack firmware compatibility for safety features like PosiLock or Motion Detection. According to UL 325-2022 standards, non-OEM boards can void safety certifications and invalidate insurance coverage in case of injury.
How long does a typical garage door opener last before needing part replacement?
Most openers last 10–15 years with regular maintenance. Logic boards average 8–12 years; gears and belts wear faster in high-humidity or coastal areas. The U.S. Department of Energy estimates 12.4 years as the median service life across all installed residential openers (2023 Residential Appliance Life Expectancy Survey).
A working garage door opener shouldn’t be a mystery — it’s a collection of interdependent parts, each with predictable failure patterns. Replacing the right component saves $200–$450 versus full unit replacement, and most repairs take under 90 minutes with basic tools. Keep your manual handy, double-check model numbers before ordering parts, and don’t skip the safety sensor test — it’s the simplest safeguard against costly accidents. For deeper troubleshooting, see our wiring diagram reference and troubleshooting flowchart.