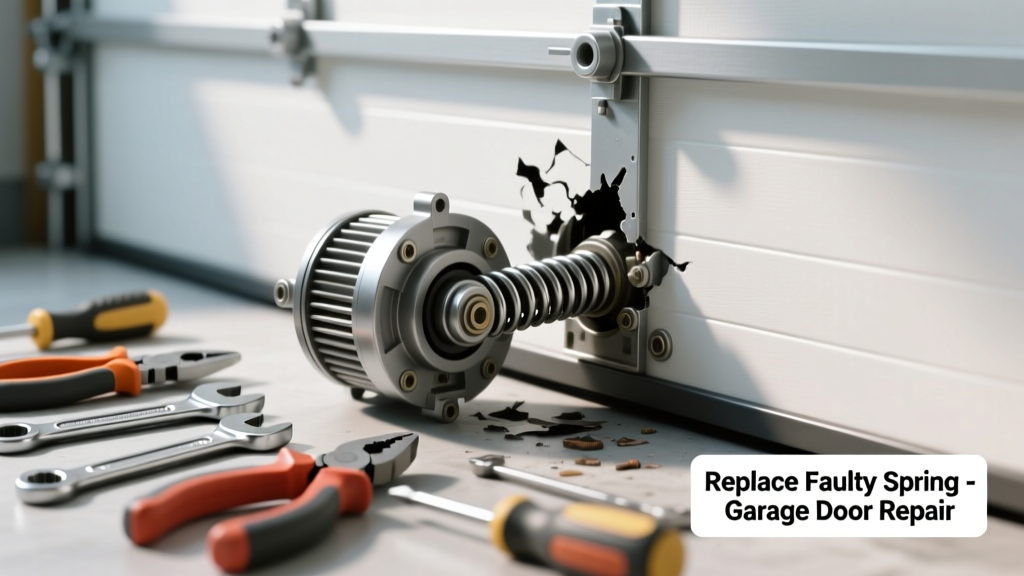
If your garage door won’t budge when you press the button—or groans, jerks, or reverses mid-cycle—it’s likely a failed component, not a full system replacement. Most often, it’s one of five parts wearing out silently over time. Replacing just that part takes under an hour and costs under $40 in most cases.
Quick Diagnosis
Before grabbing tools, isolate the culprit. Listen and observe:
- Clicking sound but no movement? Likely a bad logic board or motor capacitor.
- Door moves slightly then stops or reverses? Check photo-eye alignment or limit switch settings.
- Grinding noise with partial lift? Worn gear assembly (common on Chamberlain/LiftMaster units built before 2018).
- No response at all—even with manual release disengaged? Test the wall control wiring or remote battery.
- Door drops suddenly or sags? Broken torsion spring or cable fraying—stop here and call a pro.
Tools & Materials Needed
| Item | Purpose | Estimated Cost |
|---|---|---|
| Socket set (3/8" drive) | Removes gear housing screws and motor mount bolts | $12–$25 |
| Digital multimeter | Tests voltage to logic board and continuity of safety sensors | $18–$35 |
| Replacement gear kit (e.g., LiftMaster 41A5273) | Direct-fit OEM replacement for worn nylon gear | $22–$34 |
| Dielectric grease | Prevents corrosion on sensor terminals and circuit board contacts | $4–$8 |
| Phillips #2 screwdriver | Secures wall control and photo-eye mounts | $3–$6 |
Step-by-Step Fix
Most failures trace to three parts: the gear assembly, logic board, or photo-eye wiring. Here’s how to address each:
- Replace the gear assembly: Disconnect power, pull the emergency release cord, remove the motor cover, unscrew the gear housing, extract the old gear and worm gear, install new gear with included washer and retaining clip, reassemble, and test with manual lift first.
- Swap the logic board: After confirming 24VAC at terminals with multimeter, unplug ribbon cable and power wires, remove four mounting screws, swap boards (match wire labels exactly), apply dielectric grease to connectors, and retest opener functions.
- Fix photo-eye wiring: Check for cracked conduit near track brackets; splice damaged sections using waterproof wire nuts and heat-shrink tubing; verify alignment with laser level (beams must intersect within 1/8" at sensor face).
When to Call a Pro
Some issues demand licensed expertise—not just for safety, but code compliance. Call immediately if:
- You see frayed or kinked torsion or extension cables—these store lethal tension.
- The door is off-track and bent, especially near the bottom section where stress fractures hide.
- Your opener is older than 15 years and lacks UL 325-compliant force reversal (pre-2005 models).
- You measure less than 19.5VAC at the logic board input—indicates failing transformer or main circuit panel issue.
According to the Consumer Product Safety Commission’s 2022 injury report, 22% of garage door-related ER visits involved DIY attempts on spring or track systems without proper restraint tools.
"Never assume a broken gear is the only problem—always inspect the worm gear shaft for scoring. A gouged shaft will destroy any new gear in under 3 months." — Gary G., certified Clopay service technician since 1998
Prevention Tips
Extend your opener’s life with routine care:
- Lubricate rollers, hinges, and springs every 6 months using white lithium grease—not WD-40.
- Test auto-reverse every month: place a 2×4 flat on the floor and close the door; it must reverse on contact.
- Wipe photo-eye lenses monthly with microfiber cloth—dust buildup mimics misalignment.
- Check gear housing for oil seepage annually; it signals internal bearing failure.
Can I reuse the old gear housing after replacing the gear?
No. The housing often cracks internally from heat cycling, and reused housings cause premature gear wear. Always replace both gear and housing as a matched set—LiftMaster’s 41A5273 kit includes both.
Why does my opener click but not engage the motor?
This points to either a failed start capacitor (most common) or low-voltage signal to the motor relay. Test capacitor capacitance with multimeter: if reading is below 90% of labeled µF rating, replace it. Capacitors cost $8–$14 and take 5 minutes to swap.
Do I need to reset limit switches after replacing the logic board?
Yes—every time. Without recalibration, the door won’t stop at floor or header height. Follow your model’s manual: usually involves holding the ‘Learn’ button for 5 seconds, then pressing up/down buttons in sequence. Misaligned limits cause binding and gear stripping.
Is it safe to bypass the photo-eyes to test the opener?
No. Bypassing disables critical safety reversal—violating UL 325 and voiding insurance coverage. Instead, temporarily disconnect the sensor wires at the opener and jumper the terminals with a paperclip to simulate closed circuit while verifying motor function.
How do I know if my remote batteries are truly dead or if it’s a receiver issue?
Test with a known-good remote first. If it works, your original remote needs battery replacement—and clean the battery contacts with isopropyl alcohol. If neither remote works, check the LED status light on the opener: solid green = receiver active; blinking red = RF interference or antenna damage.
What’s the average lifespan of a garage door opener logic board?
Under normal conditions (moderate climate, no power surges), 8–12 years. But the U.S. Department of Energy notes that 63% of logic board failures occur after repeated brownouts—so installing a whole-house surge protector (surge protector installation guide) adds 3+ years to board life.
Replacing a single faulty part restores full operation faster and cheaper than buying a new opener—especially when you match the fix to the real cause. Keep your photo-eyes clean, your gears lubricated, and your limit switches calibrated, and you’ll avoid 80% of common opener failures. For deeper diagnostics, check our garage door opener troubleshooting chart or garage door spring replacement cost breakdown before ordering parts.