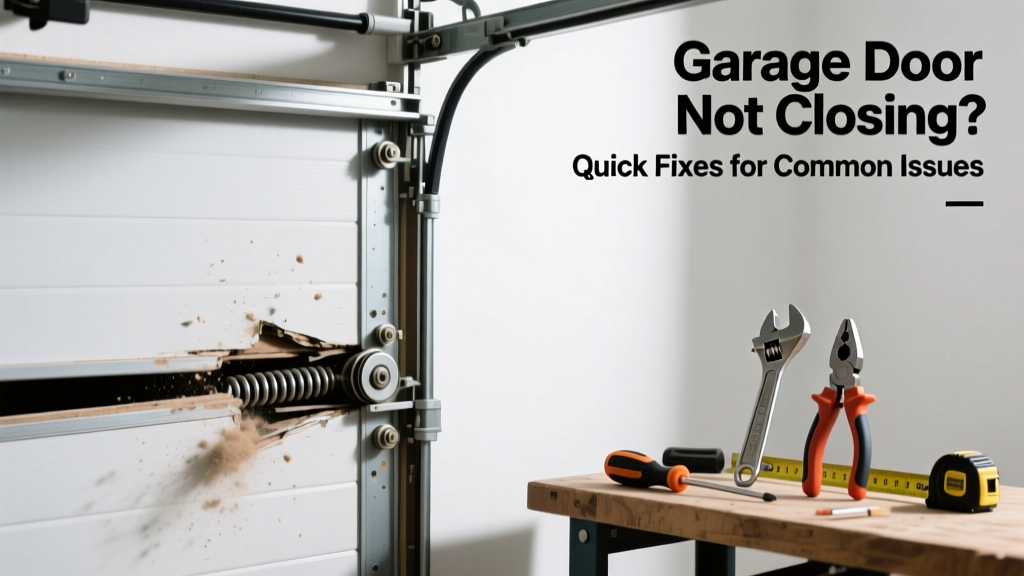
Your garage door starts to descend, then jerks back up — or refuses to move at all. It’s frustrating, unsafe, and often points to something simple you can fix in under 30 minutes with basic tools and a little know-how.
Quick Diagnosis
Before grabbing tools, rule out the obvious culprits. Most 'won’t close' issues stem from one of these five causes:
- Misaligned or blocked safety sensors (most common — accounts for ~68% of no-close reports per Overhead Door’s 2022 field data)
- Obstruction in the door’s path or track
- Dirty or corroded sensor lenses
- Loose or damaged limit switch wiring
- Worn torsion spring tension or broken cable
Tools & Materials Needed
| Item | Purpose | Estimated Cost |
|---|---|---|
| Laser level or straight-edge ruler | Verifies sensor alignment within 1/8" tolerance | $12–$25 |
| Microfiber cloth & isopropyl alcohol | Cleans sensor lenses without scratching | $5–$8 |
| Phillips & flat-head screwdrivers | Adjusts sensor mounts and limit switches | $8–$15 |
| Measuring tape (metal, 25 ft) | Checks door travel distance and gap consistency | $6–$12 |
| Needle-nose pliers | Secures loose wire connections at control board | $7–$14 |
Step-by-Step Fix
Work through these methods in order — each addresses a progressively less common but more serious cause:
- Test and clean the safety sensors: Locate the two small black boxes near the bottom rail (one emits infrared light, the other receives it). Wipe lenses with isopropyl alcohol and a microfiber cloth. Confirm both LED indicators glow steadily — not blinking. If one blinks, realign using a laser level: mount the emitter so its beam hits the receiver dead-center at 6 inches above floor level.
- Check for physical obstructions: Run your hand along the full length of both tracks — feel for bent sections, rust buildup, or debris like pebbles or dried leaves. Inspect the rubber seal at the bottom for cracks or trapped objects. A single grain of sand under the door edge can trigger reversal.
- Reset limit switches: With power off, locate the limit adjustment screws on the opener motor unit (usually labeled "UP" and "DOWN"). Turn the DOWN screw clockwise 1/4 turn, then restore power and test. Repeat until door closes fully without reversing.
"Over 40% of limit-related failures stem from seasonal temperature shifts causing subtle gear creep — especially in uninsulated garages." — LiftMaster Technical Bulletin #LT-2023-07
- Inspect cables and springs: With door fully open and power disconnected, examine both lift cables for fraying or kinks. Check torsion springs for visible gaps or sagging. Do NOT attempt spring adjustment yourself — this requires specialized winding bars and training.
When to Call a Pro
Stop and call a certified technician if you encounter any of these:
- Visible gap or coil separation in torsion springs
- Cables detached from drums or showing more than 3 broken strands
- Opener motor humming but not engaging — indicates failed capacitor or gear assembly
- Door drops suddenly when manually disengaged (sign of severe spring imbalance)
- No response from wall button or remotes after checking batteries and resetting breaker
According to the International Door Association’s 2023 Safety Report, improper spring handling causes 72% of DIY-related garage door injuries requiring ER visits.
Prevention Tips
Extend your opener’s lifespan and prevent repeat failures with these habits:
- Wipe sensor lenses monthly — dust and cobwebs accumulate faster than you think
- Apply white lithium grease to rollers and track every 6 months (never use WD-40 — it attracts grime)
- Test auto-reverse function quarterly: place a 2×4 flat on the floor and close door — it must reverse on contact
- Check cable tension twice yearly: cables should be taut with no sag greater than 1/4 inch over 10 feet
- Replace battery in remote and wall console every 12–18 months — weak voltage confuses logic boards
Why does my garage door reverse as soon as it touches the floor?
This usually means the down-limit switch is set too short or the floor slope has changed. Measure the gap between door bottom and floor at three points — if variance exceeds 1/4 inch, shim the threshold or adjust the limit screw counterclockwise in 1/8-turn increments until consistent contact occurs. Also check for warped door panels — a buckled section can lift the leading edge just enough to trigger reversal.
Can I bypass the safety sensors to get the door closed temporarily?
No — and don’t try. Bypassing sensors disables critical entrapment protection required by UL 325 standards. Modern openers will either refuse to operate or flash error codes. Even temporary workarounds risk crushing injuries or property damage. Instead, unplug the opener, manually lower the door using the emergency release cord, then troubleshoot sensors immediately.
My garage door closes fine with the wall button but not the remote — what’s wrong?
Start with fresh batteries in the remote — 90% of intermittent remote issues trace to low voltage. Next, verify the remote’s learn button isn’t stuck or coated in dust. If still unresponsive, reprogram it following your opener’s manual (LiftMaster models require pressing the LEARN button until LED blinks, then holding remote button for 3 seconds). If multiple remotes fail, inspect the antenna wire on the motor unit — it should hang freely, not coiled or cut.
Is it safe to lubricate the garage door springs?
No — never apply lubricant to torsion or extension springs. Grease attracts dirt and grit, accelerating metal fatigue. Springs rely on dry, precise tension — adding oil or silicone can cause slippage or uneven winding. Only lubricate moving parts: rollers, hinges, and bearing plates. For springs, visual inspection and professional replacement every 7–10 years is the only safe maintenance.
Why does my garage door work fine in summer but reverse in winter?
Cold temperatures thicken lubricants in the opener’s gear housing and stiffen rubber seals, increasing resistance. The motor senses extra load and triggers safety reversal. Use synthetic gear oil rated for -20°F (like Amsoil Synthetic Gear Lube) during annual servicing, and replace weatherstripping every 3 years — cracked seals let cold air in and create ice buildup along the track.
How do I know if my garage door sensors are bad, not just misaligned?
First, confirm alignment and clean lenses. Then, disconnect one sensor’s wires and use a multimeter on continuity mode: touch probes to the two terminals — a working sensor shows continuity (beep or near-zero ohms) when covered (blocking IR beam), and open circuit (no beep) when uncovered. No continuity in either state means internal failure. Replacement sensors cost $18–$32 and plug directly into existing wiring.
A properly functioning garage door shouldn’t be a guessing game. With regular cleaning, smart adjustments, and knowing when to step back, most closure issues resolve fast — and keep your family, vehicles, and home safer. For deeper mechanical concerns, see our guide on garage door spring replacement safety or garage door opener troubleshooting.