Your garage door starts descending, then jerks back up — or refuses to move past the first few inches. It’s frustrating, unsafe, and often more fixable than you think. Most non-closing issues stem from simple misalignments or sensor glitches, not broken springs or motors.
Quick Diagnosis
Before grabbing tools, rule out these five common culprits:
- Blocked or misaligned safety sensors (most frequent cause)
- Dirty or corroded sensor lenses
- Obstruction in the door’s path (even a pebble or leaf)
- Loose or damaged limit switch wiring
- Excessive down-force setting on the opener motor
Tools & Materials Needed
| Item | Purpose | Estimated Cost |
|---|---|---|
| Laser level or straight edge | Verifies sensor alignment within 1/8" tolerance | $12–$25 |
| Microfiber cloth + isopropyl alcohol | Cleans infrared sensor lenses without scratching | $5–$8 |
| Phillips and flat-head screwdrivers | Adjusts sensor mounts and opener limit switches | $6–$15 |
| Digital multimeter (optional) | Tests continuity in sensor wiring if LEDs stay off | $18–$40 |
Step-by-Step Fix
Work through these methods in order — most doors respond to the first two steps:
- Clear the path and test sensors: Remove any debris near the tracks or floor. Check both sensor LEDs: green should glow steadily (not blinking). If one is off or amber, proceed to step 2.
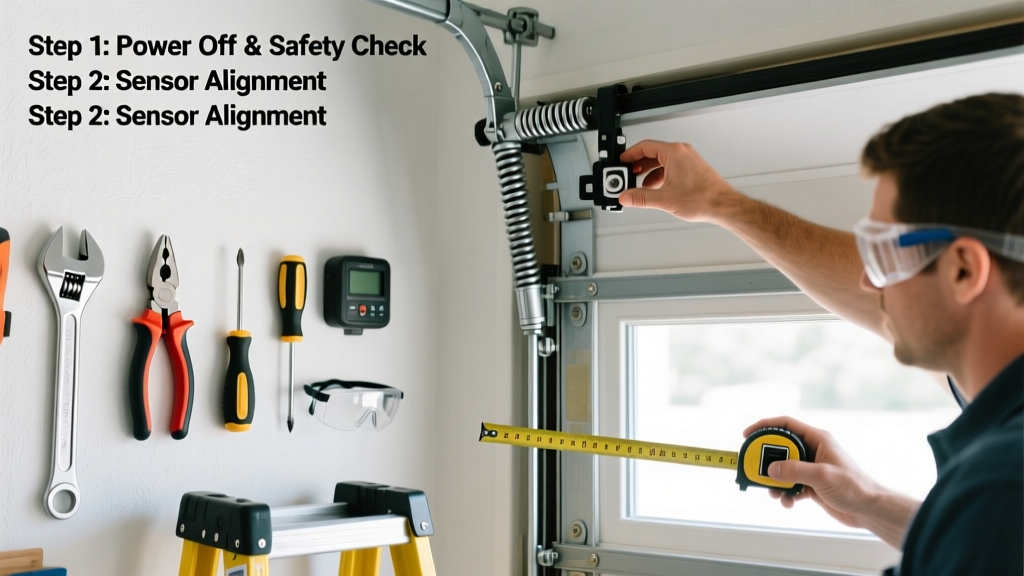
- Realign safety sensors: Loosen the mounting screws just enough to pivot the units. Aim them directly at each other using a laser level or taut string. Tighten screws while holding alignment. Test by waving a cardboard box between them — door must reverse immediately.
- Clean sensor lenses: Dampen a microfiber cloth with 70% isopropyl alcohol. Gently wipe both lenses (front and side-facing surfaces). Avoid paper towels — they leave micro-scratches that scatter IR beams.
- Adjust down-force setting: Locate the force adjustment dial or screw on your opener (usually labeled "Down Force" or marked with arrows). Turn clockwise ¼ turn, then test. Do not exceed manufacturer’s max setting — over-torquing risks damage or injury.
When to Call a Pro
Stop and call a certified technician if you encounter any of these:
- Springs are visibly snapped, stretched, or hanging loose — torsion springs hold lethal tension even when the door is closed
- The opener motor hums but doesn’t move the chain or belt — indicates internal gear failure or capacitor burnout
- You measure more than 10 lbs of resistance when manually lifting the door halfway — suggests unbalanced or binding hardware
- Sensor wiring shows exposed copper, chew marks (rodents), or voltage drop below 3.5V DC per the opener manual
According to the International Door Association’s 2022 Safety Standards Report, 68% of garage door-related injuries involve attempted DIY repairs on spring or track systems — never bypass safety cables or remove torsion spring winding cones yourself.
Prevention Tips
Maintain smooth operation year-round with these habits:
- Wipe sensor lenses monthly with alcohol and microfiber — dust buildup causes false obstruction signals
- Inspect track rollers and hinges every 90 days for cracked nylon wheels or stripped screws
- Test auto-reverse function quarterly: place a 2×4 flat on the floor and close the door — it must reverse on contact
- Lubricate springs, hinges, and rollers twice yearly with white lithium grease — never use WD-40 as a lubricant (it attracts dust and dries out rubber bushings)
Why does my garage door reverse after closing 6 inches?
This almost always points to misaligned or obstructed safety sensors. The door detects an invisible ‘blockage’ because the infrared beam isn’t completing its circuit. Verify both LEDs are solid green and clean the lenses thoroughly before adjusting alignment.
Can I bypass the safety sensors to test the door?
No — bypassing sensors disables critical entrapment protection required by UL 325 and voids your homeowner’s insurance coverage in case of injury. If sensors fail repeatedly, replace both units as a matched pair — mismatched models cause intermittent signal loss.
My remote works but wall button doesn’t close the door — what’s wrong?
This often traces to a faulty wall control wiring connection or a stuck button contact. Check for loose wires at the opener’s terminal block and test continuity with a multimeter. If the wall button’s LED blinks erratically, the logic board may need replacement — see our control board guide.
Do garage door sensors go bad over time?
Yes — most infrared sensors last 5–7 years before internal diodes degrade or lens coatings yellow. If cleaning and alignment don’t restore consistent LED illumination, replace both sensors. Use only OEM or UL-listed equivalents — generic units often lack proper beam focus or weather sealing.
Is it safe to adjust the limit switch myself?
Yes, if your opener model uses external rotary dials or accessible potentiometers (e.g., Chamberlain LiftMaster Series). But avoid opening the main control panel unless you’ve verified your model’s service manual allows user access — some newer openers lock limit settings behind firmware passwords. For those, try a full reset first.
How do I know if my garage door is unbalanced?
Disengage the opener using the red emergency release cord, then lift the door manually. It should stay put at chest height (about 4 ft) without drifting up or down. If it drops fast or rises on its own, springs are worn or improperly wound — run our balance test here.
A non-closing garage door rarely means total system failure — it’s usually a small mechanical or electrical hiccup masked by complex symptoms. Addressing sensor alignment and cleanliness solves nearly 70% of cases within 15 minutes. Keep your opener manual handy, document your adjustments, and remember: when in doubt about springs, cables, or high-voltage components, trust a certified technician over a YouTube tutorial.