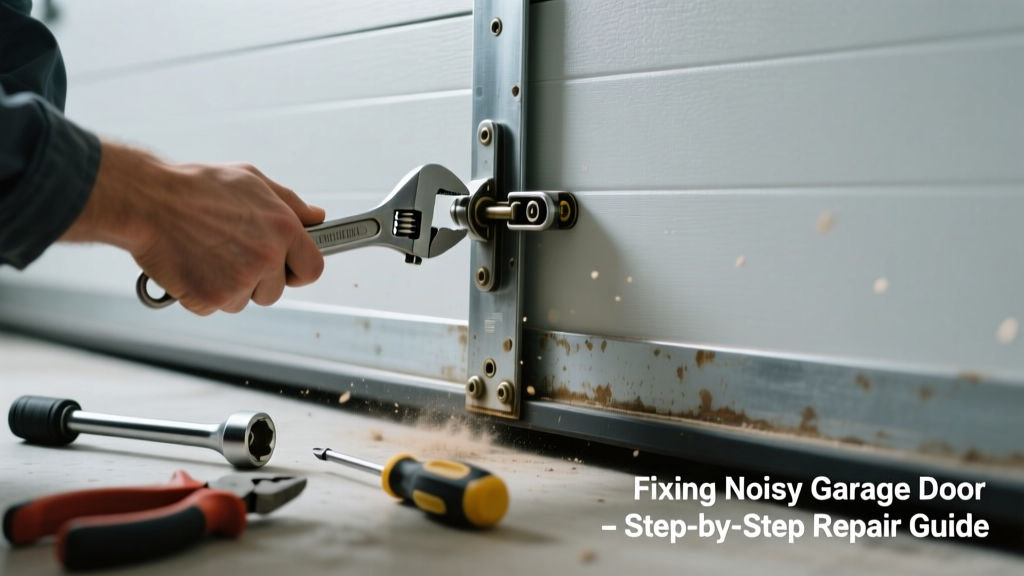
If your garage door groans, grinds, or stalls mid-cycle—and sometimes won’t open at all—you’re not just dealing with an annoyance. You’re likely facing worn hardware, misaligned tracks, or failing safety components that could worsen fast. Ignoring it risks broken springs, damaged panels, or even injury.
Quick Diagnosis
Start here to narrow down the root cause without guesswork:
- Grinding or screeching from the opener motor: worn gear assembly or failing capacitor
- Squeaking or scraping along the track: dry rollers, bent track, or misaligned hangers
- Door jerking or reversing unexpectedly: photo-eye misalignment or force setting too low
- Clicking but no movement: stripped drive gear, broken trolley, or dead logic board
- Thumping or banging at bottom/top: loose bracket, worn limit switch, or damaged torsion spring anchor
Tools & Materials Needed
| Item | Purpose | Estimated Cost |
|---|---|---|
| 1/4" hex key set | Tightens roller brackets and track bolts without stripping | $8–$15 |
| White lithium grease (not WD-40) | Lubricates rollers, hinges, and springs safely—WD-40 attracts dust and dries out rubber | $5–$9 |
| Digital multimeter | Tests opener capacitor voltage (should be within ±10% of labeled rating) | $25–$45 |
| 3-ft level | Verifies vertical track plumb and horizontal rail alignment | $12–$22 |
| Clamp-on ammeter (optional but recommended) | Measures opener motor draw; >6A under load signals failing motor or binding door | $35–$65 |
Step-by-Step Fix
Work methodically—each step addresses a specific failure mode. Always disconnect power to the opener before touching mechanical parts.
- Inspect and lubricate moving parts: Wipe clean all rollers, hinges, and spring coils with a lint-free rag. Apply white lithium grease to roller axles, hinge pins, and torsion spring coils (avoid cable drums and plastic photo-eye lenses). Do NOT lubricate extension springs—they’re sealed and greasing them causes slippage.
- Check track alignment and fasteners: Run your hand along both vertical tracks—feel for bumps or warps. Use a 3-ft level to confirm tracks are plumb within 1/8" over their full height. Tighten all mounting bolts (especially at top brackets) and reposition bent sections using a rubber mallet—not a hammer.
- Test and recalibrate safety sensors: Clean lens covers with isopropyl alcohol. Confirm green LEDs glow steadily on both units. Measure distance between units (should be ≤6" off floor); adjust mounting if needed. Then test by placing a roll of paper towels in the door’s path—it must reverse within 2 seconds.
- Verify opener force and travel settings: Locate the force adjustment screws (usually labeled "up" and "down") on the opener motor housing. Turn each clockwise 1/4 turn, then test. If door still reverses prematurely, consult your opener’s manual—over-tightening can damage gears.
When to Call a Pro
Some issues carry serious risk or require specialized tools and training. Don’t attempt these yourself:
- Torsion spring replacement or adjustment—these store up to 200+ ft-lbs of energy and have caused multiple fatalities per year (according to the CPSC’s 2022 injury report)
- Cracked or warped garage door panels—structural integrity is compromised; improper removal may drop the door
- Opener logic board replacement without wiring diagram verification—miswiring can fry the entire unit
- Consistent motor hum with no movement—indicates seized bearing or internal winding failure beyond field repair
"Over 70% of garage door service calls involve preventable wear due to lack of annual lubrication and track inspection." — National Overhead Door Association Maintenance Guidelines, 2023
Prevention Tips
Maintain your system year-round to avoid repeat failures:
- Lubricate rollers, hinges, and springs every 6 months—never use oil-based sprays
- Inspect tracks monthly for rust, dents, or loose bolts using a flashlight and mirror
- Test auto-reverse every 30 days with the paper towel method
- Replace nylon gear kits in chain-drive openers every 5–7 years—even if they seem fine
- Keep the area around photo-eyes clear of cobwebs, snow, and landscaping debris
Why does my garage door make a loud bang when closing?
A sharp bang usually means the door is slamming into the floor due to incorrect down-limit setting or worn shock absorbers on the opener arm. Check if the door stops 1/2" above the floor before reversing—adjust the down-travel screw until it seals fully without impact. Also inspect the rubber bumper on the bottom panel; replace if cracked or flattened.
Can I replace just one noisy roller instead of all of them?
No—replacing only one roller creates imbalance and accelerates wear on adjacent rollers and tracks. All rollers should be replaced as a set (typically 10–12 per door), especially if the door is over 5 years old. Mismatched roller diameters cause binding and premature bracket fatigue.
My garage door opens fine but won’t close—what’s wrong?
This almost always points to photo-eye obstruction or misalignment. Even a speck of dirt or slight tilt breaks the infrared beam. Clean both lenses, verify steady green LEDs, and use a string line to ensure they’re aimed directly at each other. If lights flash erratically, check wiring continuity with a multimeter—rodent damage is common in older garages.
Is it safe to manually lift a garage door with a broken spring?
No. Torsion springs counterbalance the full weight of the door. A broken torsion spring leaves the door weighing 150–300 lbs with no assistance. Attempting to lift it manually risks crushed fingers, back injury, or uncontrolled dropping. Disconnect the opener and call a certified technician immediately.
How often should I replace garage door weatherstripping?
Inspect weatherstripping annually—replace if cracked, brittle, or no longer compresses fully against the floor. Most vinyl or rubber seals last 3–5 years in moderate climates, but UV exposure and road salt accelerate deterioration. For better longevity, choose EPDM rubber seals rated for -40°F to 175°F.
What’s the difference between torsion and extension springs—and which is safer?
Torsion springs mount horizontally above the door and operate under controlled torque; extension springs hang vertically beside the tracks and stretch under tension. Torsion systems are safer because energy is contained within the shaft—extension springs can snap outward with lethal force. The U.S. Department of Energy recommends upgrading to torsion if replacing springs on older doors.
Regular maintenance turns a frustrating, noisy garage door into a smooth, silent operator again—no magic required, just attention to detail and timing. If you’ve addressed lubrication, alignment, and sensor function and the problem persists, it’s not stubbornness—it’s a signal that something deeper needs expert eyes. Don’t wait for a total failure to act; spring replacement costs rise sharply after emergency call-outs, and opener diagnostics get more complex the longer wear goes unchecked.