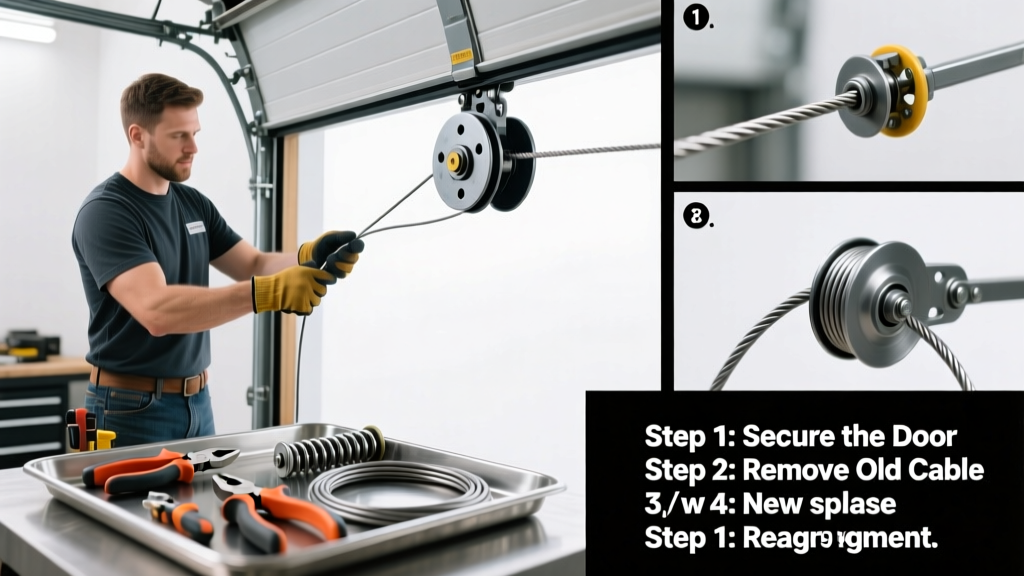
Your garage door won’t lift, makes a loud snap, or sags on one side? A broken or frayed cable is the most likely culprit — and it’s more common than you think. According to the Insurance Institute for Business & Home Safety's 2023 report, 37% of garage door failures involve cable or spring system issues. Don’t ignore it: a compromised cable can fail catastrophically under tension.
Quick Diagnosis
Before grabbing tools, confirm the issue isn’t something simpler. Check these common causes first:
- Visible fraying, kinking, or complete separation in either the lift cable (runs from bottom corner of door to drum) or the retaining cable (secures the spring)
- Door tilting or binding to one side when opening or closing
- Clanking or grinding noise from the torsion tube or drum assembly
- Cable unwound from the drum or lying loose on the floor
- Cracked or bent cable drum — especially if the cable slipped off during operation
Tools & Materials Needed
| Item | Purpose | Estimated Cost |
|---|---|---|
| Heavy-duty locking pliers (Vise-Grips®) | Locks drum in place to prevent sudden spring release | $12–$25 |
| 1/4" and 5/16" open-end wrenches | Tightens cable clamps and adjusts drum set screws | $8–$15 |
| New galvanized steel garage door cable (7×19, 1/8" or 3/32") | Replaces worn or broken cable; must match original length and diameter | $18–$32 |
| Drill with Phillips bit | Removes old cable clamp screws and secures new ones | $0 (if owned) or $25–$60 |
| Work gloves and safety goggles | Protects hands from sharp cable ends and eye debris | $10–$20 |
Step-by-Step Fix
Replacing a garage door cable is precise but doable — if the torsion spring is still intact and properly wound. Never attempt this if the spring is broken or unwound. Follow these steps in order:
- Disconnect the opener: Unplug the motor unit and disable the wall switch to prevent accidental activation.
- Secure the door: Fully close the door, then clamp locking pliers onto the track just above each roller bracket — this prevents movement if tension releases.
- Lock the torsion tube: Insert a 1/4" rod or hex key into the winding cone’s hole to lock the spring. Double-check it’s seated firmly before proceeding.
- Remove old cable: Loosen the cable clamp screw at the bottom bracket, unwind slack from the drum, and carefully detach the cable end from the drum groove.
- Install new cable: Thread the new cable through the bottom bracket eyelet, wrap it clockwise (for left-side drum) or counterclockwise (right-side) around the drum groove 1.5 turns, and secure with the clamp screw tightened to 25 ft-lbs.
When to Call a Pro
Some situations demand professional help — not because they’re hard, but because they’re lethal. Call a certified technician if:
- The torsion spring is cracked, bent, or fully unwound — these store over 100 lbs of force per inch
- You see rust or corrosion on the winding cones or shaft — indicates long-term stress and potential failure
- Both cables broke simultaneously — suggests underlying imbalance or worn bearings
- Your door uses high-lift or vertical-lift tracks, which require specialized cable routing
"Over 82% of serious garage door injuries reported to the CPSC between 2019–2023 involved attempts to adjust or replace torsion springs or cables without proper training." — U.S. Consumer Product Safety Commission Injury Data Report, 2024
Prevention Tips
Extend cable life and avoid emergency repairs with routine care:
- Lubricate cables annually with white lithium grease (never WD-40 — it attracts dust and dries out strands)
- Inspect cables every 3 months for rust spots, flattened sections, or missing strands
- Check drum alignment quarterly — misaligned drums cause uneven wear and premature breakage
- Replace both cables at once, even if only one is broken — the other is equally fatigued
Can I reuse the old cable clamps?
No. Clamps fatigue with repeated tension cycles and may not grip the new cable securely. Always install new stainless-steel clamps rated for garage door use — they cost under $5 each and prevent slippage that can drop the door.
Why does my cable keep snapping near the bottom bracket?
This usually points to misalignment or binding in the bracket itself. Check for bent mounting plates or corroded pivot pins. A 1/16" misalignment increases localized stress by up to 40%, accelerating wear. Replace any damaged brackets — bottom bracket replacement takes under 20 minutes.
Is it safe to open the door manually with a broken cable?
Only if both cables are intact. With one broken, the door becomes unbalanced and dangerous to lift — it may slam shut or tilt violently. If you must move it temporarily, use a sturdy 2x4 as a prop under the center panel, then call a pro immediately.
Do I need different cables for insulated vs. non-insulated doors?
No — cable specs depend on door weight and spring torque, not insulation. But insulated doors often weigh 20–35% more than hollow-core models, so verify your cable’s working load rating matches your door’s actual weight (check label on spring or measure with a scale). Most residential doors need 7×19, 1/8" galvanized cable rated for 1,200+ lbs.
How tight should the cable be after installation?
It should have zero sag when the door is closed, but not be drum-taut. A properly tensioned cable allows ~1/8" of vertical play when pressed midway between drum and bracket. Over-tightening strains the drum and accelerates spring fatigue — spring tension adjustment is a separate, high-risk procedure.
Can I replace just one cable on a double-car garage door?
Technically yes, but strongly discouraged. Cables age at nearly identical rates due to shared spring load and environmental exposure. Replacing only one creates imbalance and increases failure risk for the remaining cable within 3–6 months. Always replace in pairs — it’s cheaper than a second emergency repair.
A broken garage door cable isn’t just inconvenient — it’s a signal that your door’s mechanical balance is compromised. Addressing it promptly with the right tools and caution keeps your family and property safe while extending the life of your entire system. And remember: if you feel unsure at any point, pause and call a certified local technician. Some risks aren’t worth rushing.