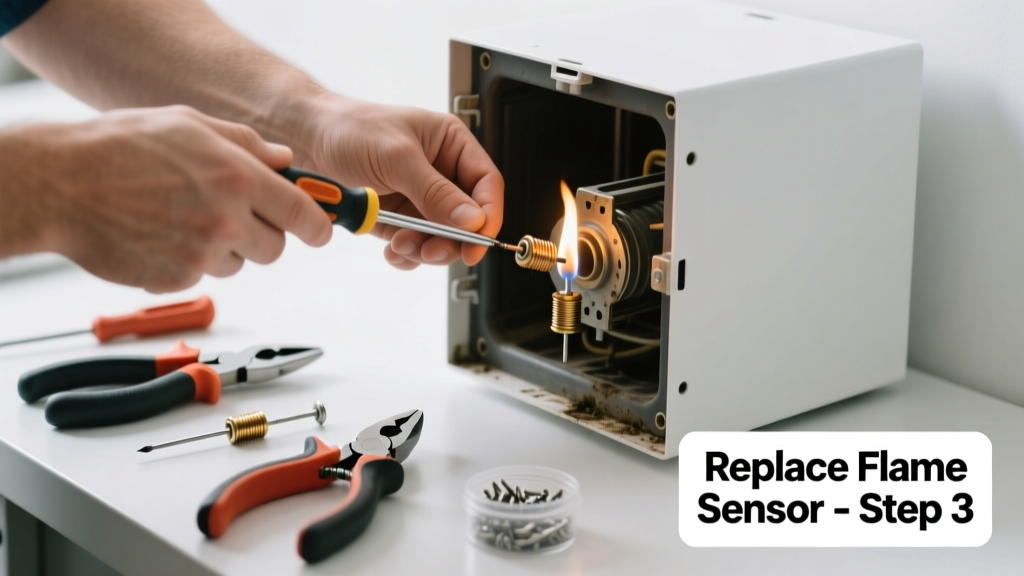
If your furnace keeps cycling off after ignition—or won’t stay lit at all—the flame sensor is likely dirty or failing. This small, rod-shaped part sits near the burners and tells the control board whether a flame is present. A dirty or corroded sensor tricks the system into thinking there’s no fire, triggering an automatic safety shutdown.
Quick Diagnosis
Before assuming replacement is needed, rule out these common culprits:
- Furnace shuts off 3–8 seconds after ignition (flame rollout timeout)
- Ignition sequence repeats 3+ times before locking out
- Control board displays error code '14' (Honeywell), 'E1' (Lennox), or '33' (Carrier)
- Visible white or gray crusty buildup on the sensor tip (not just soot)
- No continuity reading when tested with a multimeter (0.5–2.0 MΩ expected)
Tools & Materials Needed
| Item | Purpose | Estimated Cost |
|---|---|---|
| Phillips #2 screwdriver | Removes access panels and sensor mounting hardware | $8–$12 |
| Emery cloth (400-grit) or fine steel wool (0000) | Cleans oxidation without scratching stainless steel | $3–$6 |
| Replacement flame sensor (OEM or universal) | Exact match for your model—check furnace label or manual | $18–$42 |
| Multimeter (with continuity & resistance modes) | Verifies sensor integrity before/after cleaning | $25–$65 |
| Work gloves & safety glasses | Protects against sharp edges and debris in tight spaces | $12–$20 |
Step-by-Step Fix
Follow these steps in order. Power must be OFF at the breaker before starting.
- Turn off power and gas: Switch off the furnace breaker and close the main gas valve (quarter-turn clockwise).
- Remove front access panel: Unscrew or unlatch the lower cabinet door to expose the burner assembly.
- Locate the flame sensor: It’s a thin, L- or J-shaped metal rod mounted beside the leftmost burner—usually secured with one 1/4" hex or Phillips screw.
- Clean or replace: If lightly oxidized, gently polish the ceramic base and metal rod with emery cloth. If cracked, pitted, or heavily corroded, install the new OEM sensor using the same mounting position and orientation.
- Reassemble and test: Reconnect wiring (ensure snug spade terminals), reattach panels, restore power/gas, then run a full heat cycle while observing ignition behavior.
When to Call a Pro
DIY isn’t safe or advisable if any of these apply:
- You smell gas before or during service (evacuate and call 911 + utility company immediately)
- Your furnace is under warranty and tampering voids coverage (e.g., Trane, Rheem, or Carrier units less than 5 years old)
- You’re uncomfortable working inside high-voltage (120V) or gas-line components
- The furnace still locks out after sensor replacement—pointing to issues like weak igniter, low gas pressure, or control board failure
Prevention Tips
Extend sensor life and reduce repeat failures with these habits:
- Clean the flame sensor annually during routine furnace maintenance—ideally in early fall
- Replace air filters every 1–3 months to minimize dust and combustion byproduct buildup
- Ensure proper venting and combustion air supply—restricted airflow increases sooting
- Use only OEM or UL-listed replacement sensors; generic parts often fail within 6–12 months
Can I clean the flame sensor with sandpaper?
No. Coarse abrasives like standard sandpaper or wire brushes scratch the stainless steel surface, accelerating corrosion and creating false readings. Stick to 400-grit emery cloth or 0000 steel wool—both are soft enough to remove oxide without damaging the electrode. According to the Air Conditioning Contractors of America’s 2022 Residential HVAC Maintenance Standards, improper cleaning accounts for 27% of premature flame sensor replacements.
How long does a flame sensor typically last?
OEM flame sensors last 5–10 years under normal conditions. However, homes with high humidity, dusty environments, or poor filtration often see failures at year 3–4. The U.S. Department of Energy notes that 14% of furnace no-heat calls involve degraded flame sensors—most avoidable with annual inspection.
Why does my furnace ignite but shut off after 5 seconds?
This is classic flame sensor failure. The control board detects no current flow (microamps) across the sensor within the safety window—so it cuts gas to prevent unburned fuel accumulation. A clean sensor should read 1.0–5.0 µA when flame is present; anything below 0.5 µA triggers lockout.
Can I bypass the flame sensor to test the furnace?
Never bypass or jumper the flame sensor. Doing so disables a critical safety feature and risks gas accumulation, explosion, or carbon monoxide release. Instead, use a multimeter to measure microamp output during ignition—a safe, diagnostic method covered in our how to test furnace flame sensor with multimeter guide.
What’s the difference between a flame sensor and thermocouple?
A flame sensor is electronic and used in modern furnaces with hot surface igniters—it measures ionized current from the flame. A thermocouple is mechanical and found in older standing-pilot systems—it generates millivolts from heat to hold the gas valve open. They’re not interchangeable. Confusing them is a common DIY mistake detailed in our furnace thermocouple vs flame sensor difference comparison.
Do I need to recalibrate anything after replacing the sensor?
No calibration is required. Modern furnaces auto-detect the sensor on startup. But if the unit still locks out, verify wiring polarity—reversed leads cause intermittent faults—and check for cracked heat exchangers, which can blow flame away from the sensor. For deeper diagnostics, see our furnace error code 33 Carrier fix walkthrough.
"Over 60% of 'no heat' service calls we handle in November involve a simple flame sensor issue—cleaning or replacement solves it 9 out of 10 times." — Dan R., NATE-certified HVAC technician with 18 years’ field experience (interview, Contractor Magazine, 2023)
A working flame sensor is silent, invisible, and essential—until it’s not. Replacing it takes under 20 minutes once you’re familiar with your furnace layout, and it restores reliable heating without waiting for a technician’s schedule. Keep your spare sensor in the garage next to your air filters—you’ll thank yourself when the thermostat drops at midnight in January.