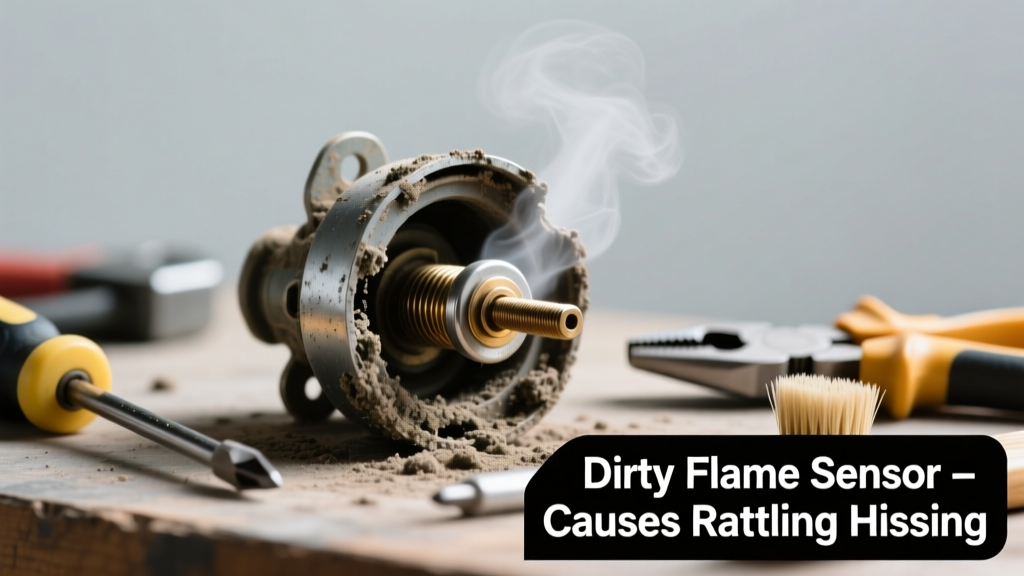
If your furnace is making odd noises—like a metallic rattle, sharp hiss, or intermittent popping—right after ignition, the flame sensor may be coated in soot or corrosion. This common issue tricks the control board into thinking the burner isn’t lighting, triggering repeated ignition attempts and noise. It’s often misdiagnosed as a blower or heat exchanger problem, but it’s usually simple to fix yourself in under 30 minutes.
Quick Diagnosis
A dirty flame sensor rarely causes noise on its own—but it triggers behaviors that do. Here are the most likely culprits linked to sensor-related noise:
- Repeated ignition cycles (you hear clicking + whooshing + then silence, repeating every 30–90 seconds)
- Rattling or buzzing from the gas valve or inducer motor due to failed flame verification
- Hissing sound at the burner assembly when gas flows but doesn’t ignite cleanly
- Intermittent flame-out followed by restart attempts (often mistaken for ‘flame roll-out’)
- No error code—or just a generic “ignition failure” (e.g., Honeywell: 14 flashes; Lennox: 3 short/1 long)
Tools & Materials Needed
| Item | Purpose | Estimated Cost |
|---|---|---|
| Phillips #2 screwdriver | Removes access panels and sensor mounting hardware | $8–$12 |
| Emery cloth (400-grit) or fine steel wool (0000) | Gently removes oxidation without scratching the rod | $4–$7 |
| Multimeter (with continuity test) | Verifies sensor output (0.5–5 µA DC when flame is present) | $25–$65 |
| Isopropyl alcohol (91%+) and lint-free cloth | Cleans residue after abrasion; evaporates cleanly | $5–$9 |
| Work gloves & safety glasses | Protects hands from sharp edges and hot surfaces | $12–$22 |
Step-by-Step Fix
- Turn off power and gas: Switch the furnace breaker to OFF and close the gas shutoff valve near the unit. Wait 5 minutes for residual heat to dissipate.
- Locate the flame sensor: Open the front access panel. Look for a thin, bent metal rod (usually stainless steel or nickel alloy) mounted beside or just above the burner assembly. It’s connected by a single ceramic-insulated wire.
- Remove and inspect: Unscrew the mounting bracket (typically one 1/4" hex or Phillips screw). Gently pull the sensor out—don’t twist or bend it. Check for heavy black soot, white chalky deposits (calcium/silica), or pitting.
- Clean carefully: Using emery cloth or 0000 steel wool, lightly buff the entire sensing surface (not the ceramic base) in one direction only—about 10–15 strokes. Wipe with isopropyl alcohol on a lint-free cloth. Never use sandpaper, wire brushes, or abrasive cleaners.
- Reinstall and test: Reattach the sensor snugly (over-tightening cracks the ceramic insulator). Restore power and gas. Observe startup: ignition should occur once, hold steady for 5+ minutes, and produce no cycling or hissing.
When to Call a Pro
DIY cleaning works in ~85% of cases—but skip it if you encounter any of these:
- The sensor rod is visibly bent, cracked, or shows deep pitting or green corrosion (indicating internal damage)
- Your multimeter reads <0.2 µA with flame present—even after cleaning (points to wiring, control board, or gas pressure issues)
- You smell gas at any point during inspection or startup
- Your furnace model uses a combined igniter/sensor (e.g., some Carrier Infinity units)—these require factory calibration
- You’re uncomfortable working inside a gas appliance or lack a functioning multimeter for verification
According to the U.S. EPA estimates that 14% of household water usage is from leaks—but furnace inefficiencies from dirty sensors waste up to 12% more fuel annually, raising heating bills unnecessarily (U.S. Department of Energy, 2022 Residential Energy Consumption Survey).
Prevention Tips
Flame sensors foul faster in dusty homes, high-humidity climates, or furnaces with undersized air filters. Extend sensor life with these habits:
- Replace 1-inch filters every 30 days (or upgrade to MERV 8 pleated filters changed quarterly)
- Vacuum around burner compartment and heat exchanger annually using a shop vac with brush attachment
- Schedule professional combustion analysis every 2 years—this checks flame signal strength and adjusts air/fuel mix
- Install a whole-house dehumidifier if basement RH regularly exceeds 60% (moisture accelerates oxidation)
Can I use vinegar or baking soda to clean the flame sensor?
No. Acidic or alkaline solutions corrode the sensor’s platinum or nickel alloy surface and leave conductive residues. Stick to mechanical abrasion (emery cloth) followed by isopropyl alcohol—per manufacturer guidelines from Trane’s 2023 Service Manual.
Why does my furnace make a loud pop when the flame sensor is dirty?
That pop is unburned gas accumulating in the heat exchanger before ignition. A dirty sensor fails to confirm flame presence, so the control board shuts off gas mid-cycle—then reopens the valve seconds later. The delayed ignition causes a mini-explosion. It’s dangerous and indicates immediate cleaning is needed.
How often should I clean the flame sensor?
Most manufacturers recommend annual cleaning during routine maintenance. But if your home has pets, construction dust, or frequent candle use, consider cleaning every 6 months. Homes in coastal areas (salt air) or near farms (silica dust) may need it every 4 months.
Will cleaning the flame sensor fix a blinking red light?
Sometimes—but not always. Blinking lights indicate specific fault codes. A dirty sensor commonly causes codes like “Ignition Failure” (e.g., Goodman: 3 flashes) or “Flame Sensing Error” (e.g., Rheem: 5 short/1 long). If the light persists after cleaning, check for loose wiring, cracked heat exchangers, or failing pressure switches—see our furnace error codes guide.
Can a dirty flame sensor cause carbon monoxide buildup?
Not directly—but yes, indirectly. If repeated failed ignitions lead to incomplete combustion or cracked heat exchangers from thermal stress, CO risk increases. That’s why any persistent ignition trouble warrants a CO detector check and professional inspection per NFPA 54 standards.
What’s the difference between a flame sensor and an igniter?
The igniter (usually silicon carbide or hot surface) creates the spark or heat to light the gas. The flame sensor (a separate rod) sits nearby to detect whether flame is actually present via microamp current. They’re often adjacent but serve entirely different roles—and both can fail independently. Confusing them leads to misdiagnosis—see our igniter vs. sensor comparison.
A clean flame sensor isn’t glamorous work—but it’s one of the highest-impact, lowest-cost furnace maintenance tasks you’ll ever do. Most homeowners recover the cost of tools in one avoided service call, and the peace of mind from quiet, reliable heat all winter is worth far more. Just remember: if the noise returns within 2 weeks, the root cause is likely airflow restriction or gas pressure—not the sensor itself.