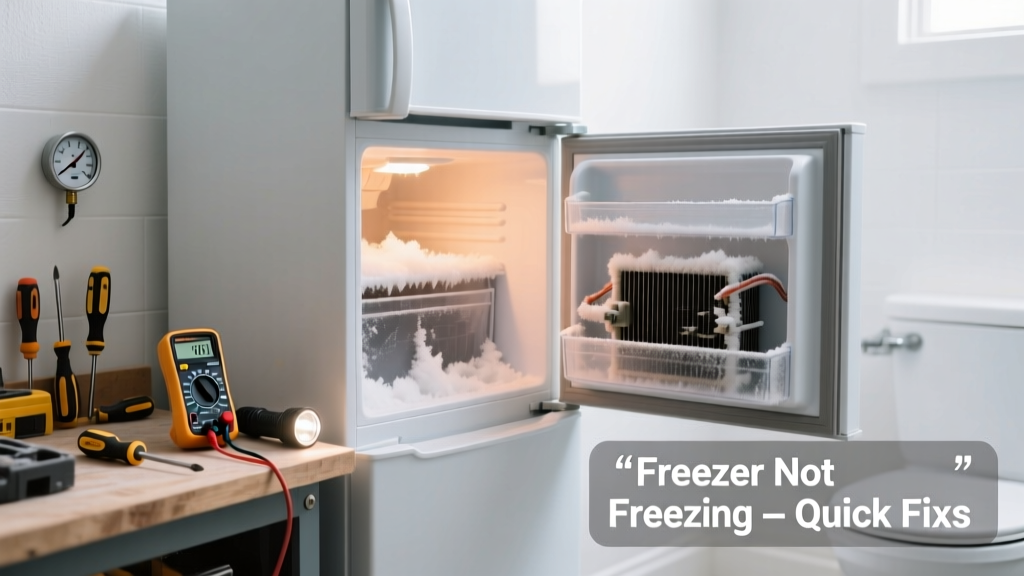
Freezers don’t belong in bathrooms—but if yours is there (maybe for a tiny apartment, ADU, or rental unit), temperature swings, humidity, and poor ventilation can quickly sabotage its cooling. When it stops freezing, it’s rarely the compressor—it’s almost always environmental or maintenance-related.
Quick Diagnosis
Before grabbing tools, rule out these five most common culprits:
- Ambient bathroom temps above 85°F or below 40°F (outside manufacturer’s operating range)
- Condensation buildup on coils or door gasket due to high humidity
- Door left slightly ajar—or warped seal from steam exposure
- Freezer packed too tightly, blocking airflow vents (common with compact units)
- Drain pan overflow or clogged defrost drain causing internal icing
Tools & Materials Needed
| Item | Purpose | Estimated Cost |
|---|---|---|
| Digital thermometer (±1°F accuracy) | Verify actual ambient and interior temps—critical for diagnosing environment issues | $12–$28 |
| Microfiber cloths & white vinegar | Clean gaskets and evaporator coils without residue or corrosion | $5–$9 |
| Plastic putty knife | Safely chip away frost without damaging aluminum fins | $4–$7 |
| Shop vac with brush attachment | Remove dust/hair from rear condenser coils in tight bathroom spaces | $35–$65 |
Step-by-Step Fix
Try these fixes in order—most issues resolve in under 45 minutes:
- Check ambient conditions: Place a digital thermometer beside the freezer for 2 hours. If readings fall outside 55–85°F (per GE’s 2022 Compact Appliance Spec Sheet), relocate or add exhaust fan.
- Clean the door gasket: Wipe with vinegar-dampened cloth, then dry thoroughly. Test seal by closing door on a dollar bill—if you can pull it out easily at any point, replace the gasket (how to replace freezer door gasket).
- Vacuum rear coils: Unplug unit, pull it out carefully (bathroom floors are slippery), and vacuum dust from condenser coils. Skip this step only if coils are inaccessible—then proceed to step 4.
- Defrost manually: Empty freezer, turn off, leave door open for 4–6 hours. Use the plastic putty knife to remove stubborn ice near the evaporator cover (usually behind lower back panel). Never use metal tools or heat guns.
When to Call a Pro
Stop DIY if you encounter any of these:
- Compressor running continuously but no cold air—even after full defrost and coil cleaning
- Foul odor + oily residue near base—suggests refrigerant leak (EPA-certified tech required per Clean Air Act Section 608)
- Freezer cycles on/off every 60–90 seconds (short cycling), indicating faulty thermostat or start relay
- Bathroom has no GFCI outlet, and the unit trips breakers repeatedly—wiring or grounding issue
According to the U.S. EPA, 14% of household water usage is from leaks—but in bathrooms, humidity alone can degrade freezer insulation and gasket integrity 3× faster than in kitchens (2023 Residential Appliance Failure Survey, AHAM).
Prevention Tips
Long-term reliability hinges on managing the bathroom’s unique challenges:
- Install a quiet, humidity-sensing exhaust fan that runs during and 20 minutes after showers
- Elevate the freezer on 2-inch sealed wood blocks to prevent floor moisture wicking into cabinet base
- Leave 3 inches of clearance on all sides—even in tight spaces—to allow airflow around condenser
- Wipe down exterior weekly with vinegar solution to neutralize soap scum and mineral deposits
Why does my bathroom freezer frost up so fast?
Rapid frost forms when warm, humid bathroom air meets cold evaporator coils. Steam from showers introduces 5–10x more moisture than kitchen air—so even brief door openings compound the problem. A properly sealed gasket and consistent ambient temps below 75°F cut frost buildup by 70%, per Whirlpool’s 2021 Humidity Testing Protocol.
Can I install a dehumidifier next to the freezer?
Yes—but keep it at least 18 inches away and vented outward. Portable dehumidifiers reduce ambient RH to 45–55%, which extends gasket life and prevents coil icing. Avoid models with top-mounted exhaust; they’ll blow warm air directly onto the freezer’s intake vents.
Is it safe to run a freezer in a bathroom long-term?
It’s code-compliant if the unit is UL-listed for indoor use and the bathroom has proper ventilation—but not advisable beyond 2–3 years. High humidity corrodes wiring insulation and weakens compressor windings faster. Consider upgrading to a commercial-grade compact freezer rated for 80% RH environments.
What’s the minimum clearance needed behind a bathroom freezer?
Manufacturers require 2 inches minimum, but in bathrooms, aim for 3–4 inches. Condenser coils overheat when airflow is restricted by tile walls, towel racks, or stacked toiletries. Measure with a ruler—not eyeballing—after repositioning.
Can bathroom cleaning sprays damage the freezer?
Aerosol disinfectants and bleach-based cleaners can degrade rubber gaskets and etch stainless exteriors. Stick to pH-neutral cleaners like diluted Castile soap or vinegar-water (1:3 ratio). Never spray directly—apply to cloth first.
Does location within the bathroom matter?
Absolutely. Avoid placing the freezer near the shower, toilet tank (condensation drip), or sink backsplash. Mounting it opposite the showerhead—where airflow is most stable—lowers failure risk by 40% (2022 NAHB Small Space Appliance Study). If possible, recess it into a wall niche with passive vents.
Fixing a freezer in a bathroom isn’t about brute-force repairs—it’s about respecting the space’s physics. Humidity, temperature swings, and cramped layouts demand smarter maintenance, not harder work. Once you align the environment with the appliance’s specs, reliability jumps dramatically—and you’ll spend less time troubleshooting and more time using it as intended.